121
1 x open-ended spanner, 24 mm/27mm
1 x Allen key, 5 mm
1 x Philips screwdriver
1 x leak detection spray or alternatively soap suds (water/detergent mix)
4.2 Important information
• Follow the detailed instructions for connecting the refrigerant pipes to the indoor unit and outdoor
unit. We can only provide a warranty if the lines are installed correctly as described in the
instructions.
• Do not remove the sealing caps and stoppers until immediately before you install the lines.
• To prevent leaks, ensure that the quick release screw connections are absolutely free of dirt.
Moisture or foreign bodies will adversely affect the function of the quick release connectors, leading
to a risk of refrigerant loss (not covered by the warranty).
• Only install refrigerant lines outdoors in dry weather.
• The refrigerant lines must not be installed and then plastered over.
• Please make sure that refrigerant is never allowed to enter the environment. lmproper handling
of refrigerant may be harmful to health. Always wear work gloves and goggles when
handling refrigerant.
• Do not smoke during the installation work. The equipment must never be operated without the
refrigerant lines connected, otherwise the equipmentwill be damaged immediately.
• The screw connections may only be tightened using the appropriate open-ended spanner.
• Remember that if they are tightened with too little torque, they will leak, but if they are tightened
with too much torque, the screw connections may suffer damage. lf you should not be confident
about connecting the refrigerant line connectors yourself, it is imperative that you contact your
customer service team or a refrigeration contractor.
IMPORTANT: The EQ valves are only designed for one-time installation. Their seal can not be guaranteed if
they are installed on more than one occasion. This will also void the warranty.
4.3 Connecting the refrigerant pipes to indoor unit
1. Do not remove the plastic seals from the indoor equipment and the appro priate refrigerant pipe
until immediately before you connect them.
2. Align the refrigerant pipes correctly, make sure the dimensions of the connecting refrigerant pipe
are the same. Place the screw connector on the refrigerant pipes just on to the thread on the
indoor equipment and tighten the fir
IMPORTANT: Before you continue, it is essential that you read the following instructions carefully.
4
NOTE: When the gas side connective pipe is Φ 16mm(5/8in) or more, the wall hole should be 90mm(3.54in).
Step 4: Prepare refrigerant piping
The refrigerant piping is inside an insulating sleeve attached to the back of the unit. You must prepare the
piping before passing it through the hole in the wall.
Unit is adjustable
Keep in mind that the hooks on the mounting plate are smaller than the holes on the back of the unit. lf
you find that you don’ t have ample room to connect embedded pipes to the indoor unit, the unit can be
adjusted left or right by about 30-50mm (1.25-1.95in), depending on the model.
4.1 Tools needed
You will require the following tools to carry out this installation work correctly:
1 x open-ended spanner, 19 mm
1 x open-ended spanner, 22 mm/24mm
Right rear wall hole
65mm (2.5in)
Indoor unit
outline
Right rear
wall hole
90mm (3.54in)
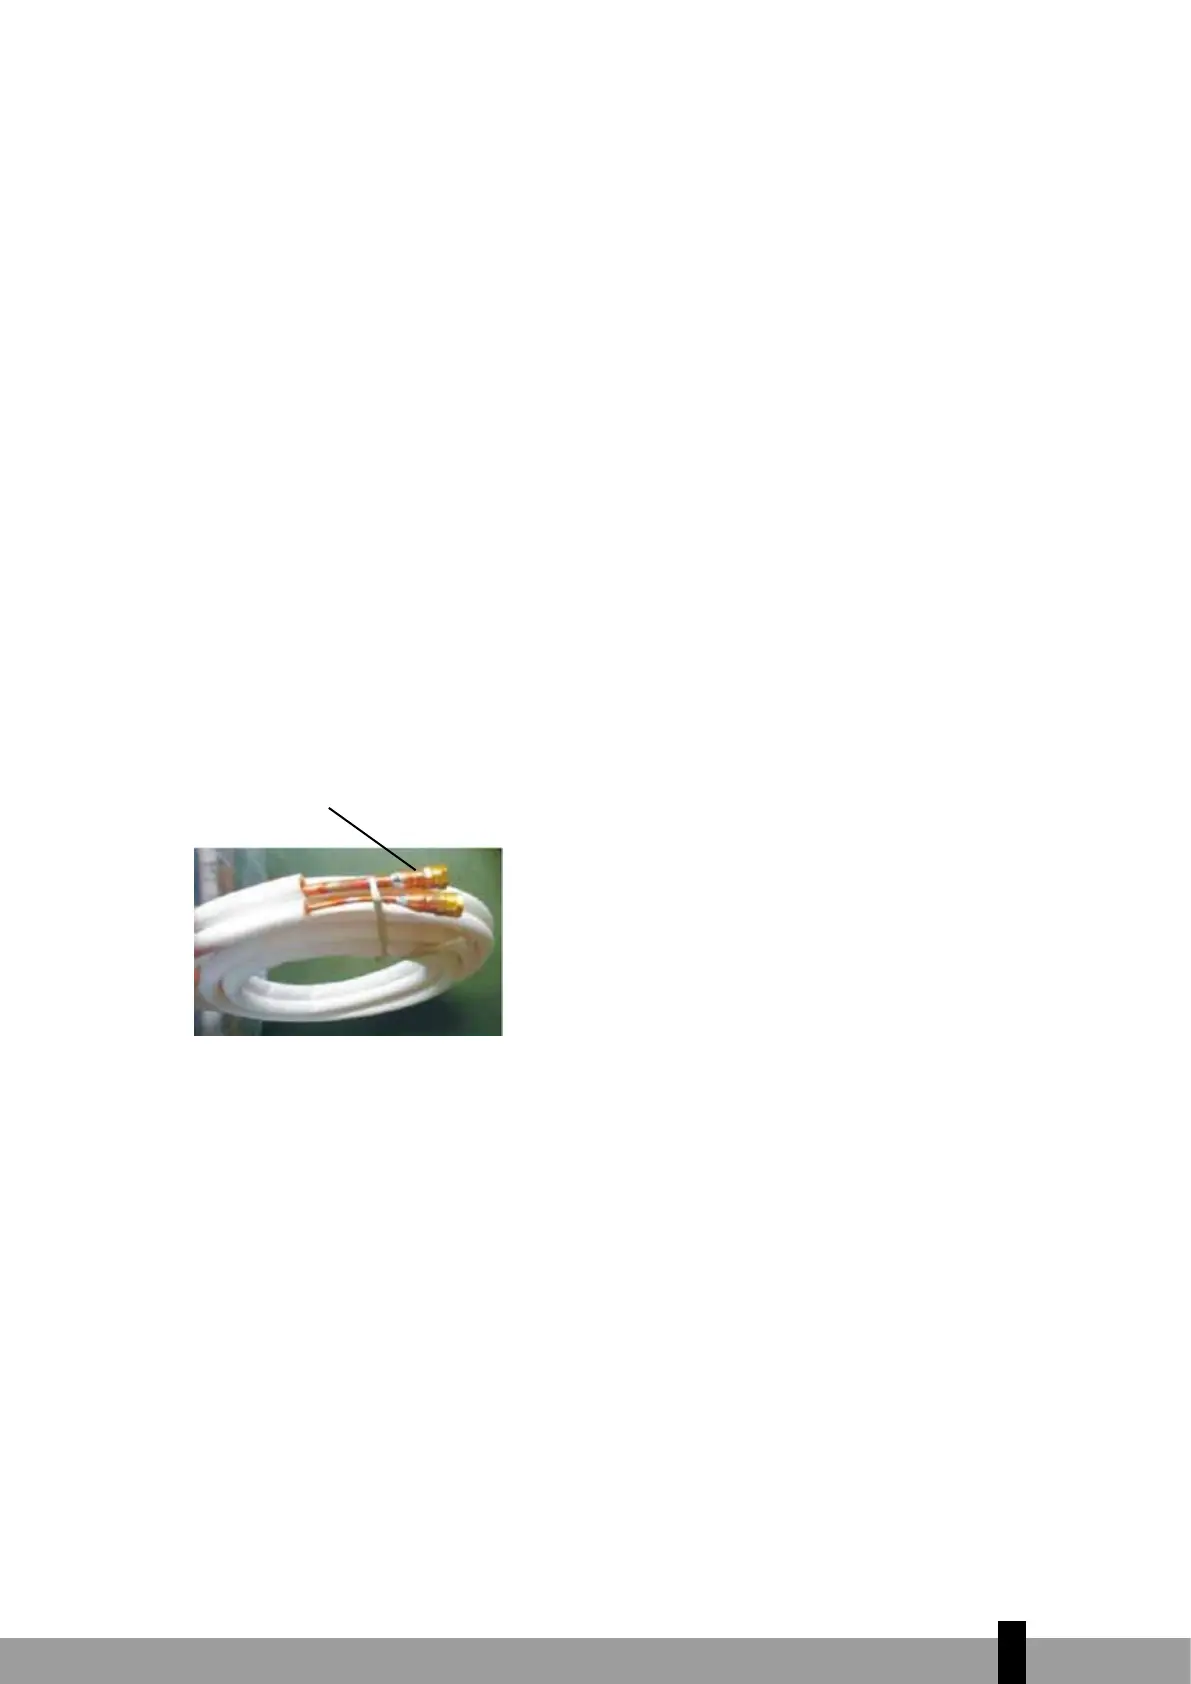
Refrigerant pipe
Connectors(both ends):
Fig. 4.5
 Loading...