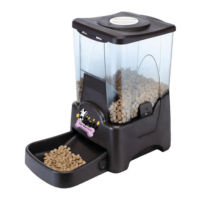
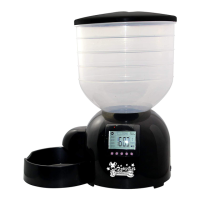
Getting started
1. Open the battery cover (located at the bottom of feeder).
2. Install four D size batteries.
3. Close the battery cover and turn on the switch. (located next to the battery
cover).
4. The feeder will cycle once until “12:00” is flashing on the LCD display.
5. You have 90 seconds to set the current time in order for the feeder to work
properly. If longer than 90 seconds The ‘1 07’ will display on the LCD display,
please turn off the power and wait for 1 minute, then switch back on.
6. Follow the steps 1-3 to set up the feeding schedule and portion size.
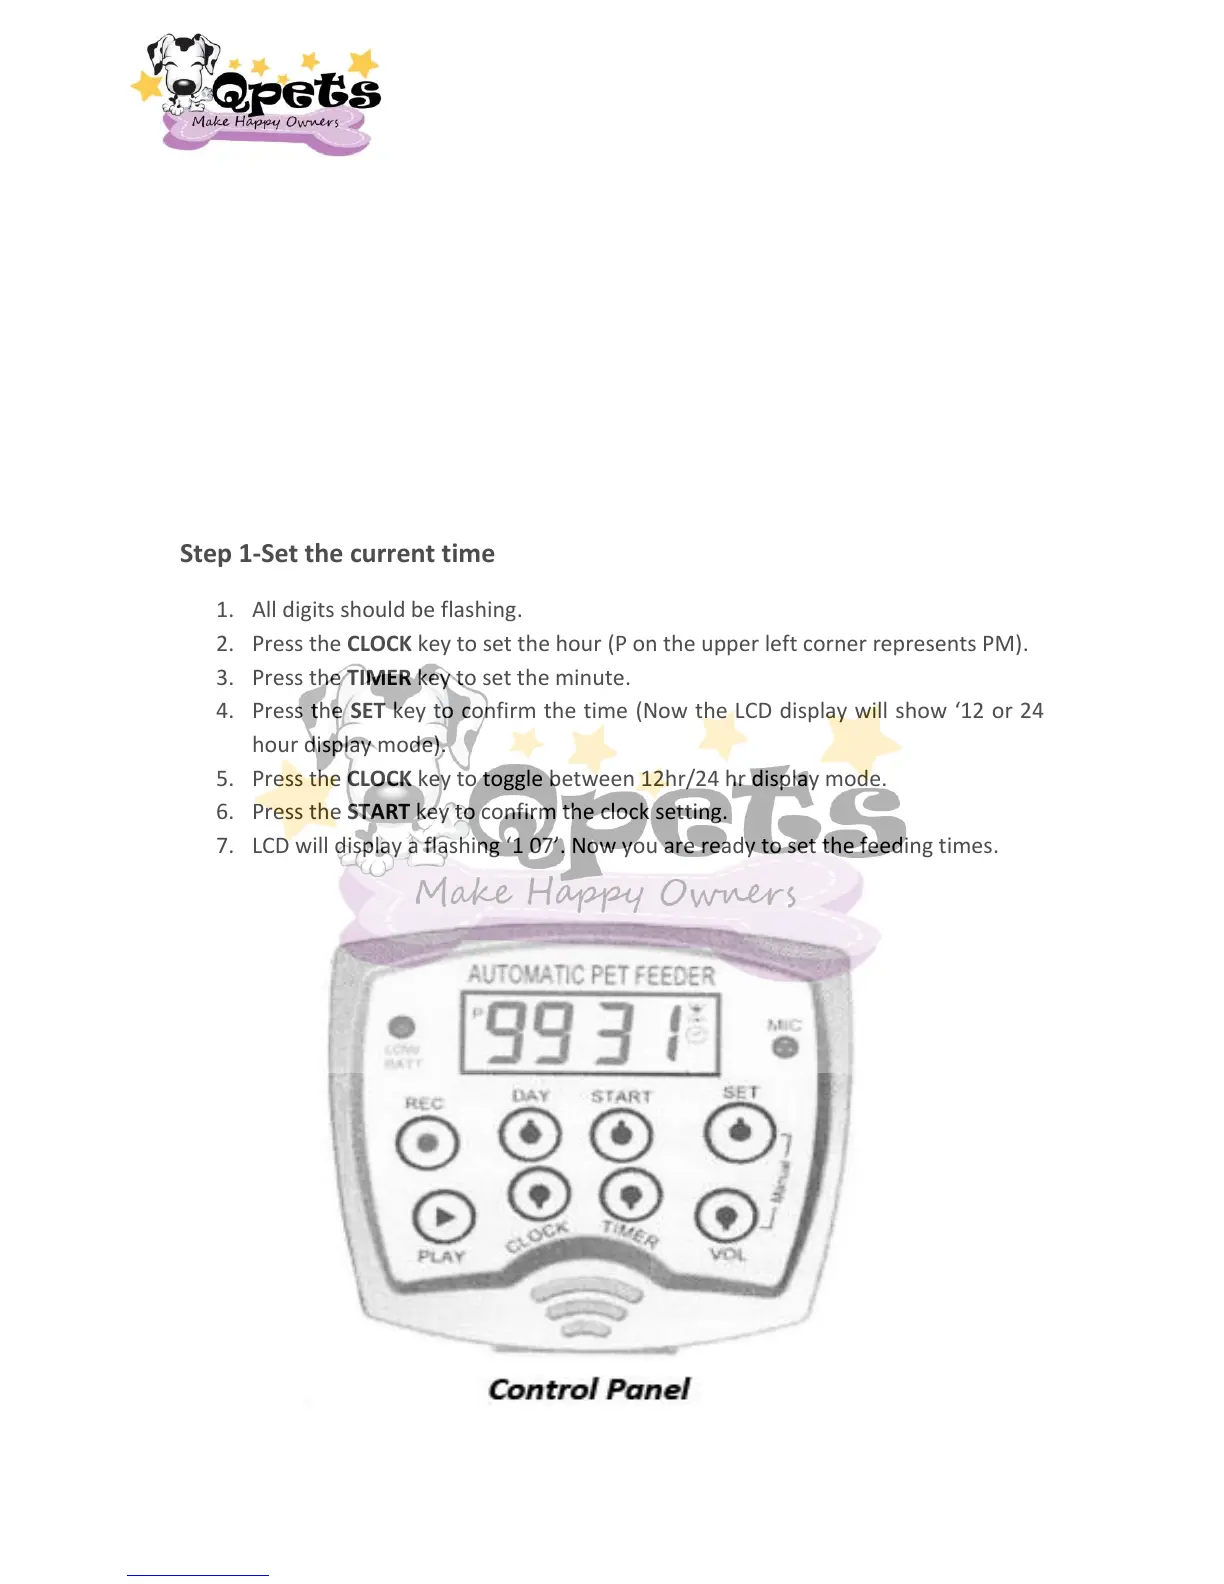
Step 1-Set the current time
1. All digits should be flashing.
2. Press the CLOCK key to set the hour (P on the upper left corner represents PM).
3. Press the TIMER key to set the minute.
4. Press the SET key to confirm the time (Now the LCD display will show ‘12 or 24
hour display mode).
5. Press the CLOCK key to toggle between 12hr/24 hr display mode.
6. Press the START key to confirm the clock setting.
7. LCD will display a flashing ‘1 07’. Now you are ready to set the feeding times.
3