Do you have a question about the Qualcast XSZ48A-SD and is the answer not in the manual?
Explains warning symbols used in the manual for safety.
Provides general safety precautions for operating the lawnmower.
Details personal safety measures, including PPE, to be followed.
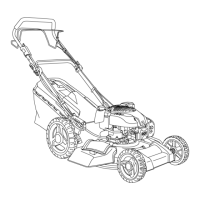
Lists all the components included in the product packaging.
Lists the tools provided with the lawnmower for assembly.
Instructions for unpacking and preparing parts before assembly.
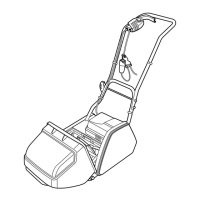
First step in assembling the lawnmower, focusing on the lower handle.
Attaching the upper handle using quick release levers and tensioning bolts.
Instructions for using the collection function and fitting the grass bag.
Securing the cable to the lower handle using the provided clip.
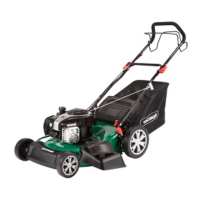
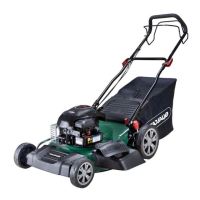
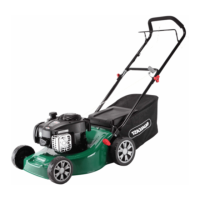
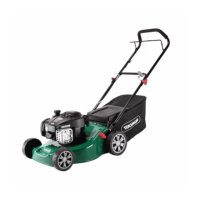
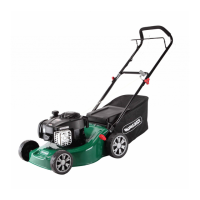
This document serves as both an Assembly Manual and an Operation and Maintenance Manual for the Qualcast 48cm Petrol Self Propelled Lawnmower, model XSZ48A-SD.
The Qualcast 48cm Petrol Self Propelled Lawnmower is designed for cutting grass in domestic settings. It is a self-propelled machine, meaning it assists the user in moving across the lawn. The lawnmower offers multiple cutting functions: collection into a grass bag, mulching, and side discharge. It is powered by a single-cylinder 4-stroke engine. The self-propelled feature reduces the physical effort required from the operator, making it suitable for various lawn sizes and terrains. The mulching function allows for finely cut grass to be returned to the lawn as natural fertilizer, while the side discharge option is useful for areas where grass collection is not necessary.
The lawnmower is designed for ease of use and versatility.
Regular maintenance is crucial for the longevity and safe operation of the lawnmower.
| Brand | Qualcast |
|---|---|
| Model | XSZ48A-SD |
| Category | Lawn Mower |
| Language | English |