Using an electric drill and a 5/16" (8mm) drill bit, drill the four mounting holes to
a minimum depth of 2.5" (64mm).
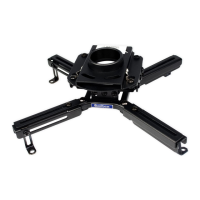
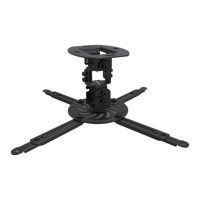
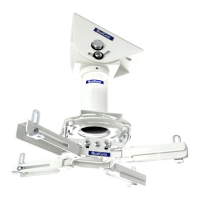
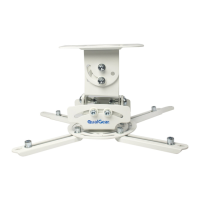
Attach ceiling mount with four concrete
anchors (G) and four screws (H) as
shown in the figure on the left.
Using a socket wrench tighten each
screw until the ceiling mount is firmly
attached.
5 6
Hold the marking template provided against the ceiling where you want to
install your projector, mark four holes for drilling using a marking pen or pencil.
H
G
1
2
www.qualgear.com
Wooden Stud Installation: Use holes 5 and 6.
Concrete / Brick Installation: Use holes 1, 2, 3, and 4.
PRB-717-WHT
2.5"
5/16"
8mm
(64mm)
For installation to wood surfaces,
refer to Step 1A.
Do not use electric / power
drill and do not over tighten
the screws.
Installing the Ceiling Mount (Concrete Surfaces)1B
WARNING
Concrete must be 2000 psi density minimum.
Lighter density concrete may not hold
concrete anchors.
Make sure that the wall will safely support
four times the combined load of the
equipment and all attached hardware
and components.
 Loading...