8 Installing and Configuring the SKM Appliance Servers
Quantum Scalar Key Manager 2.5 Quick Start Guide
Note: Ports are identified on the back of the server as Port 1 and Port 2, but when
configuring SKM through the console the ports are referred to onscreen as
Ports 0 and 1 respectively. (That is, labeled Port 1 = Port 0 in the console,
and labeled Port 2 = Port 1 in the console.)
Note: The netmask must match the netmask and gateway of the connected
libraries.
12 When the setup wizard is complete, press <Enter>.
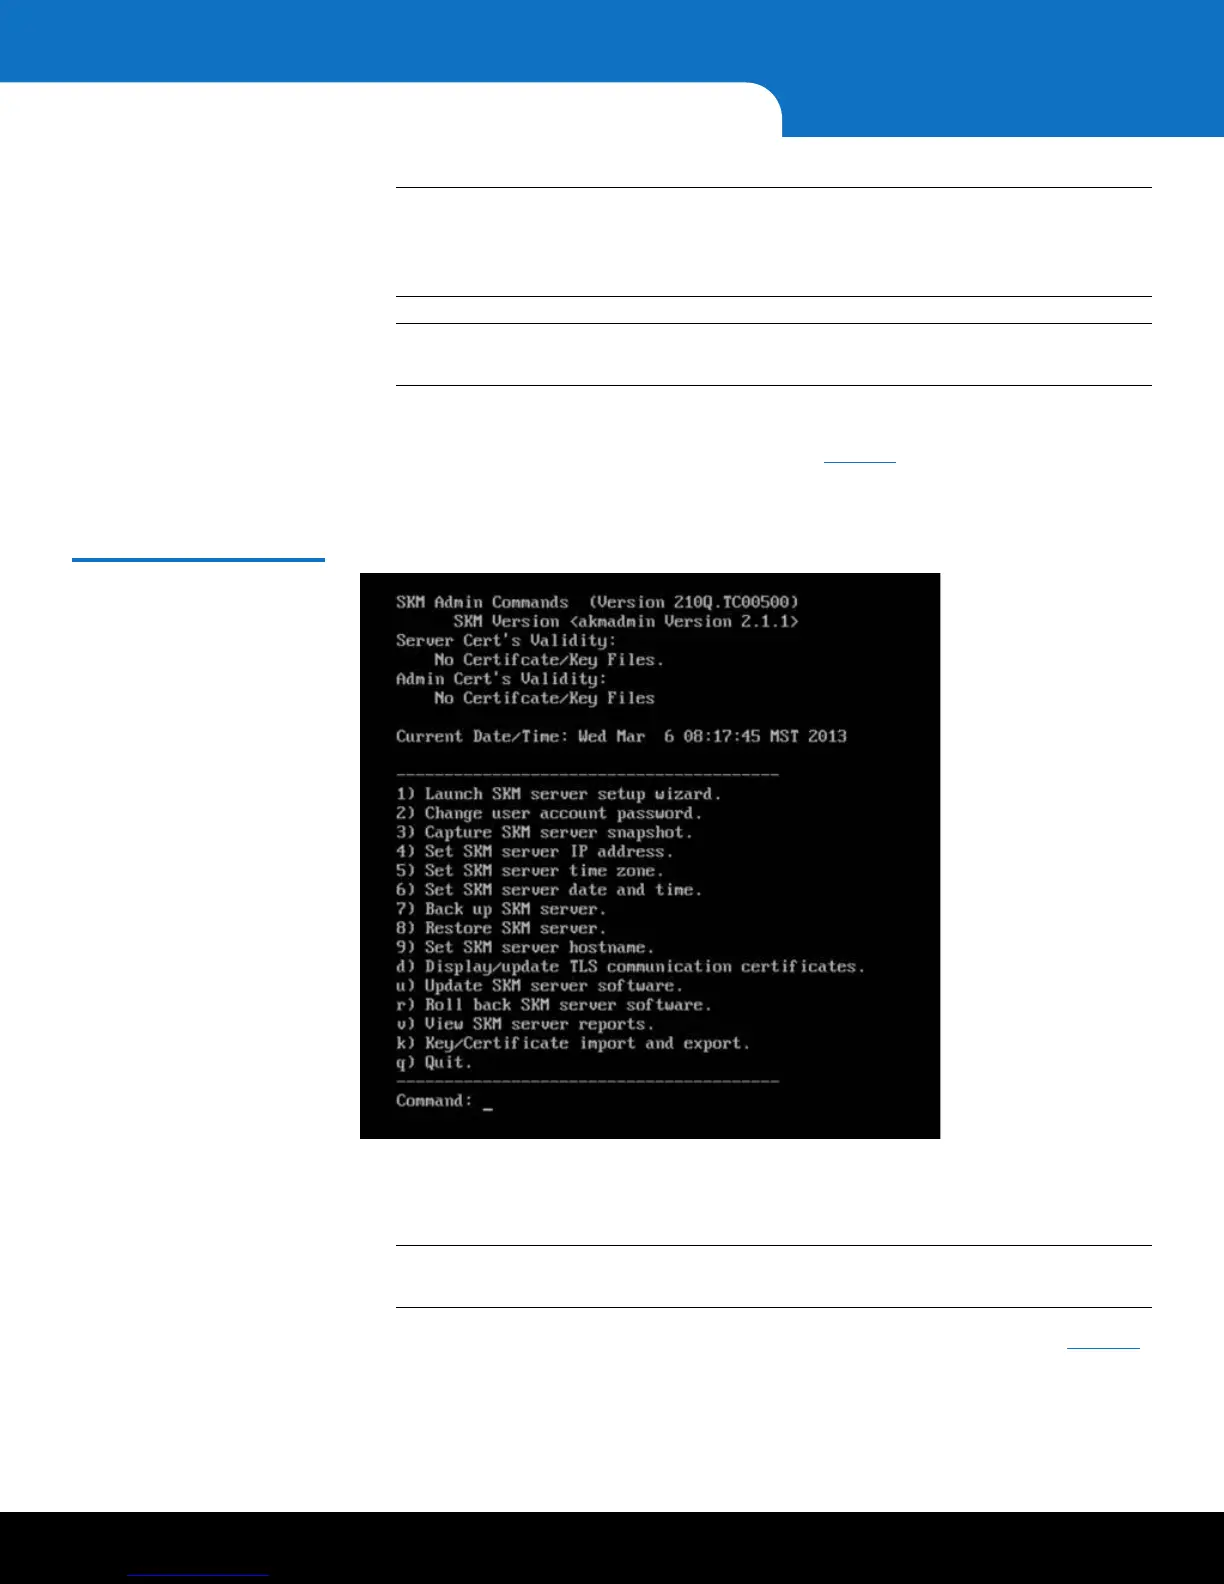
The list of SKM Admin commands displays (see Figure 4). If you made any mistakes
during the setup wizard, you can go back and change them by entering the number
corresponding to the item.
Figure 4 SKM Admin
Commands
13 Type q and press <Enter> at the command prompt to quit, save your changes, and
restart the SKM key server. This process takes a few seconds. Wait until the
akmadmin@skmserver prompt appears.
Note: You MUST quit at this point. Otherwise your changes will not be saved and
you will not be able to continue the installation process.
14 Disconnect the CAT5e crossover Ethernet cable from Ethernet Port 1 (see Figure 1
on page 4).
15 On the laptop you are using to configure SKM, change the hard-coded IP address
back to DHCP.