CALIBI_.ATIONOF MODELS 215 #m':_
AND21,_RSOUNOLi_V_L,_iE'rl_l_s ._,.!m;
The 21,5meterisfactorycalibrated,and _ ;_:_J
with proper care should retain its accuracy. It _r_ _
is recommended, however, that the nmter be /_Ld
checked periodically with tile CA.12 or CA- / }_._ r
15 Calibrator preferably ill the same environ- / _mt_-
meet in which sound level measurements are l _ _t'
to be taken (OSIIA specifies daily calibration / /1ti_
ifyouo,o re,,It,rooord,,ro eed
fo,io,w
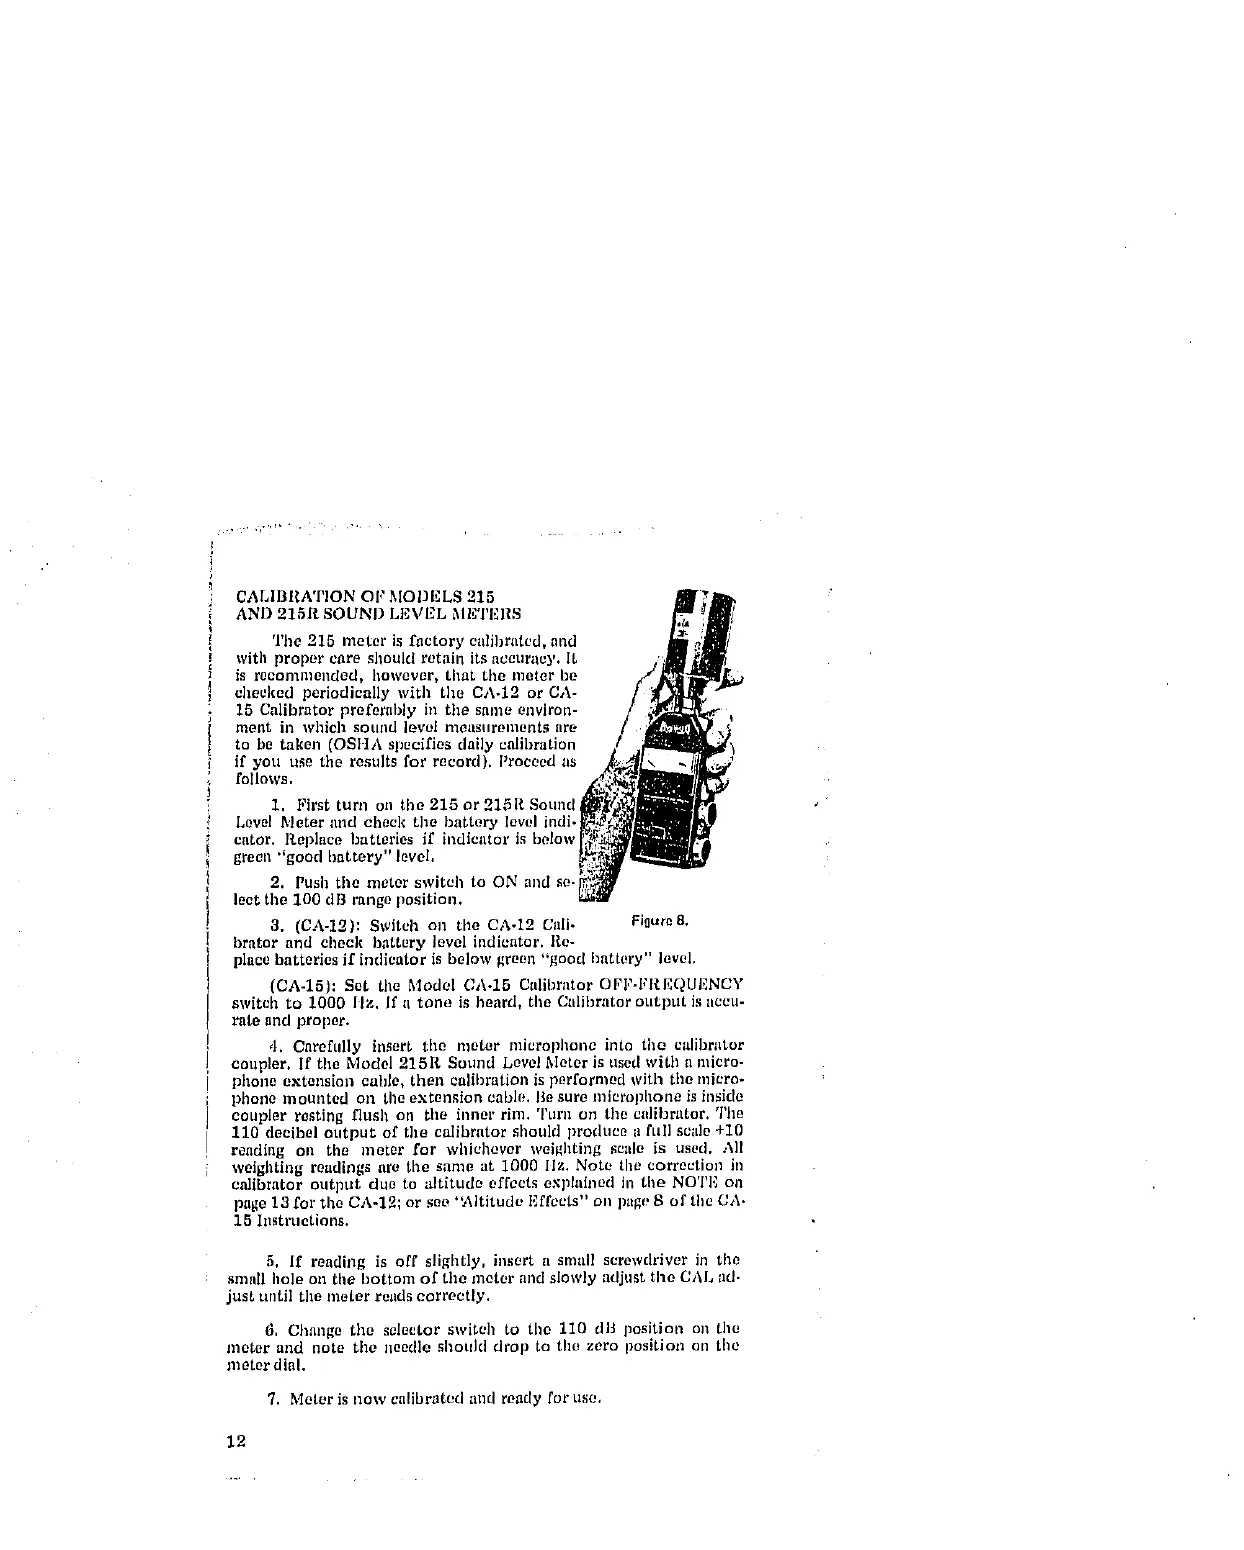
I.,_irstfur.o.theZl_or.Oa_I__ound$t_p/
L0velI_,eter idc 10e{t_e butteryevelndi-_A_]_'
eater. Replace batteries ,f indicator is belo'.v[_¢_ ._m
green "good battery" level. _,_
po bthemotor ,vitebtoand
leet the 100 dB range position.
3. (CA-12): Switch on tile CA-12 Call- Pi0ure8.
brator and check b,attery level indicator. Re-
place batteries if indicator is below green "good battery" level.
(CA-15): Set tile Model CA-15 Calibrator OFI"-FR.EQUENCY
switch to 1000 IIz. If a tone is beard, the Calibrator otttput is accu-
rate and proper.
4. Carefully insert tile meter microplmne into the calibrator
coupler, If the Model 215R Sound Level Meter is used with a micro-
phone extension cable, then calibration is performed with tile micro-
phone mounted on the extension cable. Be sure microphone is inside
coupler resting flush on the inner rim. Turn on tile calibrator. The
110 decibel output of the calibrator should produce a full scale +10
reading oil tile meter for whichever weighting scale is used. All
weighting readings are the same at 1000 llz. Note the correction in
calibrator output due to altitude effects explained in tile NOTI_ on
page 13 for the CA-12; or see "Altitude Effects" on ptlge S of the CA-
15 Instructions.
5, If reading is off slightly, insert a small screwdriver in tile
small hole on the bottom of the meter and slowly adjust the CAL ad.
just until the meter reads correctly.
6, Change the selector switch to tile 110 dB position on the
meter and note tile needle shoukl drop to tile zero position on tile
meter dial.
7. Meter is now calibrated and ready for use,
12