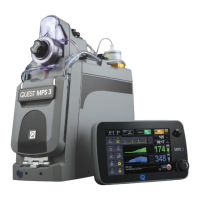
4.2. MPS
®
3 Blood Bypass Tubing
The MPS 3 Blood Bypass Tubing (REF 5301016) is only for use as a back-up
with the MPS 3 and MPS 3 ND Systems to continue fluid delivery in the event of
complete battery depletion after AC Power failure or if the system becomes
unusable even after following the corrective action and troubleshooting
suggestions in Sections 4.3 and 4.4 of this manual. Follow the instruction for
install and use in the accompanying IFU with each MPS 3 Bypass Tubing set.
Installing the Blood Bypass Tubing (5301016)
1. Using sterile technique, remove the Blood Bypass Tubing from
the sterile pouch.
2. Ensure the clamp on the Blood Bypass Tubing is closed prior
to installation.
3. Stop flow and ensure both delivery valves are closed.
4. Clamp both Blood & Crystalloid lines leading to the pumping
cassette above the large bore Luer connectors.
5. Vent heat exchanger by manually depressing the vent valve to
reduce the system pressure to zero.
6. Disconnect and cap blood source line from disposable
cassette using female cap on Blood Bypass Tubing.
7. Attach Blood Bypass Tubing large bore Luer connector to the
auxiliary Luer port of the 16-convolution heat exchanger.
8. Unclamp Blood Bypass Tubing and blood source line.
9. Manually depress vent valve to prime Blood Bypass Tubing
and heat exchanger of air.
10. Manually depress vent valve to prime Blood Bypass Tubing
and heat exchanger of air.
11. Once primed, clamp Blood Bypass Tubing and release vent
valve.
12. As protocols require, unclamp Blood Bypass Tubing and
initiate flow by manually depressing delivery valve.
13. If controller is unresponsive, monitor pressure from Arterial
Pressure Monitor.
14. Monitor heat exchanger and delivery line for air bubbles and
vent heat exchanger as needed.

 Loading...