DANGER!
The LPFDR should only be used with a user in the •
powerchair in Emergency situations as the automatic
brakes will become inoperable.
The automatic brakes become inoperative when the •
Brake release, or LPFDR is disengaged allowing the
power chair to run free if left on an incline.
DANGER!
There is an independent device in each wheel that has to
be disengaged separately.
DO NOT disengage the LPFDR if the powerchair is •
located on a slope.
Disengaging one side may result in the chair turning on •
the slope and disengaging both may result in the chair
rolling down the slope.
DO NOT disengage both the Brake releases and •
LPFDR devices at the same time.
DO NOT switch on and operate the powerchair control •
system whilst the LPFDR is disengaged.
Always re-engage the drive mechanism on the drive •
wheels when the chair is not being pushed.
To Disengage the LPFDR pull out and push over the
operating cam lever. To Engage the LPFDR, pull out and
push over the operating cam lever, (Fig. 5.11 Previous
page) .
DANGER!
The drive and brakes will NOT become operable until •
the internal parts of the LPFDR are re-aligned.
To re-align the LPFDR, push the powerchair forwards or •
backward in a straight line until the parts automatically
re-engage and the brakes comes on.
The LH and RH side may not re-engage at the same •
time so make sure that both are re-engaged before
turning the powerchair on.
•
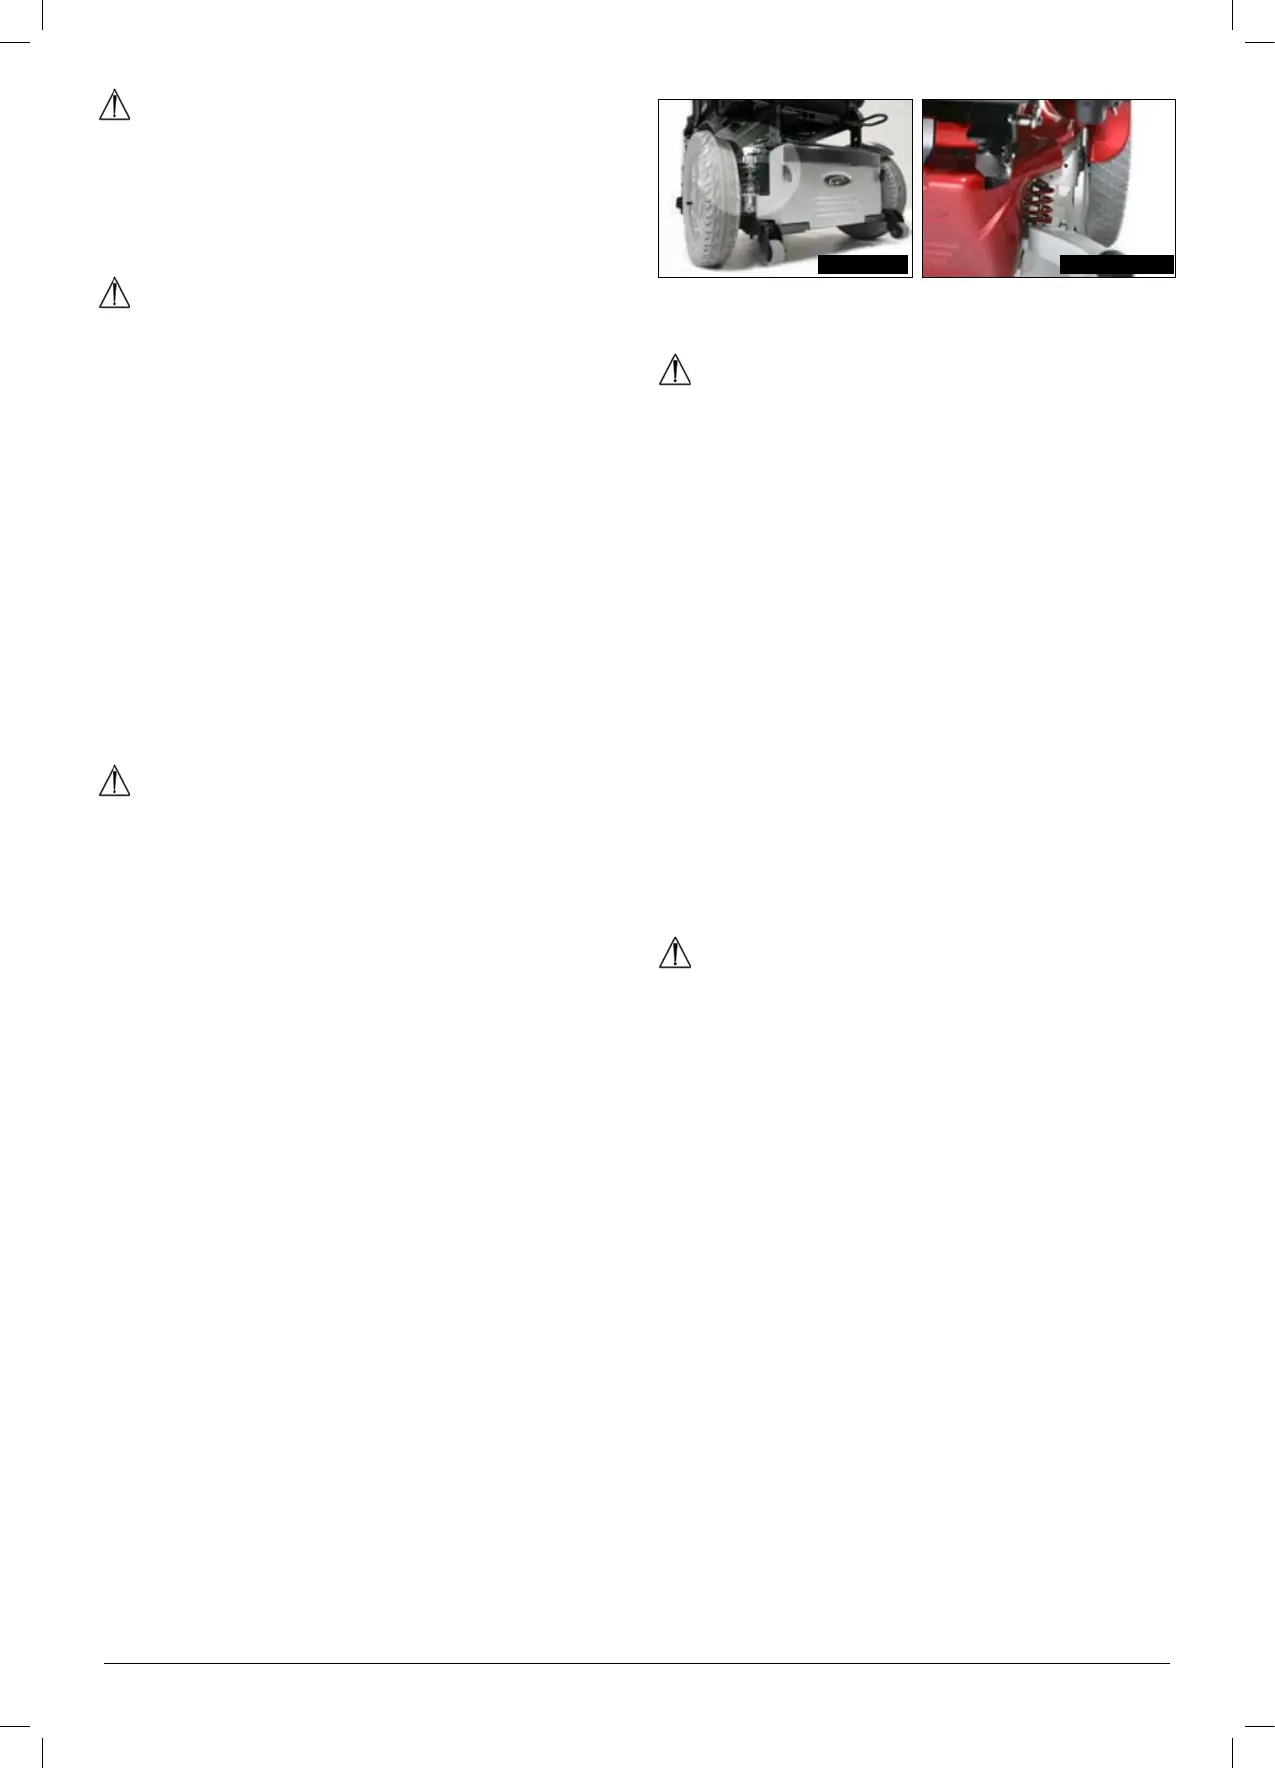
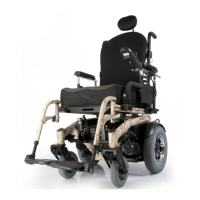
5.5 Drive wheel suspension Salsa
The SALSA M/R has an effective and adjustable drive
wheel suspension system as a standard feature. To match
your requirements on drive comfort, the tension of the
springs at the damper can be adjusted.
Turning the aluminium ring away from the spring will soften
your ride, adjusting the aluminium ring in a position towards
the spring will harden it. This option is to be used to match
the different user weights to the suspension system, (Fig.
5.17 & 5.17.1). We recommend the suspension adjustments
are done equally on the left and right side of the chair.
5.6 Control joystick unit position
WARNING!
Make sure that the control system is mounted securely •
and that the joystick position is correct.
The hand or limb you use to operate the joystick should •
be supported, for example by the arm pad.
Do not use the joystick as the sole support for your •
hand or limb - wheelchair movements and bumps could
upset your control.
Depending on your chosen control system, there are two
principles of control systems: Quickie VR2 and Quickie
R-net controls (for details please see the controls section
7 or 8). The remote is mounted on a sliding mechanism
which enables the control to be moved forwards and
backwards.
Undo the locking screw, (Fig.5.3R).•
Slide the control arm either out or to it’s new position, •
(Fig.5.4R). See page 22.
When the most comfortable position has been selected,
secure the slider by tightening the locking screw. Ensure the
locking screw is fully tightened prior to use and especially
when transporting your wheelchair.
WARNING!
Ensure the locking screw is fully tightened prior to use,
especially when transporting your wheelchair.
5.7 Getting ready to drive
Operate the on/off switch. The battery gauge will blink •
then remain on after a second
Check that the maximum speed is set to a level which •
suits you.
Push the joystick to control the speed and direction of •
the wheelchair
Fig. 5.17 Fig. 5.17.1