K
Kevin HillAug 7, 2025
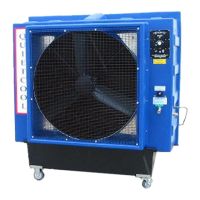
What to do if QuietCool Air Conditioner has no water running over the pads?
- JJodi PowellAug 7, 2025
First, ensure the water flow valve is open; QuietCool units typically perform best when the valve is open 1 1/4 turns. Check that the main water supply valve is open and the pump switch is on. Also, the water filter may be clogged. To resolve this, remove the cooling pads, open the back of the unit, access the water filter, remove and clean the filter screen, then replace it and try again.