parallel
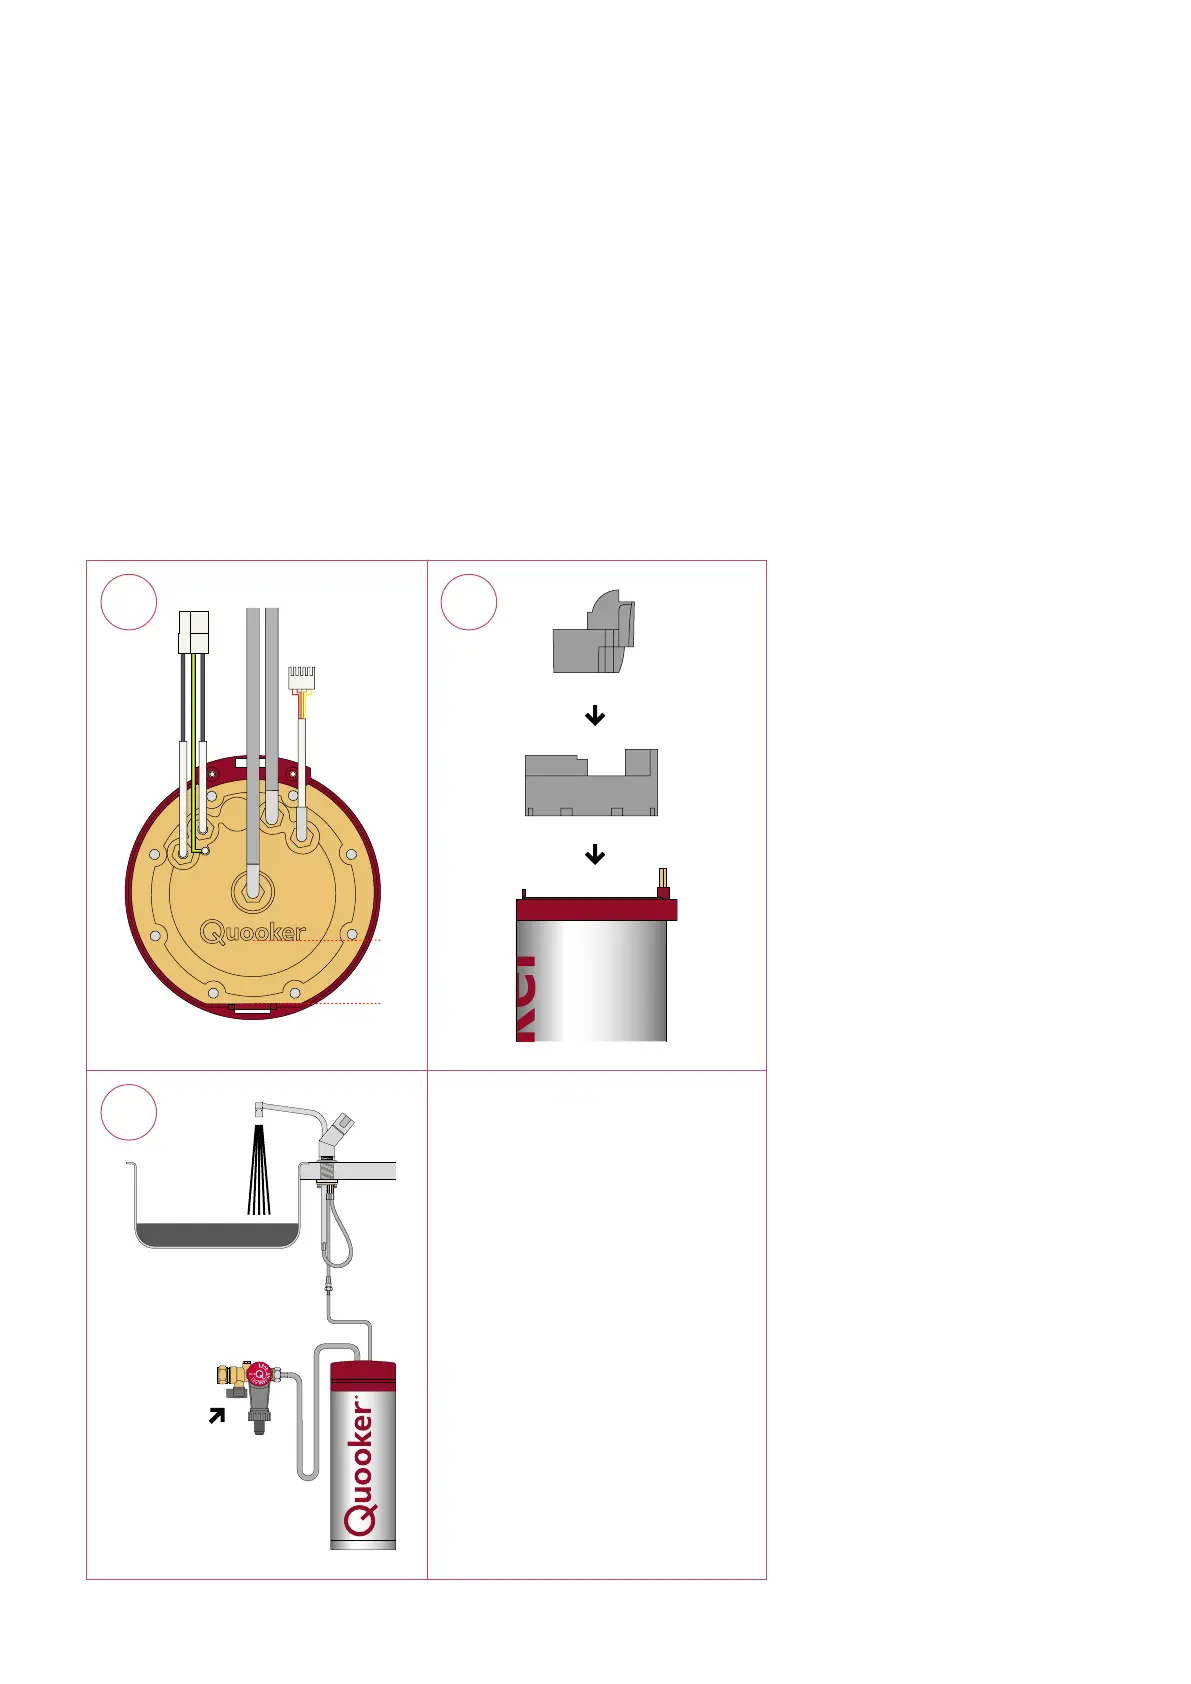
16 Replace the internals and check the positioning of the Quooker logo relative to the front of the
red ring.
- Place the eight nuts and tighten them in a diagonal sequence.
17 Replace the insulation.
- Plug the cable connectors into the cover.
- Replace the tank cover and secure the cap screws. In case of a PRO3-VAQ tank, connect the
hosefromtheinletcombinationusingthelargeredbrewasher.IncaseofaCOMBItank,
connect the two hoses from the mixing valve. Connect the tap hose to the tank with the small
washer. Connect the LED cable. Plug the tank back in. Switch the power on but not the tank yet.
18 Openthetap,thenopenthestopvalveontheinletcombinationandushthetankthrough.
Switch the tank on with the Q-shaped button.
16
18
17
Please note
After switching on the tank, the light
should be on both the tap and tank.
The tank will be fully heated and ready for
use in around 10 - 20 minutes. After it has
heatedup,thetaplightwillgooandthe
tank light will change to a fading in and
out (heartbeat light).
From time to time, unscrew the tap nozzle
and descale the aerator in a vinegar-
water solution.
For any further questions, do not hesitate
to contact our service department on
0207 923 33 55 (option 3 for service) or
email us at: service@quooker.co.uk.
 Loading...