13
Note:
If you do not hear a chime,
press the button beneath the
remote control’s label with a pen-
cil. Then repeat this step.
6. Leave the console’s switch set to
INSTALL to install other accesso-
ries.
7. Replace the battery compartment
cover.
Note:
You can add any combination of
Plug ’n Power keychains (Cat. No. 49-
2591) or handheld remote controls
(Cat. No. 49-2551T), up to a total of
eight.
INITIALIZING THE
WIRELESS SENSOR
TRANSMITTERS
Follow these steps to initialize each
wireless sensor transmitter you plan to
use with your system.
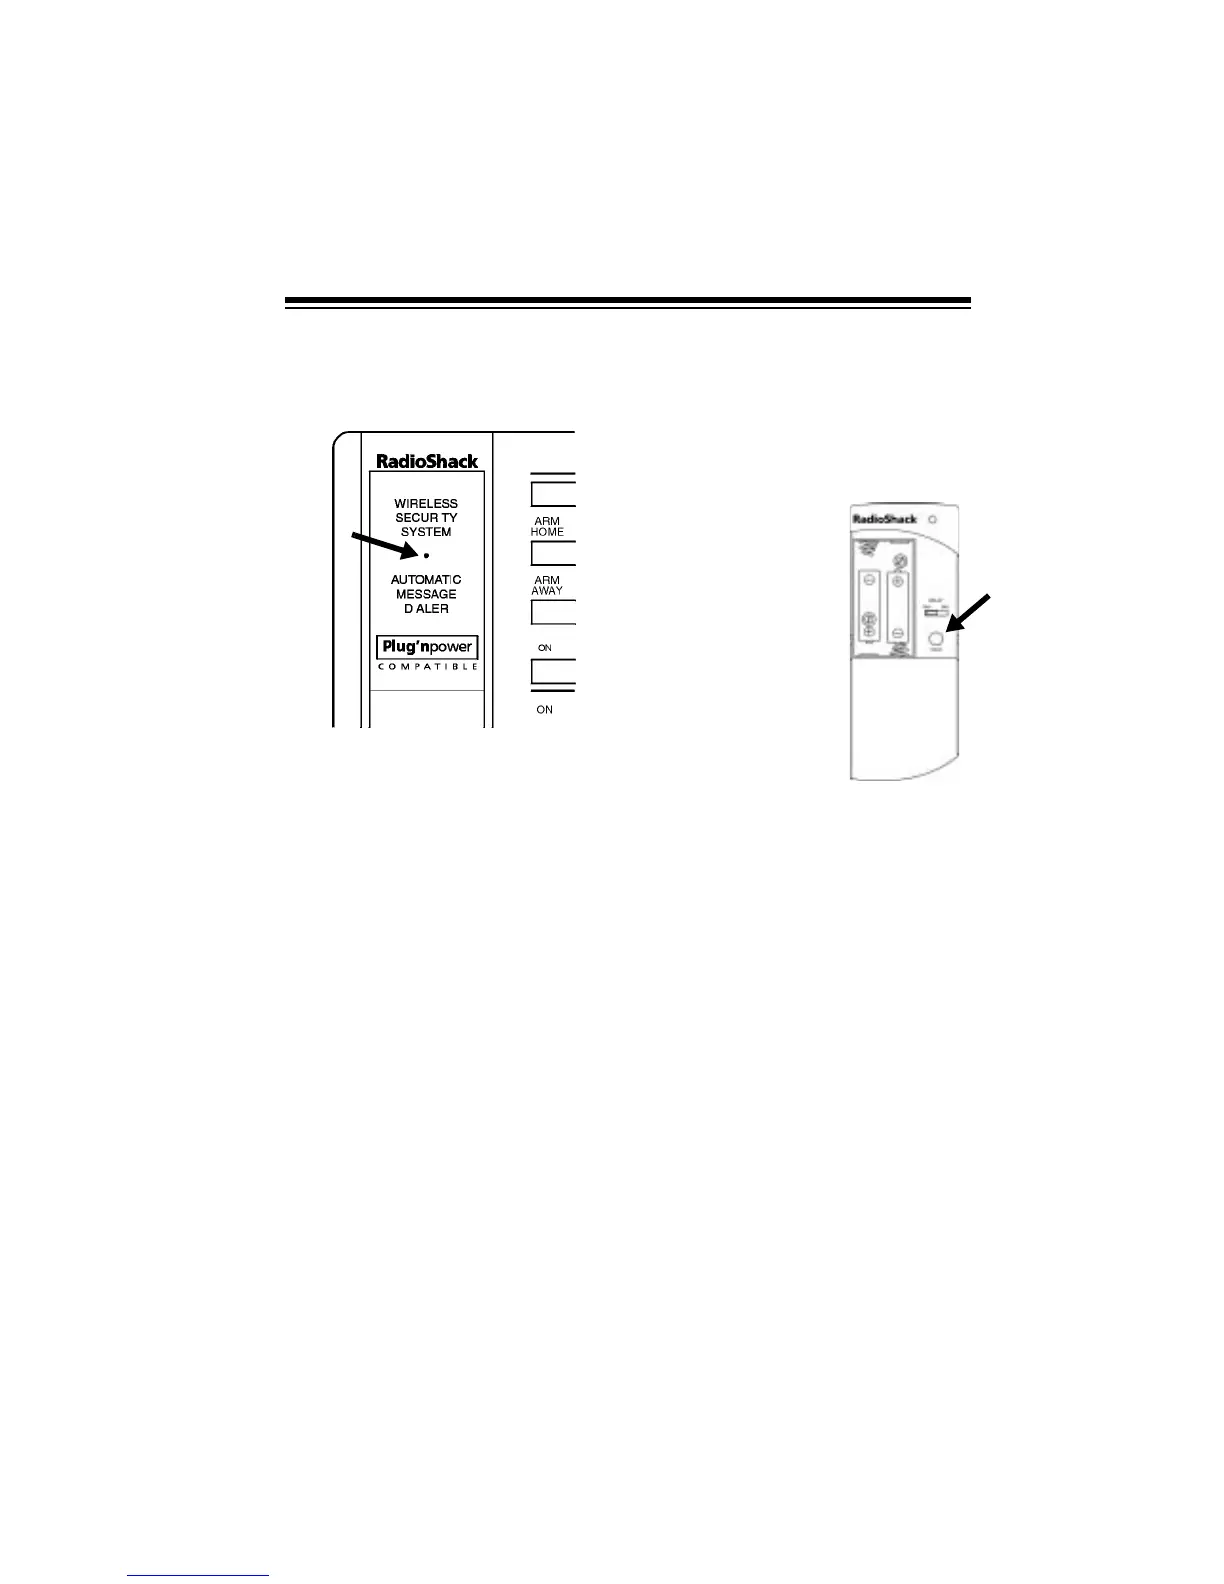
1. Lift open the-
transmitter’s bat-
tery compartment
cover. Hold down
TEST, located to
the right of the
compartment,
long enough to
fully discharge
the sensor (about
3 seconds).
2. Install two AA alkaline batteries in
the compartment according to the
polarity symbols (+ and –) marked
inside.
3. Be sure the console’s
INSTALL/
RUN 1/RUN 2
switch is set to
INSTALL.
4. Press
TEST
on the transmitter
for
about 1 second. The indicator
blinks twice to generate a new
code.
Note:
The indicator flashes rap-
idly during a violation or after you
press
TEST. When the batteries’
voltage drops below around 2.7V,
the indicator flashes twice when
TEST is pressed to indicate that
the batteries are weak.
 Loading...