- \
PREPARATION
The most common place to mount an amplifier is under a
vehicle's dashboard. Choose a specific location where:
• You can easily reach the amplifier.
• The amplifier's wires and RF cables reach their con-
nection points and do not interfere with any of the vehi-
cle's moving parts.
• The amplifier is not directly in front of air vents.
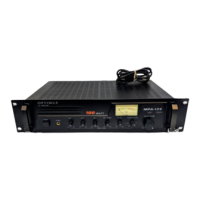
MOUNTING THE AMPLIFIER
Warning: Mount the amplifier securely to avoid damage
to the amplifier or vehicle and to prevent injury to anyone
in the vehicle during sudden starts or stops.
Follow these steps to mount the amplifier.
1. Mark the positions for the screw holes using the supplied
mounting bracket as a template.
2. Drill the screw holes into the mounting surface at each
marked locations.
Caution: Be sure you do not drill into electrical wires
behind the mounting surface or into any of your
vehicle's moving parts.
4
3. Attach the mounting bracket to the mounting surface
using a Phillips screwdriver and the supplied mounting
screws and washers.
4. Attach the amplifier to the mounting bracket with the
supplied mounting knobs.
Note: The mounting knobs are large and slotted so
you can easily tighten them with either your fingers or
a large flat-blade screwdriver. Do not over-tighten.
5
 Loading...