BG TECH.
VERSION III
2001/2/28
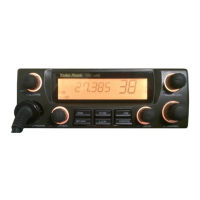
You can power the transceiver from a vehicle’s 13.8V power source or cigarette lighter socket using 13.8 V
DC to DC power adapter and a size H Adaptaplug (neither supplied). Both are available at your local
RadioShack store.
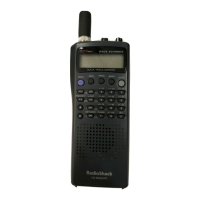
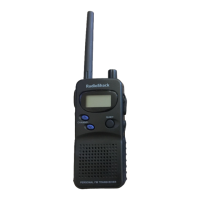
CONNECTING THE ANTENNA
Place the threaded base socket of the supplied antenna over the antenna connector on the top of the
transceiver and turn the antenna clockwise to tighten it. To remove it, turn it counterclockwise.
Caution : Do not over-tighten the antenna
Note : You can connect an external antenna to the transceiver using an SMA to BNC adapter. This adapter and
suitable antennas are available at your local RadioShack store.
ATTACHING THE BELT CLIP
Use the Philips screwdriver and the two supplied screws to attached the supplied belt clip to your transceiver.
Do not over-tighten the screws.
ATTACHING THE WRIST STRAP
To attach the supplied wrist strap to the top of the belt clip, thread the strap’s small loop through the opening
in the top of the clip. Then insert the longer loop through the smaller loop and pull on the strap until the loop
is tight.
CONNECTING A MICROHONE/SPEAKER
You can connect an external communications headset (consisting of a microphone and speaker) to the
transceiver so you can use it privately. Lift the hinged, rubber dust cover from the MIC and SPK jacks on top
of the transceiver. Then insert the plug of an optional voice activated headset with microphone, or an optional
communication headset, into the jacks.
Caution : Use only microphone and speaker accessories that do not share a common ground for the speaker
and microphone. Doing otherwise might damage the transceiver.
 Loading...