BUILT-IN A.L.C.
CIRCUIT: Enables
you
to
automatically
obtain perfect
record-
ing level for both voice and music recording
—
no need
to
adjust Volume
while
recording.
TAPE COUNTER:
Helps you
to
quickly
find
a
specific
section
of
the tape.
MECHANICAL
PAUSE: Permits
you
to stop the tape instantaneously
either
in
Record
or
Play mode.
ULTRA-CONVENIENT 3-WAY POWER:
Use with AC, built-in
batteries
or
with
an external source
of
6 volts DC (for example,
with our optional
Car Adapter and
use
in your vehicle). (DC 6V jack not available
on UK models.)
BATTERY/RECORD LED
INDICATOR: Serves
two functions. During Recording,
the LED
will
flicker
on peaks of
recording signal. In
any
other
function, it will
give
you an indication of the
battery condition
-
the LED lights up when the
bat-
teries
need to be replaced.
You
may note that BATTERY
Indicator flashes briefly
as you switch function
keys. This is normal and
does not mean the
batteries are
weak
(if
the LED stays
on,
the batteries do need
to
be
replaced).
The BATTERY Indicator kdesigned
so
that the
LED
lights up any time
the voltage
drops below
the required level.
PREPARATION
FOR USE
OPERATING
ON AC
POWER: Connect one
end
of
the
AC
power cord
to
the
AC IN
of the recorder, plug the other end into a convenient
120V
outlet.
(220/240V
AC 50
Hz
outlet
where the sets are marked
on the bottom for European
and
Australian models.) Connecting
the cord
to the set automatically
disconnects the
internal
battery
circuit. Never
leave the cord plugged
into an AC outlet when it is
not connected
to the
recorder.
Note:
We
recommend that you always
use
AC
power when using
the CCR-81 with
a TRS-80 computer.
USE WITH
BATTERIES
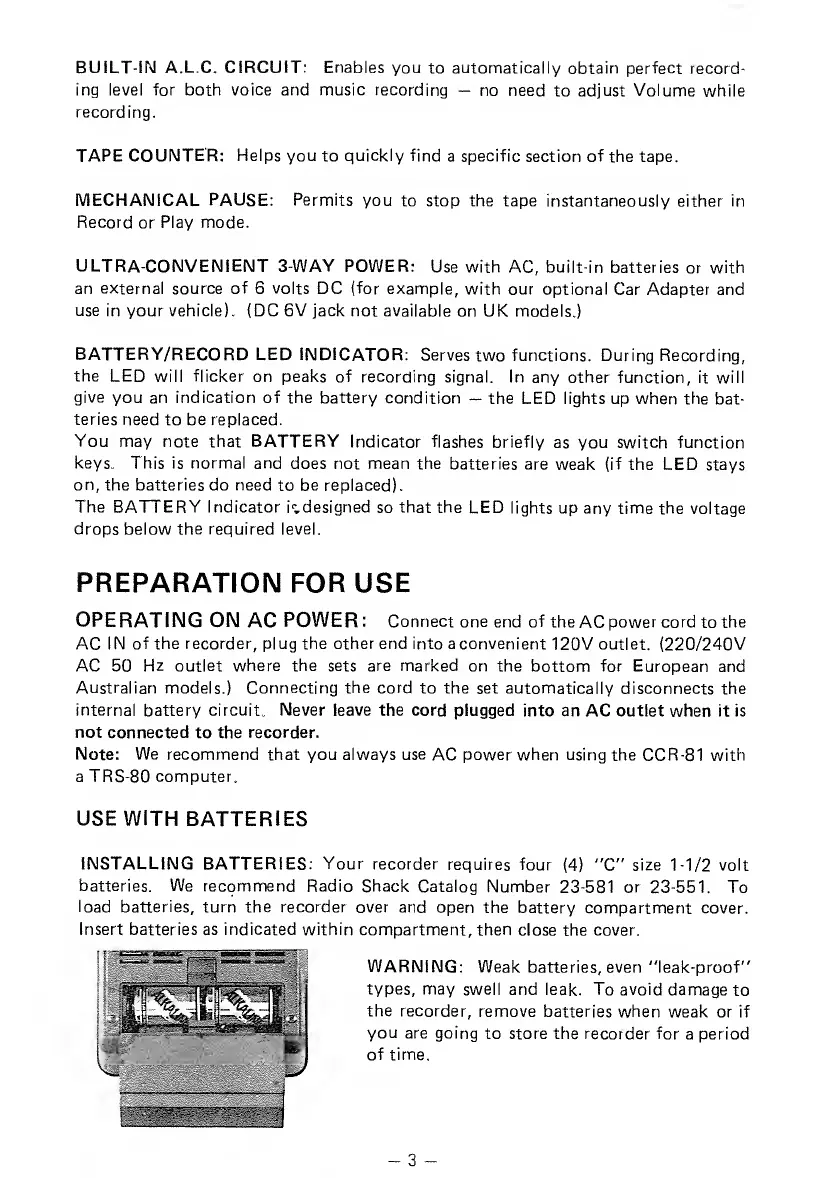
INSTALLING BATTERIES:
Your
recorder
requires four
(4)
"C"
size
1-1/2
volt
batteries.
We recommend Radio Shack
Catalog
Number
23-581
or 23-551.
To
load
batteries, turn the recorder over and
open the battery
compartment cover.
Insert batteries as indicated within
compartment, then
close the cover.
-J
WARNING: Weak
batteries, even "leak-proof"
types, may
swell and leak. To avoid
damage
to
the recorder,
remove batteries
when weak or if
you
are going
to store the recorder for
a period
of time.
 Loading...