8
Important Charging Notes
PLACE THE CHARGER ON A FLAT, SMOOTH AND
HEATRESISTANT SURFACE.
It’s important that air is able to circulate through the
charger during the charging process in order to keep
it from over-hea ng. It’s especially important that
the vent openings on the bo om and sides of the
charger are not blocked. DO NOT place the charger
on carpeted or other similar surfaces that may block
the vent openings. Also, DO NOT place the charger in
direct sunlight before, during or a er use.
It will take approximately 1 to 1
1
/
2
hours to fully
charge a mostly discharged ba ery.
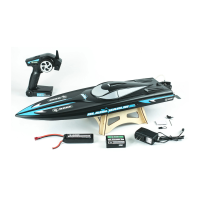
Battery Installation
1. Rotate the hatch lock on the hull cover either
clockwise or counter-clockwise to unlock the
hatch.
2. Remove the hull cover.
3. Place the ba ery with the hook fastener side
facing down to a ach to the loop fastener that
is already adhered to the bo om of the boat.
4. Ensure that the wires and plug are facing the
rear of the boat.
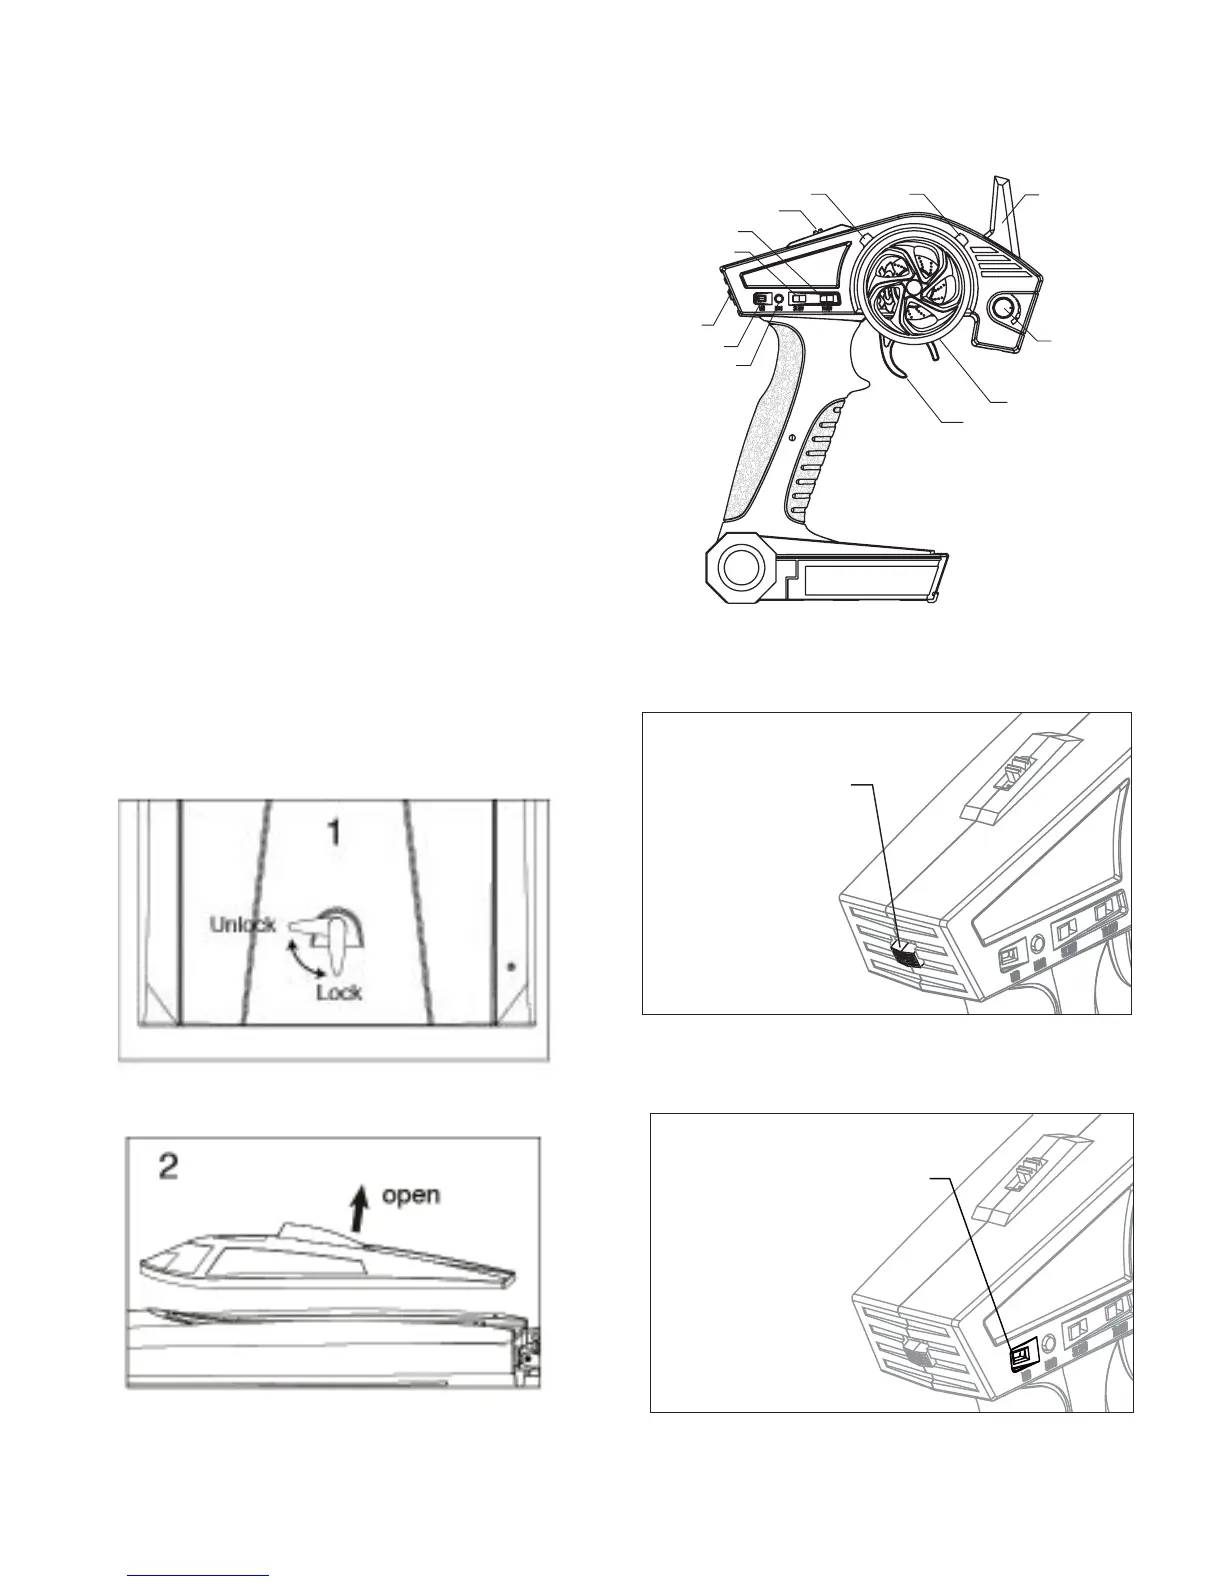
Transmitter Operation
Transmi er Details
Antenna
Steering Trim
5:5 / 7:3 Switch
dŚƌŽƩůĞZĞǀĞƌƐĞ
^ƚĞĞƌŝŶŐZĞǀĞƌƐĞ
Indicator LED
ŝŶĚƵƩŽŶ
^ƚĞĞƌŝŶŐtŚĞĞů
dŚƌŽƩůĞdƌŝŐŐĞƌ
dŚƌŽƩůĞdƌŝŵ
^ƚĞĞƌŝŶŐZĂƚĞ
Knob
ON/OFF
Switch
On/Off Switch
Slide the switch UP
for ON and DOWN
for OFF
Ba ery LED Monitor
Solid Red:
ĂƩĞƌLJŝƐŝŶŐŽŽĚ
ĐŽŶĚŝƟŽŶ;ďŽǀĞϰϯsͿ
Flashing Red:
ĂƩĞƌLJŝƐĂƚůŽǁ
ǀŽůƚĂŐĞ
ZĞƉůĂĐĞďĂƩĞƌŝĞƐ
;ďĞůŽǁϰϯsͿ