10
TROUBLESHOOTING GUIDE
1. For any problem, check the
basics first.
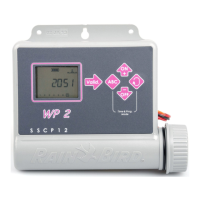
A. Is timer plugged in and properly programmed?
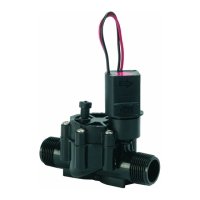
B. Is master shut off valve open?
C. Is flow control on valve in an "open" or "flow" position? Not all models have this feature. Check the instructions that came with your
valve, or see "How to Operate" section of this packet.
D. Are water pressure and flow rate adequate for your particular valve model? (Check the instructions that came with the valve or call us
toll free at 1-800-RAIN-BIRD for the requirements of your particular Rain Bird valve model.) If your pressure is too low,. Investigate these
causes:
• Pressure drain from washing machines, showers, etc. or broken pipe,
• Master shutoff valve not fully open,
• Blockage in main supply line; to repair, cut main line, flush line, and repair cut;
• Too many heads on line; redesign system layout to reduce the number of heads operating at once.
E. Is valve in "Manual Off" position? See "How to Operate" section of this packet.
F. If your system is supplied by a pump, is it working?
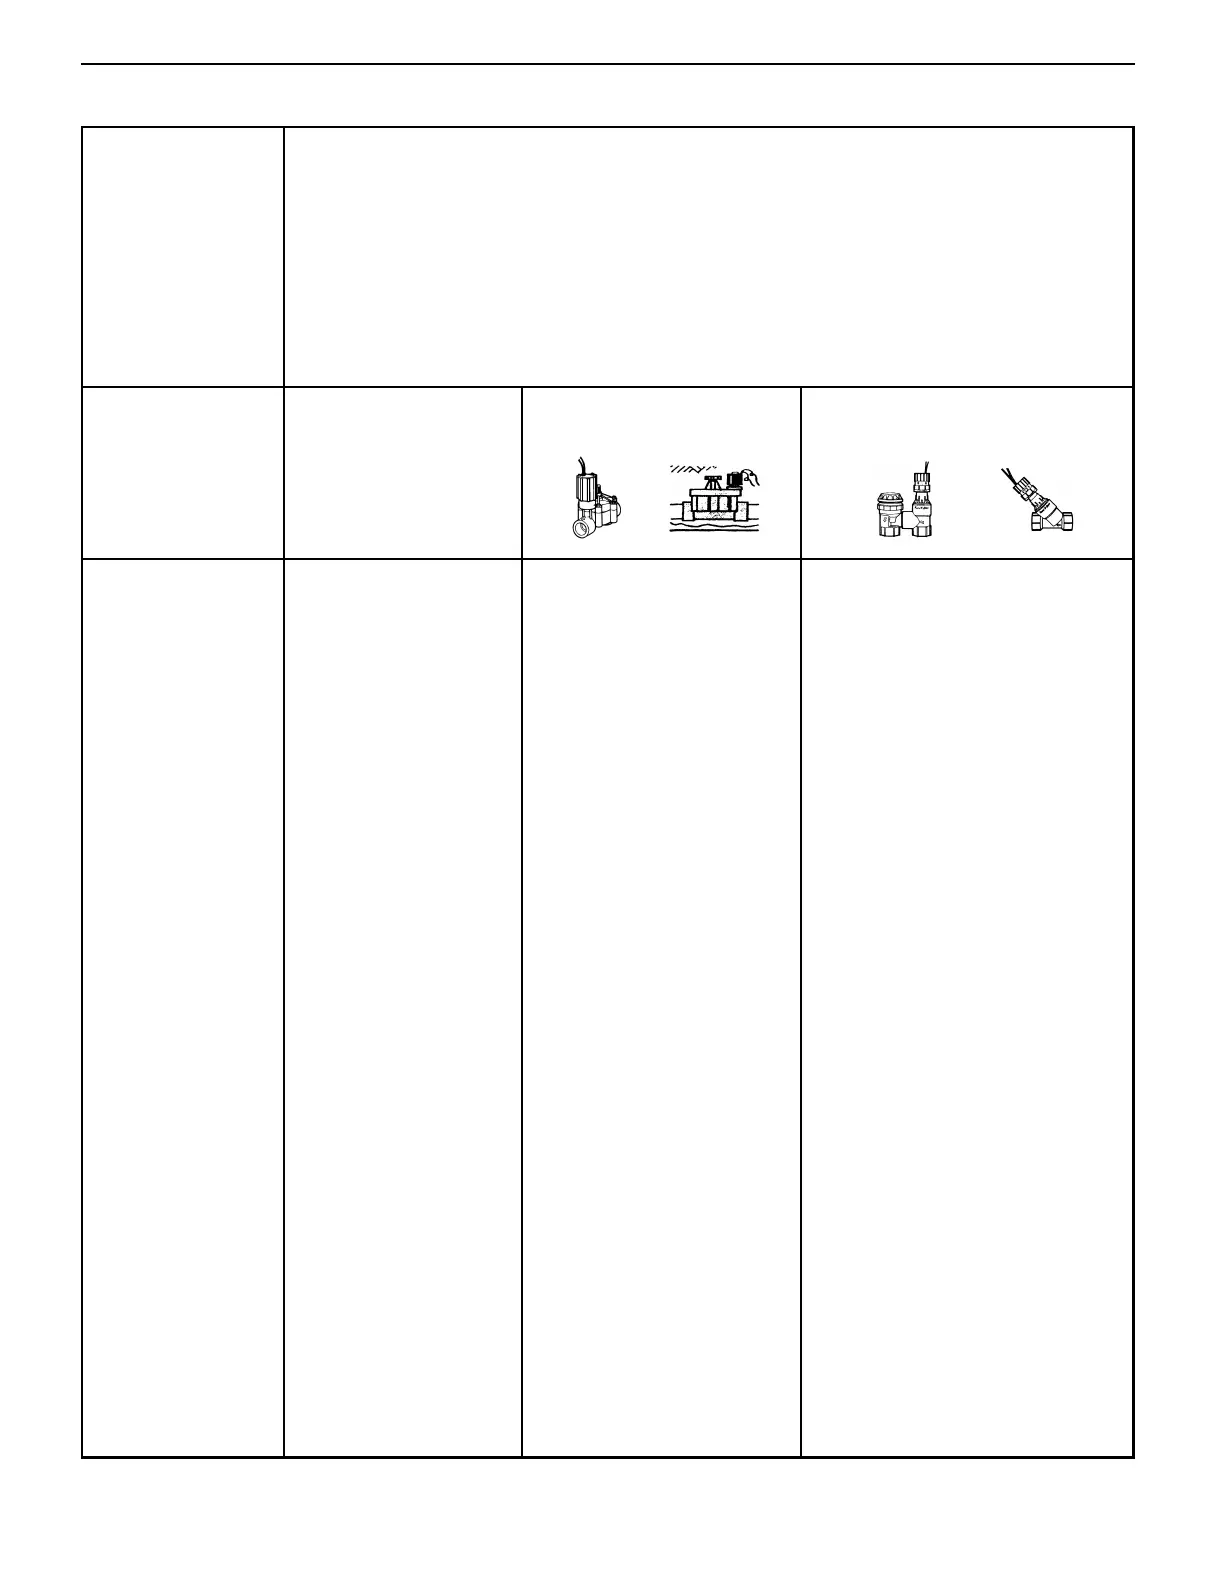
SYMPTOM CAUSE DIAPHRAGM VALVE REMEDY
(See Valve Disassembly Procedure A)
PISTON-TYPE VALVE REMEDY
(See Valve Disassembly Procedure B)
2. Valve won't turn on with
timer.
A. Check the Basics as in No. 1
above.
• If all basics check out, see if the valve will
work manually. On some models you will
need to turn the solenoid 1/4 turn counter-
clockwise. On other models, turn the screw
in the center of the bonnet (water should
spray out of the top of the valve temporar-
ily). Check your valve operating instructions
or refer to section entitled "How to Oper-
ate," in this packet of information. If the
valve works manually, go on to step 2-B. If
the valve doesn't work, go on to step 2-D.
• If all basics check out, see if the valve will work
manually by holding onto the gray flow control ring
and turning the solenoid 1/4 turn counter-clockwise.
If the valve works manually, go on to step 2-B. If the
valve doesn't work, go on to step 2-D.
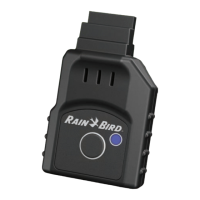
B. No power between timer and
valves.
• Check by pressing the "Manual Start"
button of the timer and advance to the
desired station. Attach a circuit tester
(voltmeter) to the common terminal and the
station terminal of the timer. If you do not
get a 24-27 volt reading, the problem is in
the timer.
• See recommendations at left for diaphragm valve.
• Check for shorted or broken wiring. Follow
directions as above, except attach voltmeter
to common wire and station wire nearest
valve. If you do not receive a 24-27 volt
reading, replace or repair wiring.
• See recommendations at left for diaphragm valve.
C. Solenoid burned out or clogged. • The solenoid should make a distinct
"click" when activated. If timer and wiring
check out, try unscrewing the solenoid and
swapping it with a nearby valve of the same
model. Using the "Manual Start" on your
timer, check the station again to see if the
borrowed solenoid activates the valve. If so.
replace solenoid. If not check 2-D.
• See recommendations at left for diaphragm valve.
D. Valve opening mechanism dam-
aged or clogged with debris. Bleed
ports clogged.
• See if you can flush debris from the valve
by using the flush mode. If not, turn off the
water, disassemble, inspect and clean the
valve (See Valve Disassembly Procedure
A). Pay particular attention to cleaning the
small bleed ports underneath the solenoid
and on the surface of the diaphragm. Check
to see that the diaphragm is not torn dam-
aged. Replace diaphragm if damaged. If
water is particularly dirty, install a 100 mesh
or finer filter before the valve to prevent
future grit build-up.
• Turn off the water. Remove the actuator and exam-
ine piston (See Valve Disassembly Procedure B).
Remove dirt and deposits. If removing and cleaning
the piston does not or help, replace with the PRK-
100 piston replacement kit. If the problem is contin-
ual, install a 150 mesh or finer filter before the valve
to prevent future grit build-up,
E. Valve installed backwards • Reinstall valve so that water flow is the
same direction as arrows embossed on
valve.
• See recommendations at left for diaphragm valve.
 Loading...