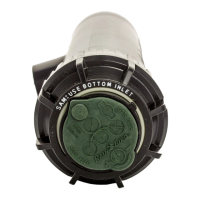
You should note that if you are using a Seal-a-Matic unit, you must use the bottom inlet
for proper functioning of the sealing device.
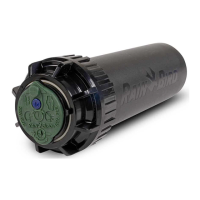
There are several drain holes in the case of the Maxi-Paw. They provide an easy drain
path for water which is in the bowl.
Usted debe notar que si esta usando una unidad Seal-a-Matic debe usar la entrada de
abajo para que el sello funcione correctamente.
Hay varies huecos de drenaje en el casco del Maxi-Paw. Ellos proveen un fácil drenaje
para el agua que queda en el casco.
Nozzling Up the System, Instalación de la Boquilla
Maxi-Paw sprinklers are shipped with a standard nozzle inserted. To change the existing nozzle for another simply
follow these steps:
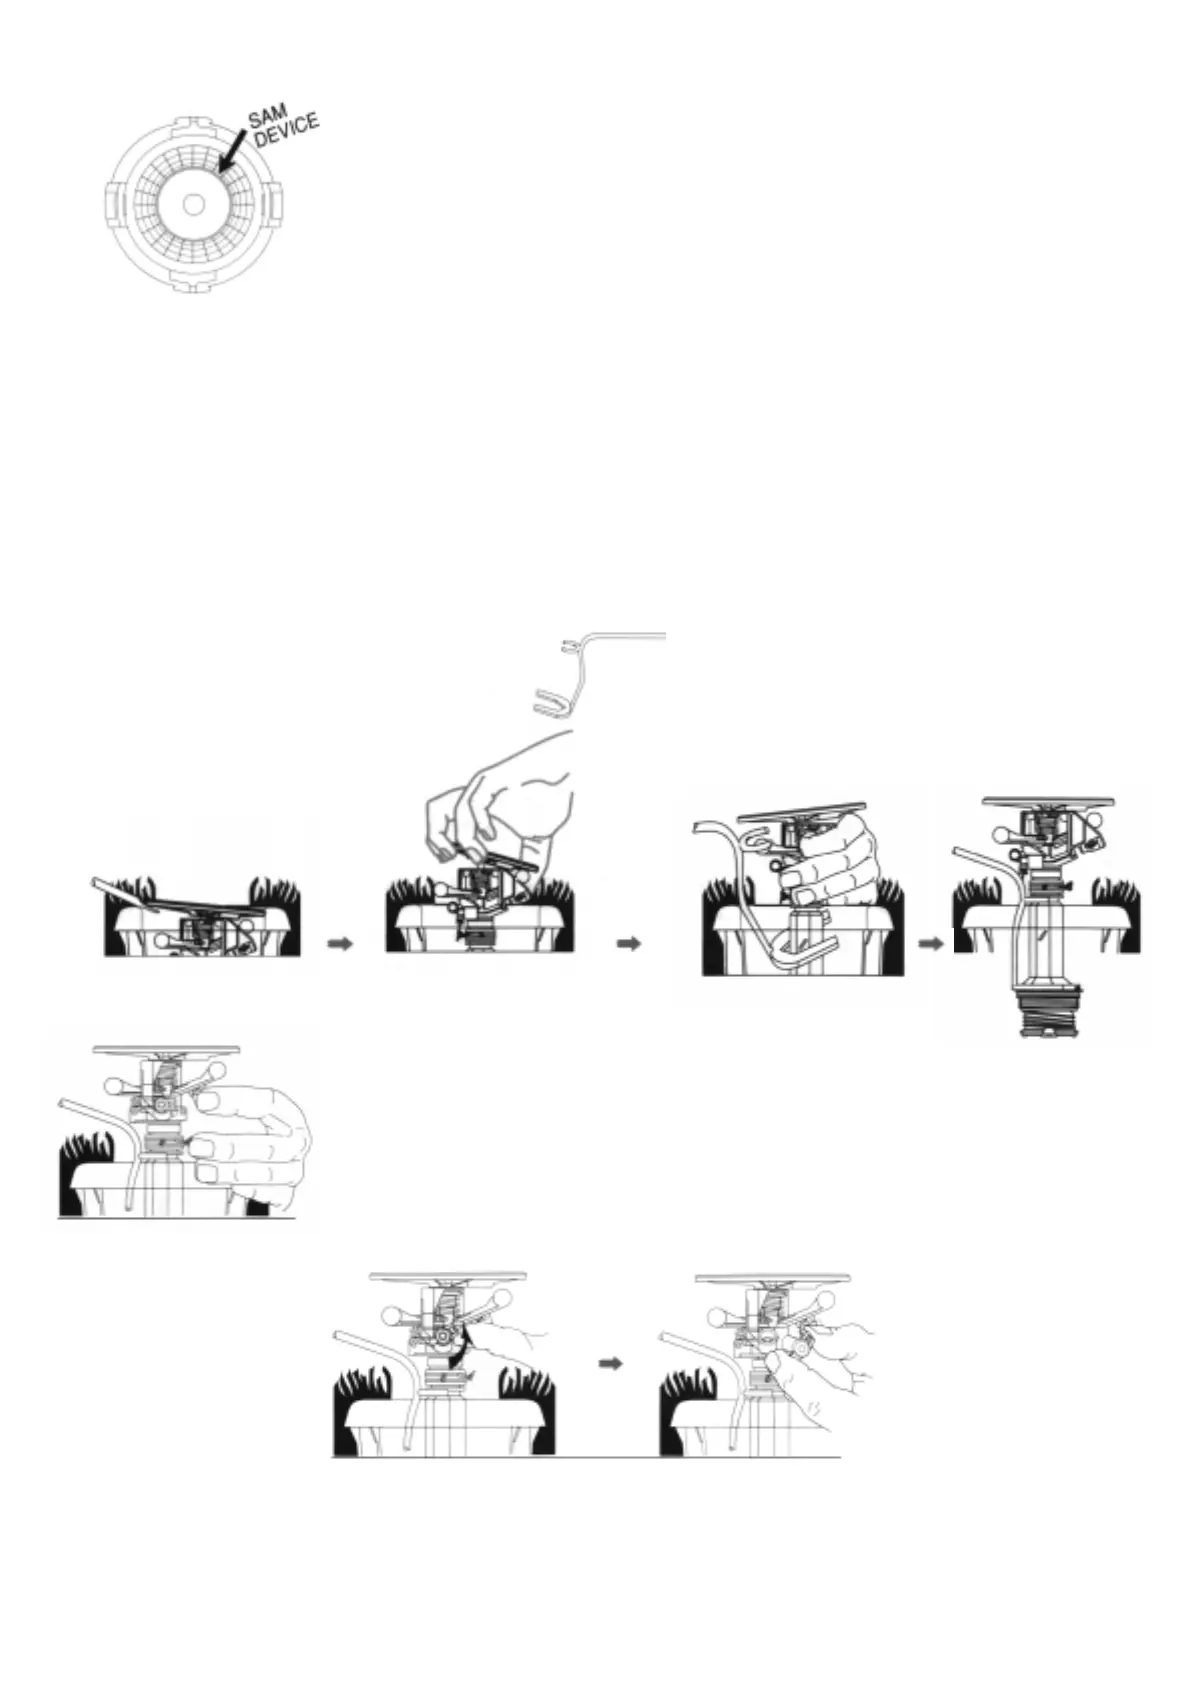
You may find it easiest to use Rain Bird wrench #42064 to hold up the internal assembly while you change nozzles.
By following the instructions shown below, you will be able to easily insert the tool to hold up the internal assembly
while you are working on the sprinkler.
Los aspersores Maxi-Paw son fabricados con una boquilla estándar. Para cambiarla siga estos pasos:
Si Usted usa la llave inglesa de Rain Bird (No. 42064) será más facil sostener el ensamblaje interno mientras
cambia la boquilla. Siguiendo los dibujos abajo, inserte la llave para sostener el ensamblaje interne mientras
trabaja con el aspersor.
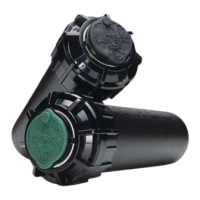
The double weighted arm will be blocking the path of access to the nozzle. Pull the arm
from its resting position so that you can see where the current nozzle resides.
El brazo del aspersor estard bloqueando la boquilla. Hale el brazo de su posición de
descanso para goder ver donde está la boquilla.
Usando los dedos,
presione y aire la
boquilla a la izguierda.
La boquilla se moverá
de su posición.
Cuando la boquilla
baya rotado unes 90
grados, Usted sólo
tendra que sacarla.
Using your thumb and
finger exert pressure in a
counterclockwise direction
on the tab of the nozzle.
The nozzle will move from
his locked position and
you may simply pull out
once the nozzle bas
rotated about 90 degrees.