Do you have a question about the Rain Bird MAXI PAW and is the answer not in the manual?
Thoroughly flush the irrigation system before final installation to prevent small stones from clogging nozzles.
Use only Teflon tape for sealing connections as plastic sprinklers are affected by chemical bonding compounds.
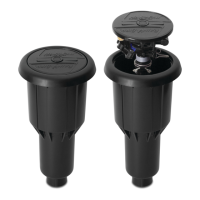
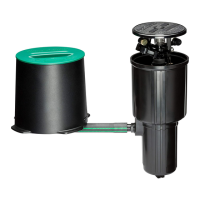
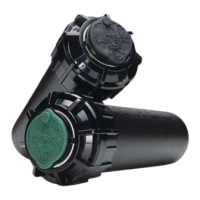
Position the flanged area at final grade height to act as a barrier against material entering the bowl cavity.
Select the appropriate inlet (bottom or side) and ensure the unused one is plugged. Bottom inlet offers size options.
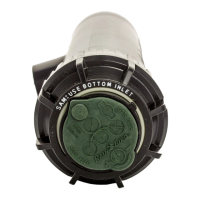
Follow steps to change the Maxi-Paw nozzle, using a wrench to hold the internal assembly.
Apply counterclockwise pressure to the nozzle tab to unlock and remove it after rotating approximately 90 degrees.
Align the new nozzle's flange upwards, push it in, and turn clockwise until it locks with an audible click.
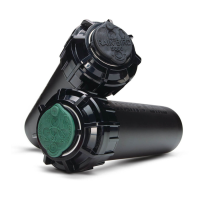
Low angle nozzles differ visually and include a radius adjustment screw as part of the nozzle body.
The radius adjustment screw on nozzle sets allows for radius reduction of up to 25%.
Adjust the arm spring to position 'B' for specific nozzles (#6, #7) to ensure proper tripping with light flow.
Use two adjustment tabs with fingers to set the desired arc by moving them to the required position.
Turn on the water source and make final fine-tuning adjustments to the arc while the system is running.
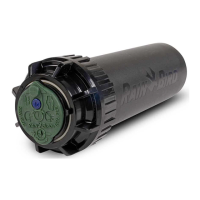
Locate and gently pry off the button in the middle of the cover with a small screwdriver for access.
Use a screwdriver under the flanges and pull the cover to detach it, providing access to the sprinkler's interior.
Use the specified tool to remove the internal assembly for flushing purposes or service.
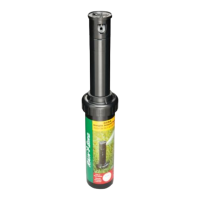
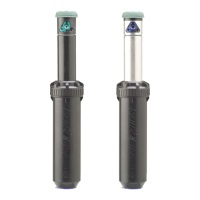
| Pop-up Height | 4 inches |
|---|---|
| Inlet Size | 1/2 inch |
| Radius | 22 to 45 feet |
| Spray Pattern | Adjustable |
| Nozzle Trajectory | 23 degrees |
| Type | Rotor |
| Arc Adjustment | 40° - 360° |
| Material | Plastic |