C
D
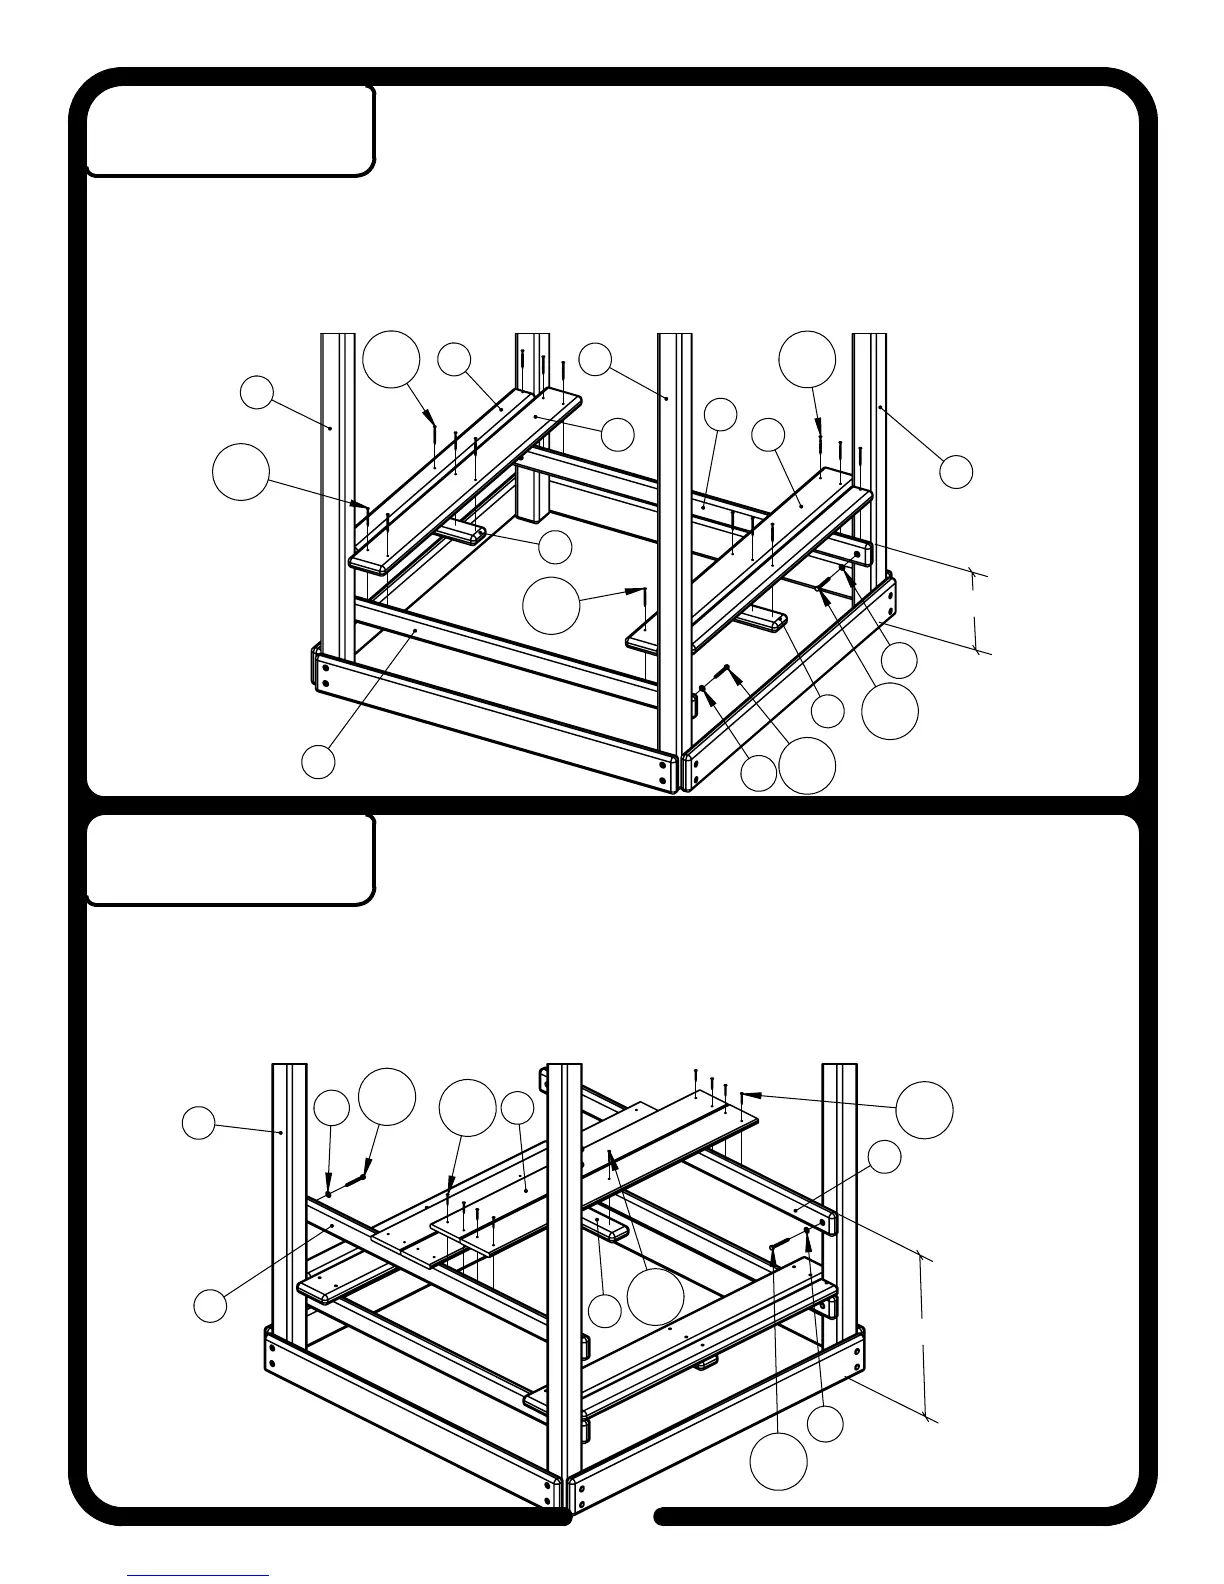
11 3/4"
75
28
30
53
H155
H155
75
28
53
H155
76
H1
H108
32
H1
H108
32
H155
24 1/4"
75
28
H108
H1
H152
12
H152
28
H1
H108
H152
31
*NOTE: Pre-drill all holes for Lag Bolts with the appropriate drill bit.
*NOTE: Refer to pages 13 and 14 for correct orientation of picnic table.
1. Measure up
11 3/4" and 24 1/4"
on Corner Uprights
(75) (76)
and attach 2 Hole Facias
(28)
11 3/4"
up using 5/16" Hardware
(H108)
and 1/4" Hardware
(H1)
.
2. Center and attach Seat Boards
(30) (53)
to 2 Hole Facias
(28)
using #8 Hardware
(H155)
.
3. Center and attach Seat Runners
(32)
to Seat Boards
(30) (53)
using #8 Hardware
(H155)
.
*NOTE: Pre-drill all holes for Lag Bolts with the appropriate drill bit.
1. Attach 2 Hole Facias
(28)
to Corner Uprights
(75) (76)
,
24 1/4"
up, using 5/16" Hardware
(H108)
and 1/4" Hardware
(H1)
.
*NOTE: #8 Screws (H152) used to attach table boards are shorter than the #8 Screws (H155)
used to attach the Seat Boards in Step 4a.
2. Center Table Boards
(12)
on 2 Hole Facias
(28)
and attach using #8 Hardware
(H152)
.
3. Center and attach Table Runner
(31)
to Table Boards
(12)
using #8 Hardware
(H152)
.
21
Step 4a
Step 4b
Picnic Table Assembly
Picnic Table Assembly