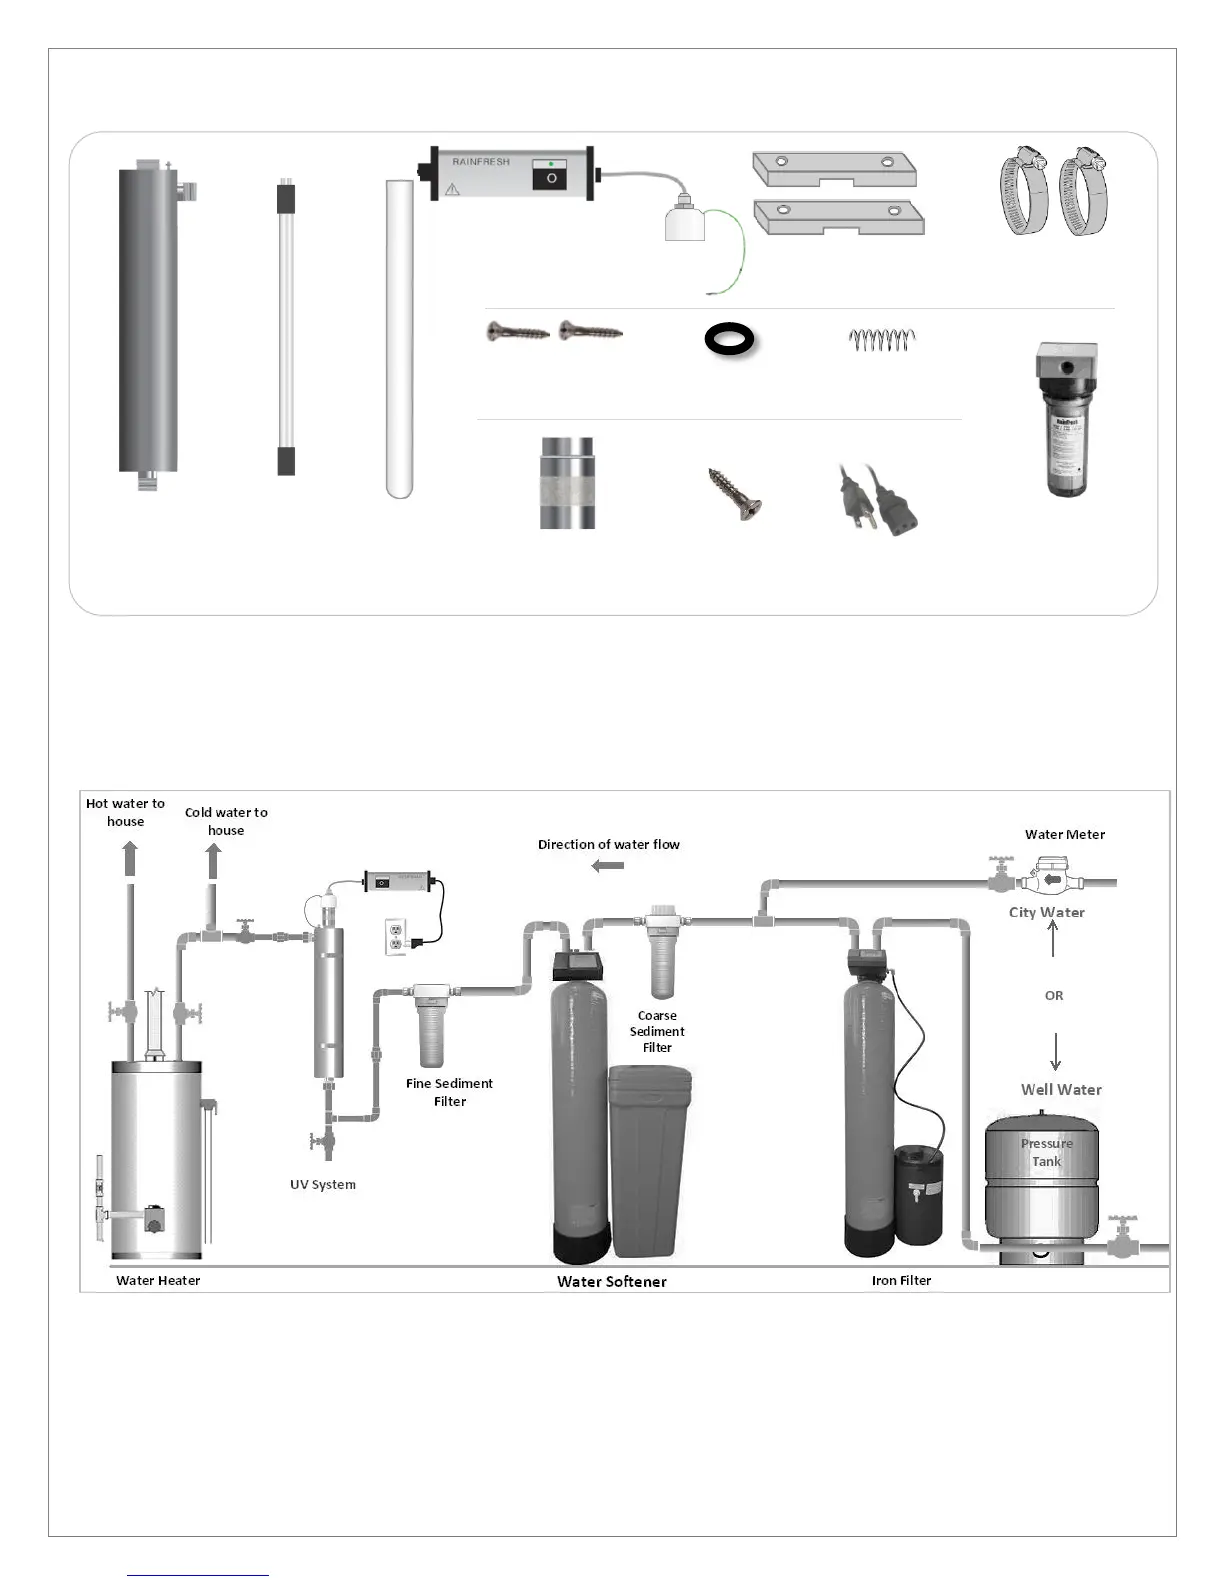
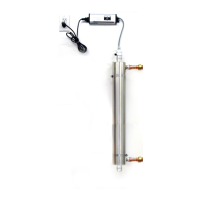
Unpacking the UV System
Your UV system includes the following items
Install Location
If your water comes from a well or a lake/river etc., the UV should be installed after your pump and pressure tank. To
prevent damage to the UV system, do not install it between well pump and pressure tank. If you have other water
filters/conditioner installed, such as softener/iron filter etc., the UV system should always be installed as the last step of
treatment before the water pipes divide into hot and cold (fig 2).
Fittings Required for Installation (Not Included)
Fittings required for a typical install on 3/4” copper pipe are 3/4” FNPT female adapters, 3/4” Tee, 3/4” Elbows, 3/4”
copper pipe, 3/4” union couplings and 3/4” ball valves. You may need different fittings if your pipe size or material is
different. If you are unsure of what fittings to use, please call Rainfresh. Note: UV light can degrade plastics over time. If
your water pipe is plastic (such as PEX), it is recommended that you use at least 6 to 12 inches of UV-resistant material
(e.g. copper) on the inlet and outlet of the UV unit to prevent damage.