Installing the pre-filter
A 5 micron or finer filter must be installed before the UV system. Pre-filter (model FC100) is included with model R830F
only. Pre-filter is NOT included with R519 & R830 systems, but is available from the same retailer. We recommend
Rainfresh model FC100 or FC150 with solderless installation kit model CK1. Refer to Fig 2 for location of filter and follow
installation instructions included with filter.
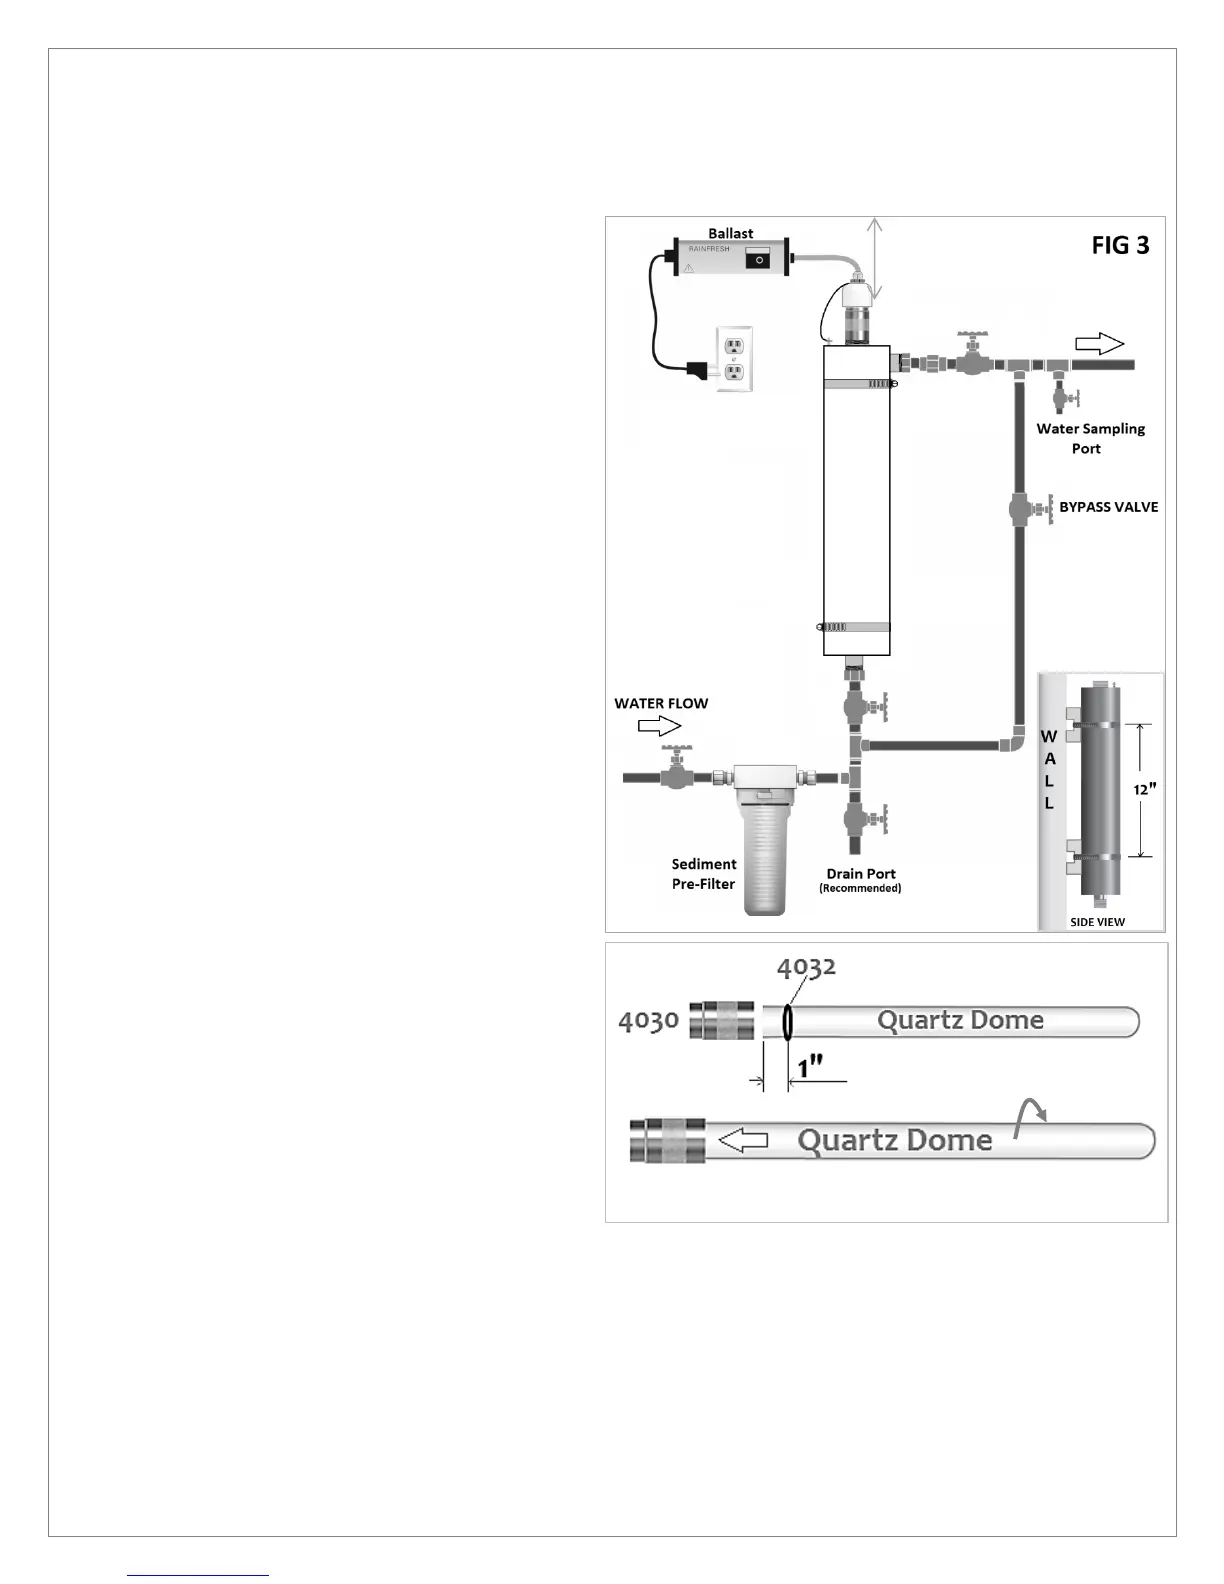
Installing the UV unit.
1. Slide a mounting clamp (4033) under a
mounting base (4034) and screw the base on to
the wall (wall stud) with base screws (4035) as
shown in Fig. 3 & fig 3 side view. Use
appropriate wall anchors if not installing on wall
stud.
2. Using a level, vertically align other mounting
base at a distance of about 11-12 inches below
the first base. Mount the other base with the
second mounting clamp (clamp screws should
be in opposite directions).
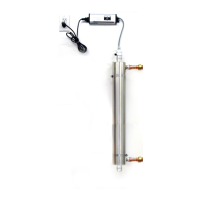
3. Mount the UV disinfection chamber
(4000/4010) on the two bases and holding it
with one hand, tighten the mounting clamps
using a flat-head screwdriver or appropriate
socket wrench.
4. Mount the ballast (R830B/R519B) on the wall
slightly above the chamber with ballast
mounting screws (4044) (see Fig 3)
5. Install new plumbing using Fig 3 as reference of
how the final installation should look. The
inlet/outlet connections on the UV are 3/4”
MNPT.
6. If you intend to drain the UV during winter to
prevent freezing, install a 3/4” copper tee at the
inlet of the UV and plumb in a ball valve and a
piece of copper pipe (See Fig 3)
7. Carefully unpack UV lamp (R519L/R830L) and
quartz dome (R519QD/R830QD). Note: Hold
lamp and dome by the ends with soft, dry
gloves or cloth. The gland nut O-ring (515) is in
the groove of the gland nut (factory-installed)
and the dome O-ring (4032) is in a separate plastic pack.
8. Gently slide the dome O-ring (4032) over the top (open end) of the quartz dome to about 1” from the open end.
Fig 4
9. Gently insert the quartz dome into the gland nut (4030) and gently rotate the dome while pushing in until it goes
past the nut O-ring (515) and touches the inside top end of the gland nut. See Fig 4 and 5.