II - CONTROL
ATTACHMENT LOCK PINS
ATTACHMENT LOCK PINS
The “Taskmaster” tool bar design
allows changing from one
attachment to another quickly and
easily, without having to remove
pins.
Attachments are secured on the unit
with two spring-loaded pins.
Rotating the handles on the pins one
half of a turn moves the pins from
the locked to the unlocked position.
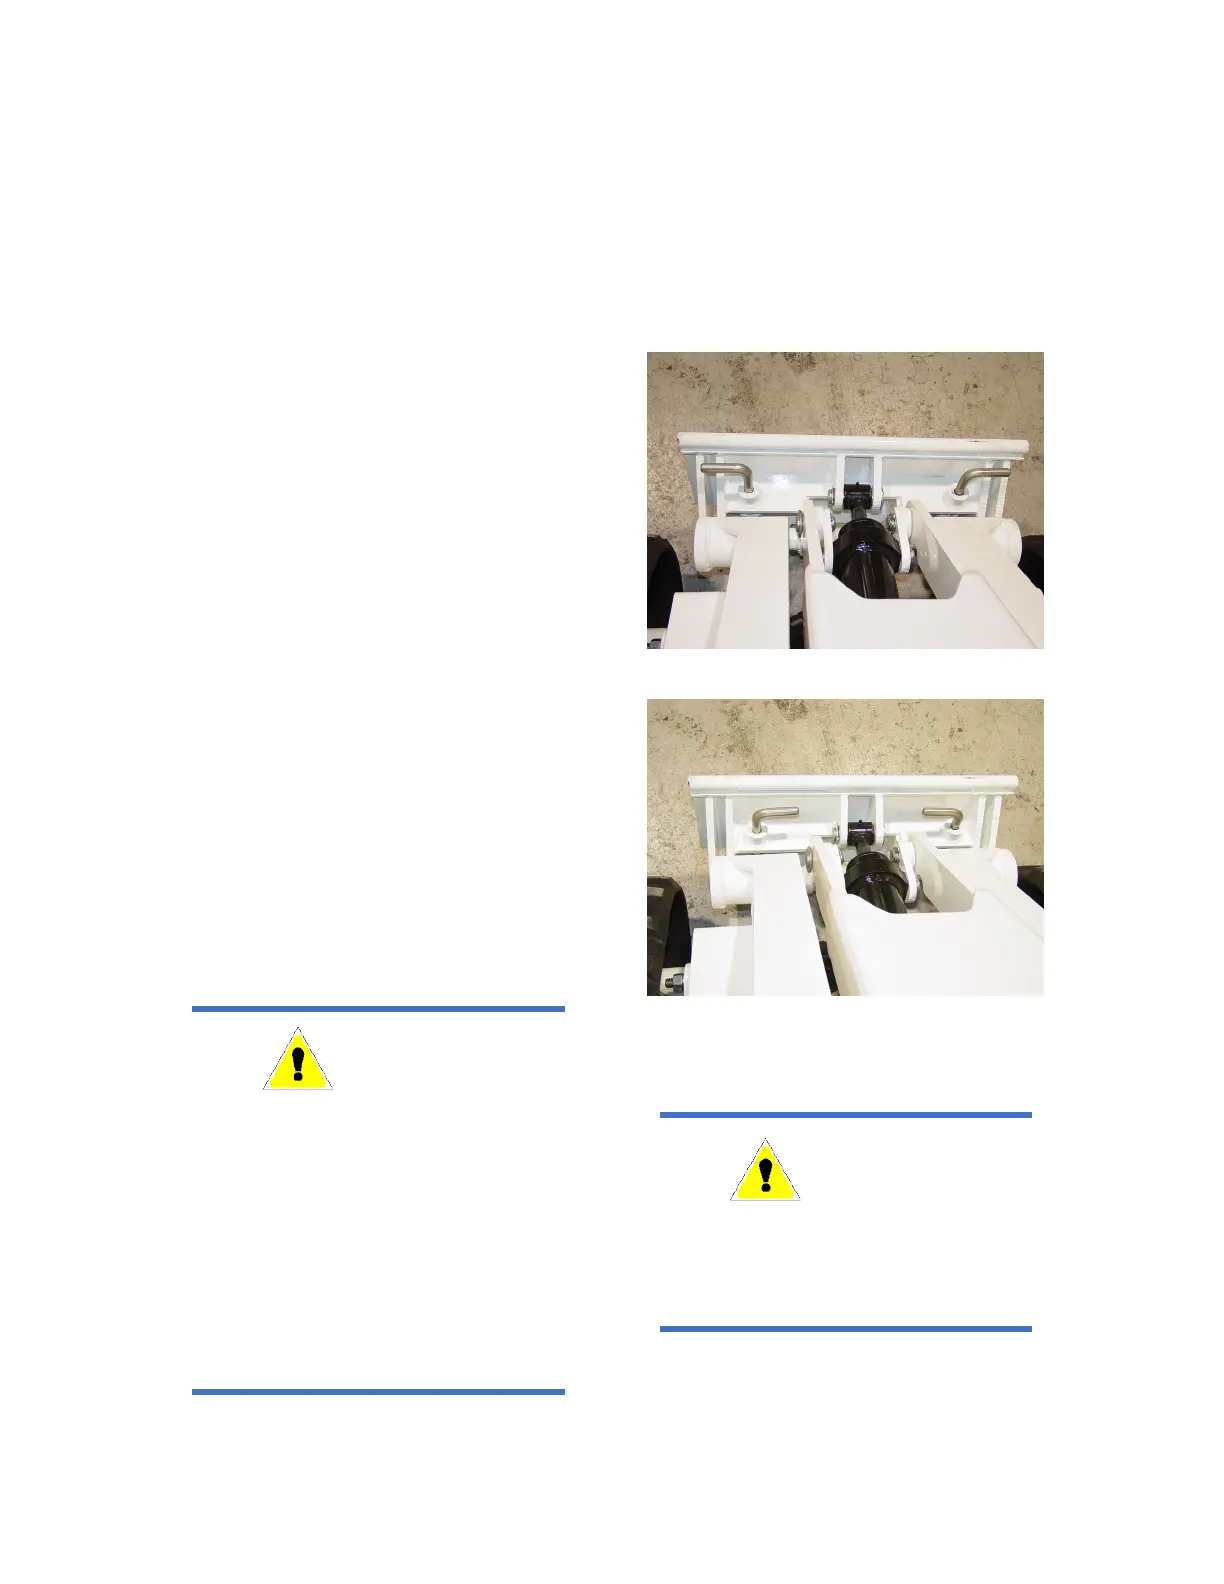
To unlock attachments, rotate both
pins so that their handles are both
pointing to the outside of the tool
bar, as shown in Figure 5.
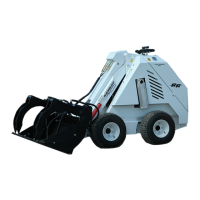
To lock attachments, rotate both
pins inwards so that both handles
are pointing towards the center of
the machine as shown in Figure 6.
This will allow the springs to push
the pins downwards through the
mounting holes in the attachment
and secure it to the unit.
Figure 5 - Lock Pins Disengaged
Figure 6 - Lock Pins Engaged
WARNING
The design of the quick attach system
is such that attachments can be lifted
and carried without the lock pins
being engaged. Before using any
attachment, check to be sure that the
lock pins are
properly in p
will fall off when dumped if the lock
pins are not engaged, resulting in
possible damage or injury
WARNING
After Hook-Up to Attachment, Check
to be Sure Lock Pins are Fully
Engaged, and Locked Into Position.