55
7.3. Starting up (Fig.6)
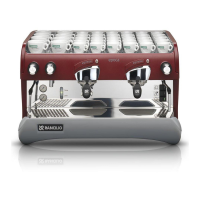
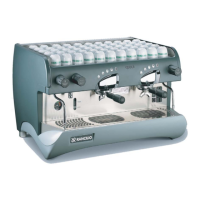
Model S1
● Turn on the water supply tap 2 (Fig.5).
● Turn on main switch 1.
The pump for boiler lling will activate .
Orange LED (8) ON
● When the level is reached, the pump stops, the
LED switches OFF, turn the esistance switch 2;
water is heated in the boiler; then, operate the unit
until the water is dispensed.
● Wait for the machine to reach its working pressure,
gauge needle 7, and to reach the correct thermal
balance.
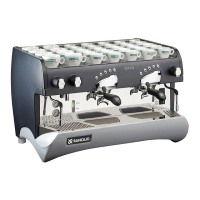
Model E1
● Turn on the water supply tap 2 (Fig.5).
● Turn on main switch 1 and resistance switch 2.
The pump for boiler lling will activate
Orange LED (8) ON
● Only after reaching the level (orange LED (8) ON)
the resistances for water heating in the boiler are
powered,then activate the group until water comes
out.
● During the heating phase the leds of the keys
switch on in sequence from left to right until the
working pressure is reached.
Only when the rated pressure is reached it is
possible to adjust the dosesl.
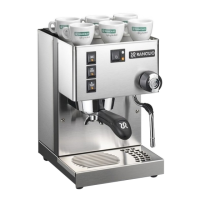
Model S1 TANK with autonomous tan
(Fig.7)
● Open the lid on the water-tank and check that the
softener A has been inserted in the dip pipe B;
● Ensure that the air trap C has been inserted in the
appropriate housing;
If the air trap is not properly positioned, the
machine may not heat or properly indicate
the lack of water in the tank.
● Fill the tank with 2 litres of water and close the lid;
Check the LED (9 - Fig.6)
● Turn on main switch 1; the boiler is lled and is
activated.
Once the boiler is lled,turn resistance switch 2;
the water is heated; then, operate the unit until the
water is dispensed.
● Wait for the machine to reach its working pressure,
gauge needle 7 - Fig.6, and to reach the correct
thermal balance.
8. USE
The machine has a top shelf on which the
cups are kept and heated, ready for use.
This is very important to obtain good coffee as the
pre-warmed cup stops the coffee from growing cold
too quickly.
8.1. Preparing coffee
● Unclamp the lter-holder from the dispensing unit
and knock any grouts out into the drawer espe-
cially provided for this purpose, taking care not to
damage the rim of the lter.
● Use the lter for 1 or 2 coffees, according to
need.
● Fill the lter with the measure of coffee, level it off
and press it down gently with the presser.
● Remove any ground coffee that has stuck to the
rim of the lter while pressing.
If ground coffee is left on the rim of the lter, a
leaktight seal is not ensured, with consequent
leaking of water and coffee grounds.
● Lock the lter-holder into the dispensing unit rmly
to obtain a leaktight seal.
● Place the cups under the spouts and start pouring
using control 3 or button panel 4 according to
model (Fig.6).
● When the coffee has been poured, leave the lter-
holder attached to the dispensing unit until the next
coffee is required.
When pouring, beware of the hot parts of the
machine, especially the coffee dispensing
units, the steam and hot water spouts. Do not
put your hands for any reason under the units
and the spouts when they are operating.
The grinding of the coffee beans is of fundamental
importance to the making of good coffee, and the
granular texture of the resulting grounds should
be such that it takes 25-30 seconds to produce the
beverage. If the coffee is ground too coardsely the
coffee will be pale in colour and weak in avour, with
only a very small amount of white cream, and if the
grounds are too ne, the coffee will be dark with no
cream. Good coffee can only be made if the beans
are freshly and uniformly ground (only possible when
the blades of the coffee grinder are sharp) and are
then measured out into the correct quantities (roughly
6 grams per measure).
The importance of freshly ground coffee beans is
due to the fact that once ground, they rapidly lose
their aromatic qualities, and fats present in the beans
go rancid.