12
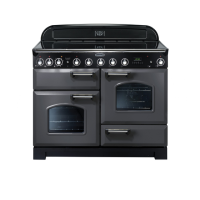
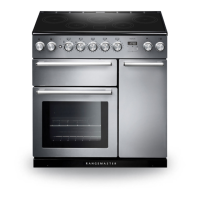
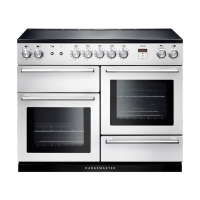
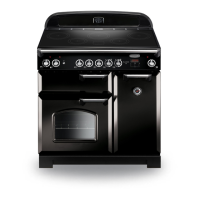
Accessories
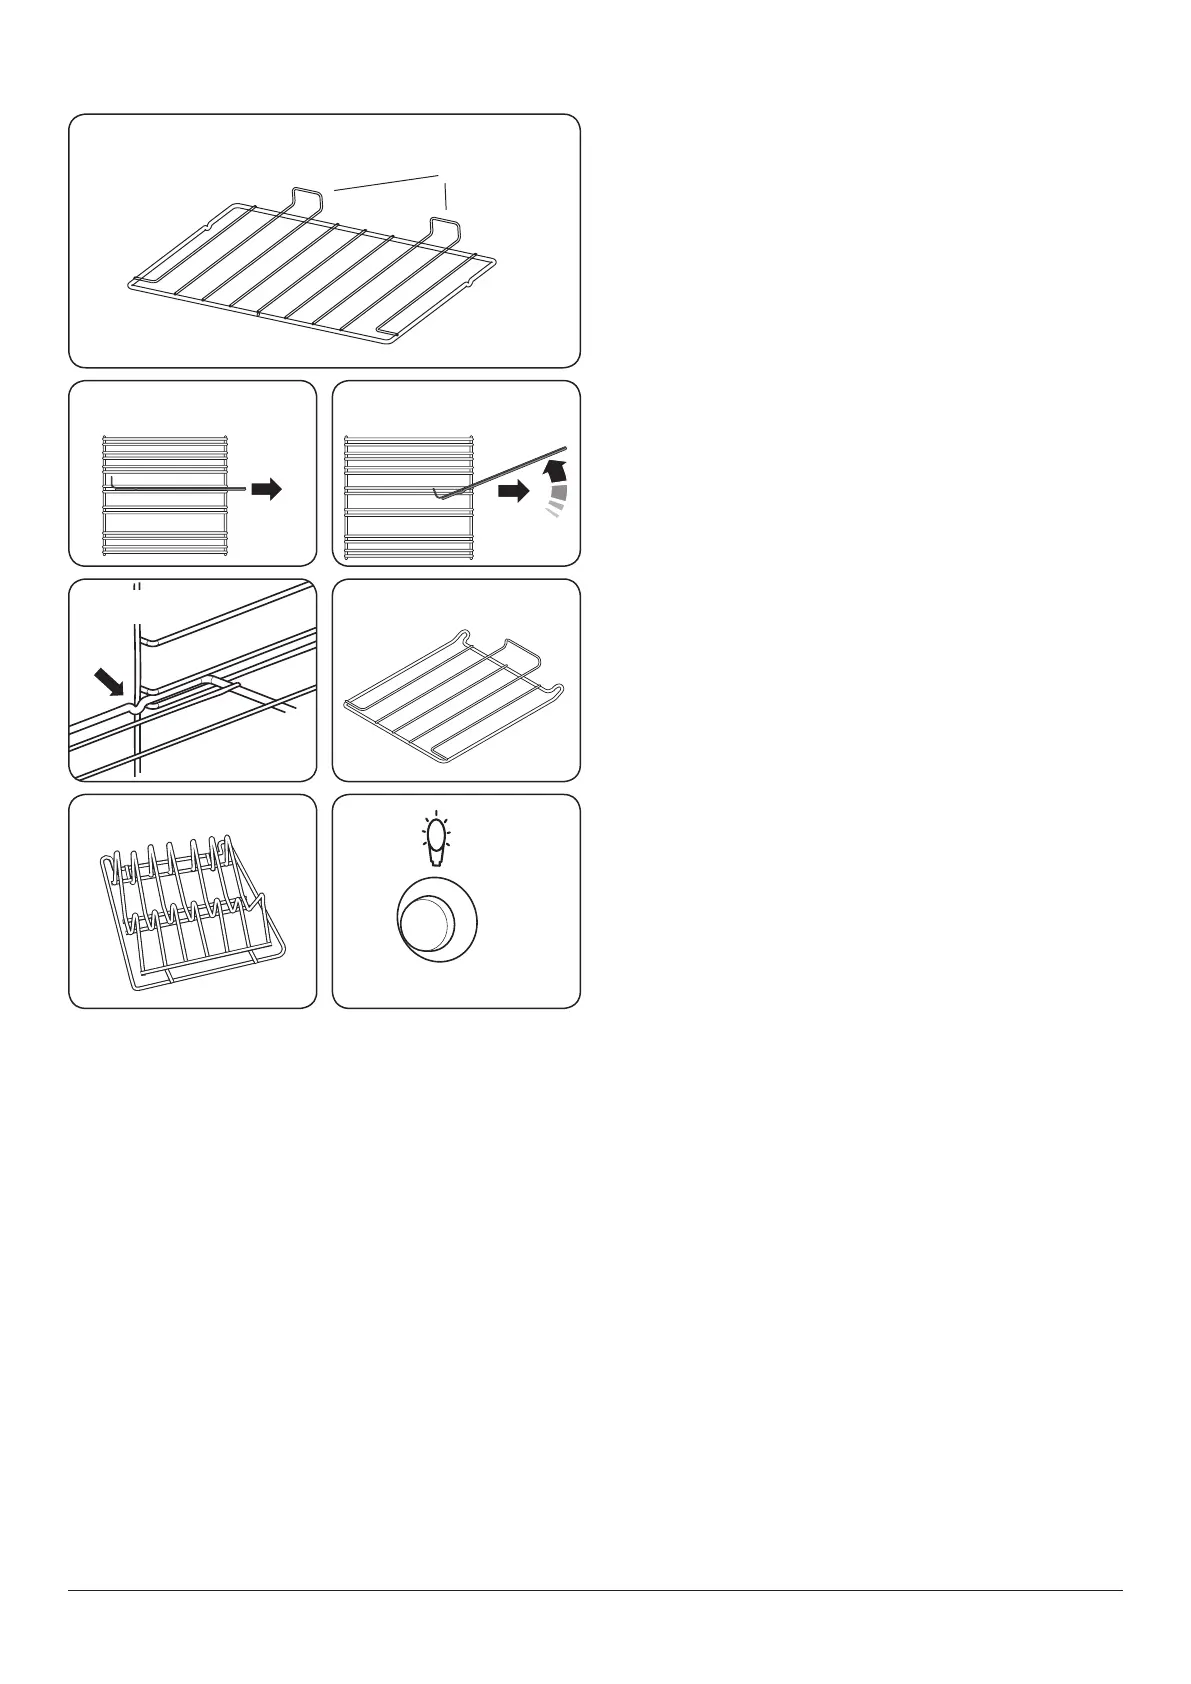
Oven Shelves – Left-hand (Main) Oven
The oven shelves (Fig. 2.16) are retained when pulled
forward but can be easily removed and retted.
Pull the shelf forward until the back of the shelf is stopped by
the shelf stop bumps in the oven sides (Fig. 2.17).
Lift up the front of the shelf so the back of the shelf will pass
under the shelf stop and then pull the shelf forward
(Fig. 2.18).
To ret the shelf, line up the shelf with a groove in the oven
side and push the shelf back until the ends hit the shelf stop.
Lift up the front so the shelf ends clear the shelf stops, and
then lower the front so that the shelf is level and push it fully
back (Fig. 2.19).
Oven Shelves – Right-hand (Tall) Oven
The tall oven is supplied with four at cooking shelves
(Fig. 2.20), and a plate-warming shelf (Fig. 2.21).
When using the tall oven, you can cook on all four shelves at
the same time, but make sure that they are well spaced out
allow the hot air to circulate.
Main Oven Light
Press the button to turn the light on (Fig. 2.22). If the oven
light fails, turn o the power supply before changing the
bulb. See the ‘Troubleshooting’ section for details on how to
change the bulb.
Shelf guard
Front
ArtNo.320-0013 Removing the shelf 3
ArtNo.320-0011 Removing the shelf 1
ArtNo.320-0012 Removing the shelf 2
Fig. 2.16
Fig. 2.17 Fig. 2.18
Fig. 2.19 Fig. 2.20
Fig. 2.21
ArtNo.324-0002 Oven shelf
ArtNo.324-0010 Plate warming shelf
ArtNo.320-0017
Main oven light
Fig. 2.22