Installation and configuration
Page 22
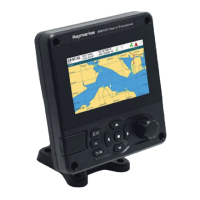
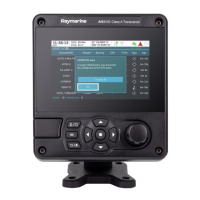
3.3.1 Step 1 - Installing the AIS transceiver
Please note the following guidelines when selecting a location for your AIS
transceiver:
● The AIS transceiver must be fitted in a location where it is at least
0.5m (1ft 8ins) from a compass or any magnetic device.
● There should be adequate space around the AIS transceiver for
routing of cables. See Figure 33. for details of the AIS transceiver
dimensions.
● The ambient temperature around the AIS transceiver should be
maintained between -15°C and +55°C (5°F to 131°F). Ensure
adequate ventilation is present when panel mounting the AIS
transceiver.
● It is recommended that the AIS transceiver be installed in a 'below
decks' environment protected from the weather.
● The AIS transceiver is supplied with four self tapping screws for
attachment of the AIS transceiver to a suitable surface using the
supplied bracket. Please refer to Figure 5. for guidance.
● The AIS transceiver can be panel mounted using the four self tapping
screws provided. Please refer to Figure 6. for guidance. Access
behind the panel is required when using this mounting option.
● The AIS transceiver should be mounted in a location where the
display is visible to the user at the position from which the vessel is
normally operated.
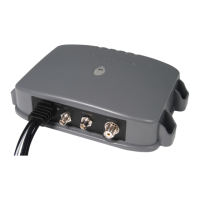
A pilot plug connection option is included in the 18 way connector located on
the rear panel of the AIS transceiver. To provide the pilot plug an optional
accessory can be purchased.
 Loading...