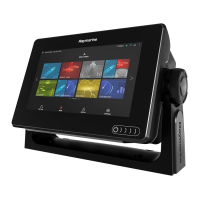
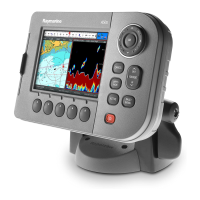
3.5SurfaceorflushmountingusingtheRearMountKit
WhensuitableaccessisavailablebehindthedesiredmountingsurfacethentheMFDcanbesurface
orflushmountedusingtheRearMountKit.
ForAxiom™7MFD,suppliedwiththetrunnionadaptorfitted,firstremovetheTrunnionadaptorfrom
therearoftheMFD.
1.UsingtheSurface/Flushmountingtemplateasaguide,cuttherelevantcutoutholeinthe
mountingsurface,ifyouareFlushmountingtheMFD,alsofollowtherebateinformationonthe
mountingtemplate.
2.Screwthe4xstudsintotherearoftheMFD.
3.RemovethebackingfromthegasketandattachittotherearoftheMFD,ensuringthatthe
black,softsideisagainsttherearoftheMFD.
4.InserttheMFDintothecutouthole.
Important:Inabovedecks,flushmountinstallations,marinegradesiliconeshouldbeusedtoseal
thegapbetweentheedgeofthemountingsurfaceandtheedgeoftheMFD.
5.PlacetheRearMountBracketsoverthestuds.
Depending on the size of your MFD, the brackets will look different, however the installation
procedure remains the same.
6.SecuretheMFDinpositionbytighteningthethumbnutsontothestuds.
7.IfrequiredinsertyourMicroSDcardintotheMFDcardreaderlocatedbehindthecompany
logoontherearoftheMFD.
8.Routeandconnectnecessarycables.
Installation35

 Loading...
