22
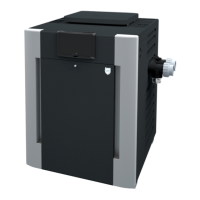
7. CONTROLS
F10639-3
PRESSURE SWITCH
TEMP SENSOR
HL1 - HIGH LIMIT
HL2 - HIGH LIMIT
UNITHERM
GOVERNOR
PILOT
AIR PRESSURE
SWITCH
PROTEK
SHIELD
ASSY
MANUAL
RESET
ROLL-OUT
SWITCH
CONTROL
BEZEL
GAS
VALVE
Figure 34. Location of Controls (View One)
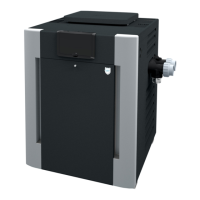
F10639-2
BLOWER
DRAIN PLUG IN
REAR HEADER
Figure 35. Location of Controls (View Two)
Control Panel Removal
1. Remove screw from front door. Set aside door for
serviceability.
2. Remove (4) screws from sides of control panel.
3. Rotate control panel down until panel stops. Do not
force.
NOTE: Caution must be used to not damage controls
or wiring.
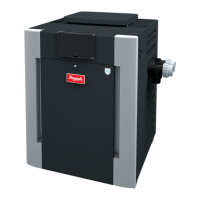
F10647-3
KNURLED
SCREW
Figure 36. Knurled Screw Location
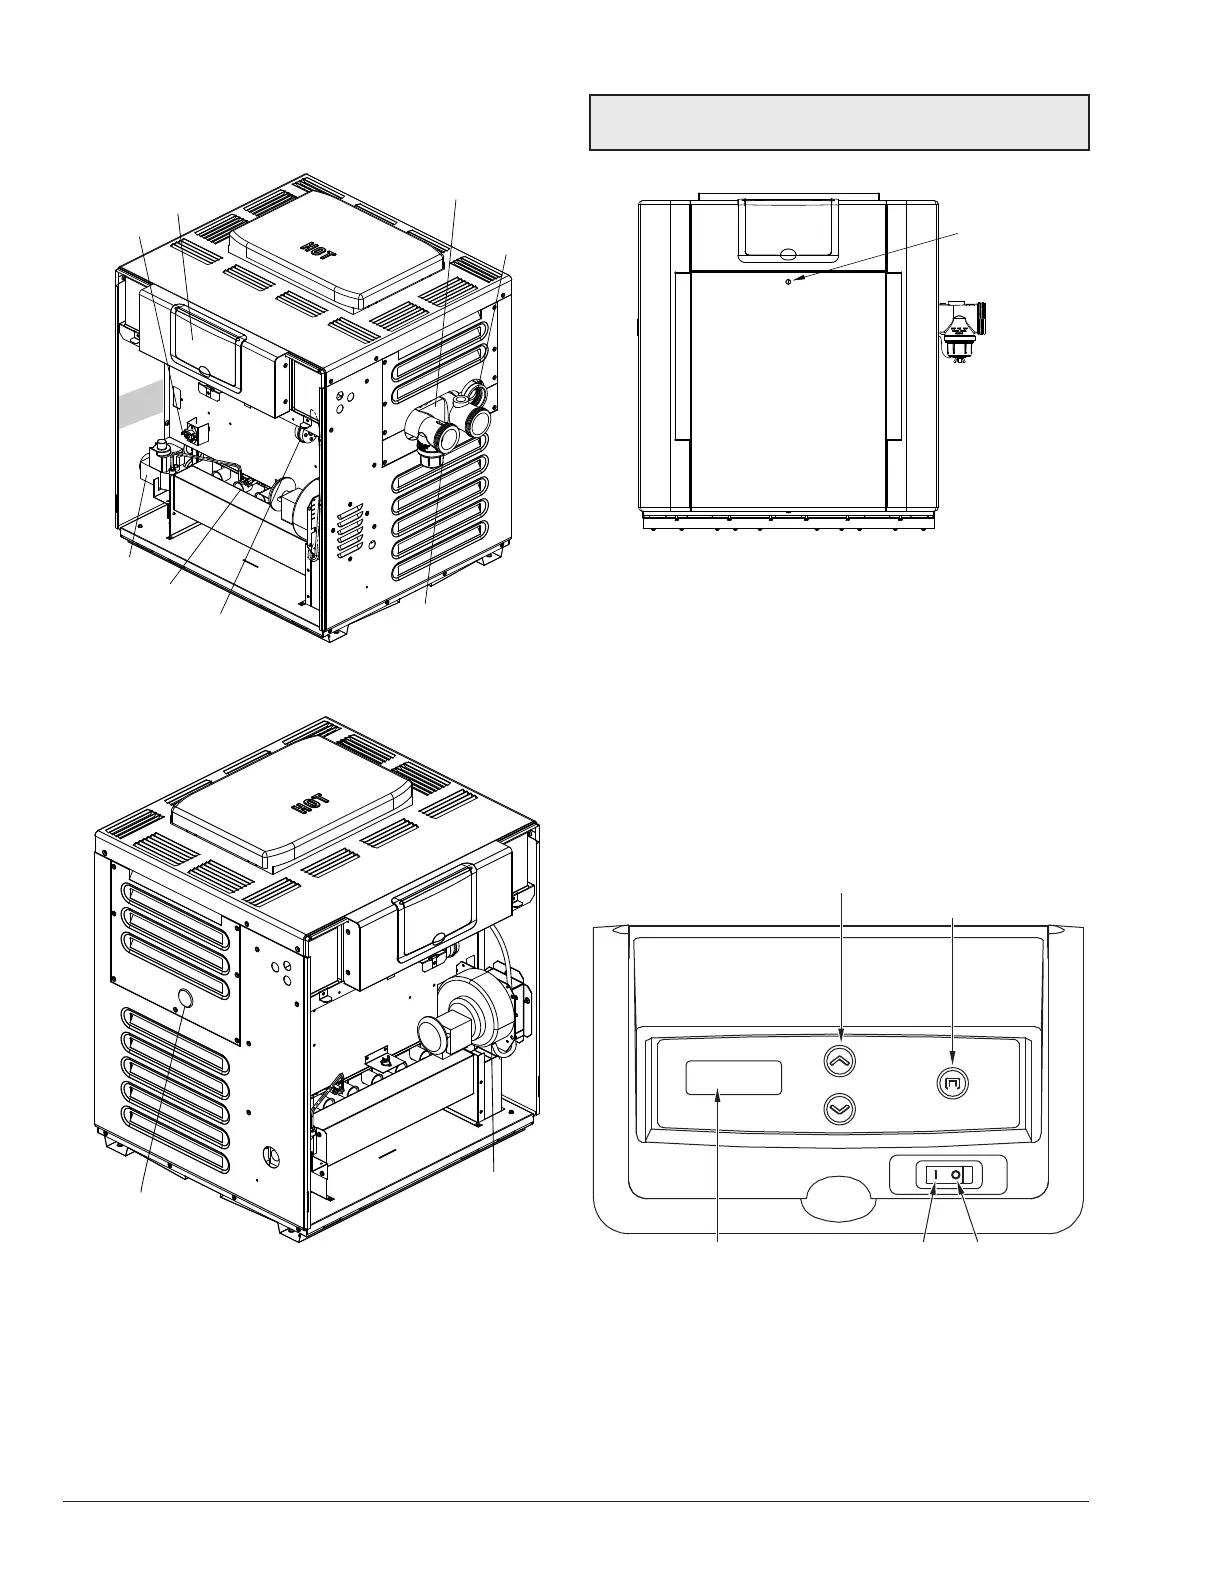
Control Adjustments
The pool heater touchpad, located on the upper front
panel of the heater, allows the user to select either POOL
or SPA operation, and to adjust the setpoint temperature.
The LCD display window indicates the mode (OFF, SPA,
POOL) and the actual water temperature. A manual power
switch provided below the touchpad turns the control
power ON or OFF. See Figure 37.
TEMP
MODE
ON
OFF
LCD DISPLAY
TEMP ADJUST BUTTONS
MODE BUTTON
Figure 37. Control Adjustments
 Loading...