31
Extension
Pieces (2)
Auger
with Carbide Tip
Wire Brush
Figure 56. Tube Cleaning Kit
Desooting Procedure
A
WARNING: Soot Is Combustible. Exercise Extreme
Care.
Soot will clog areas between ns and cause eventual
tube failure. Any sign of soot at the base of the burners or
around the outer jacket indicates a need for cleaning.
1. Remove top and flue collector from cabinet.
2. Remove “V” baffles from heat exchanger.
3. Remove burner tray. See page 29.
4. If a ProTek Shield Assy is attached to the heater,
remove ProTek Shield Assy bonding wire from heat
exchanger stud.
5. Remove heat exchanger from the heater and wash
with a garden hose, making sure soot is removed
from spaces between fins.
6. Reverse above procedure to reinstall.
NOTE: In extreme cases it may be necessary to do
steam cleaning at the local car wash. DO NOT WIRE
BRUSH.
Combustion Chamber Removal
To remove combustion chamber, you must rst have
removed the heat exchanger.
Figure 57. Refractory Panels
A
WARNING: When removing the burners or heat
exchangers, take precautions to avoid creating airborne
dust and avoid inhaling airborne bers. When cleaning
spills, use wet sweeping or High Eciency Particulate
Air (HEPA) ltered vacuum to minimize airborne dust.
Use feasible engineering controls such as local exhaust
ventilation or dust collecting systems to minimize
airborne dust. Wear appropriate personal protective
equipment including gloves, safety glasses with side
shields, and appropriate NIOSH-certied respiratory
protection, to avoid inhalation of airborne dust and
airborne ber particles.
Unitherm Governor (U.G.) Replacement
1. Shut water, gas and electricity off, close valves and
relieve pressure.
2. Drain heat exchanger.
3. Remove retainer plug located next to the outlet pipe
connection on polymer header models.
4. Unsnap old U.G. to remove from retainer plug. Snap
in new U.G.
5. Reinstall retainer plug, taking care to lubricate
gasket with a non-petroleum based grease such as
AquaLube.
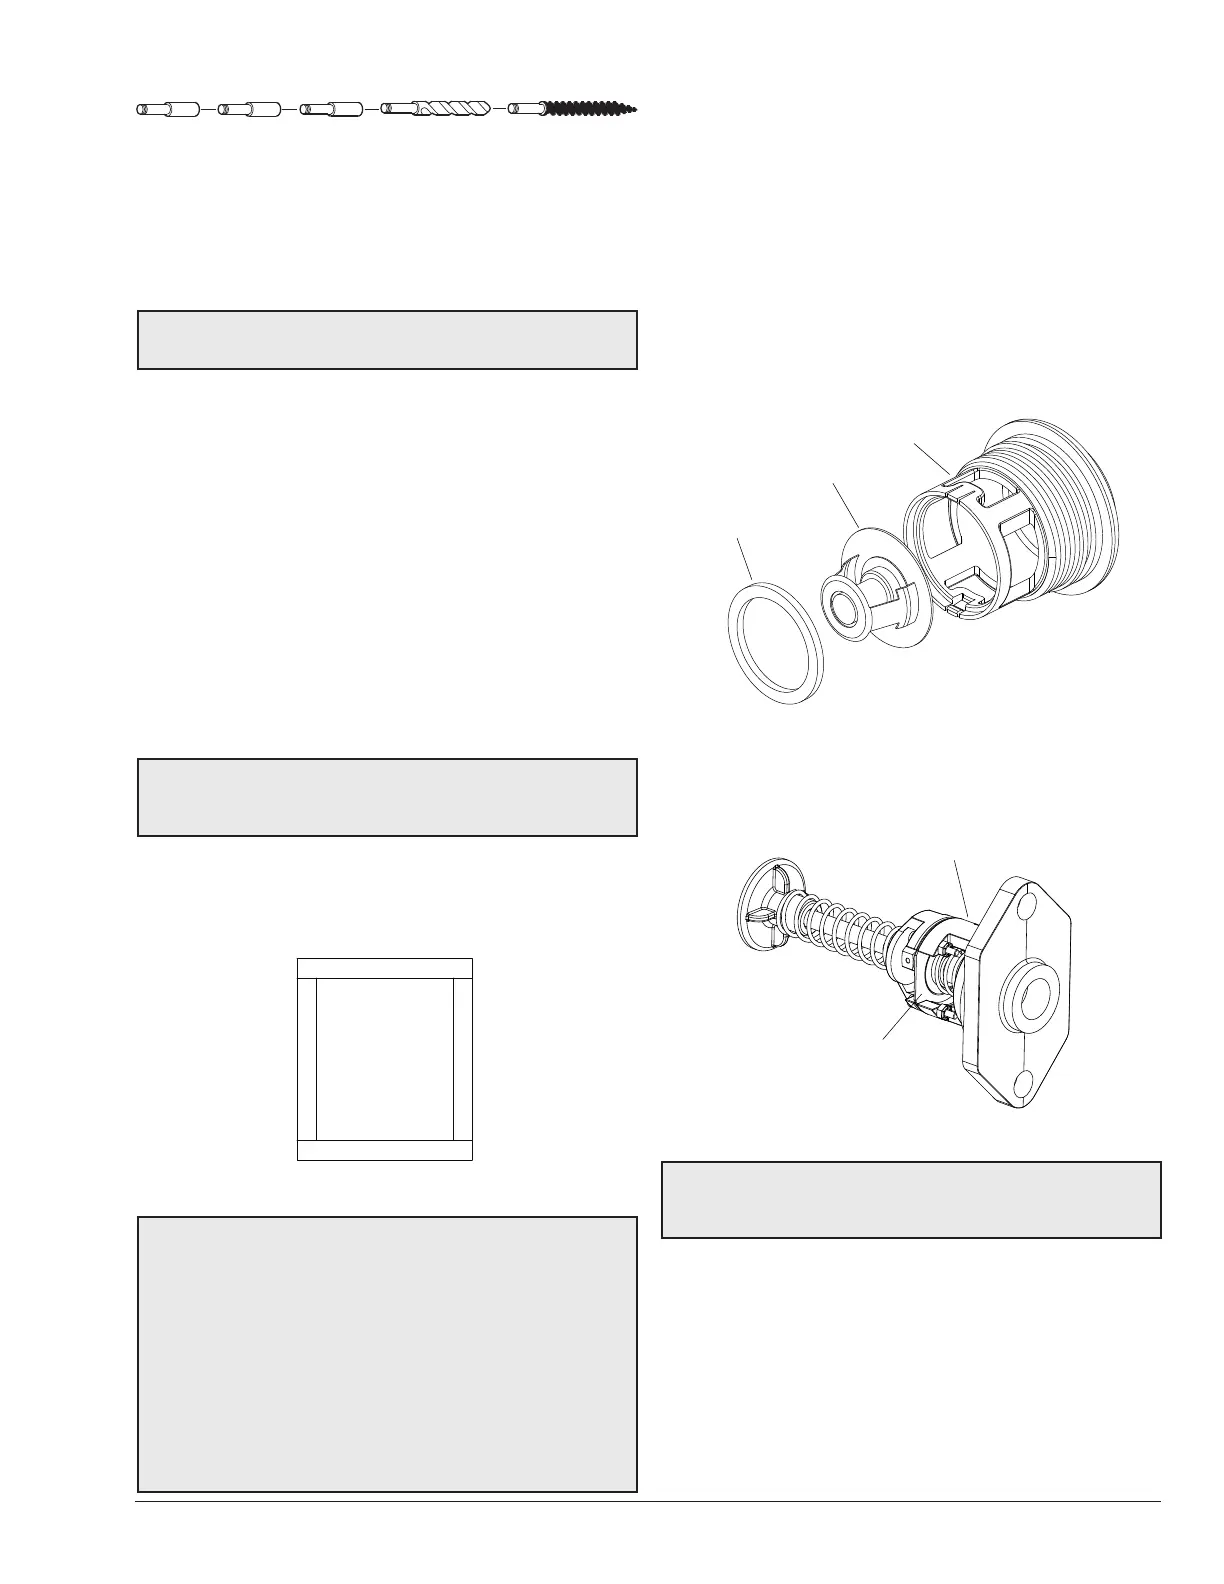
F10725
GASKET
UG PLUG
UNITHERM GOVERNOR
Figure 58. Unitherm Governor – Polymer
To test the operation of the Unitherm Governor, place in
hot water (over 110°F [43°C]) and watch for movement
against spring. If there is no movement, replace unit.
UG/BYPASS ASSY
UNITHERM
GOVERNOR
Figure 59. Unitherm Governor/Bypass Valve Assy – ASME
NOTE: The U.G. on ASME models (bronze headers)
can only be replaced by replacing the entire Unitherm
Governor/Bypass Valve Assembly.
 Loading...