Ltd. Acces
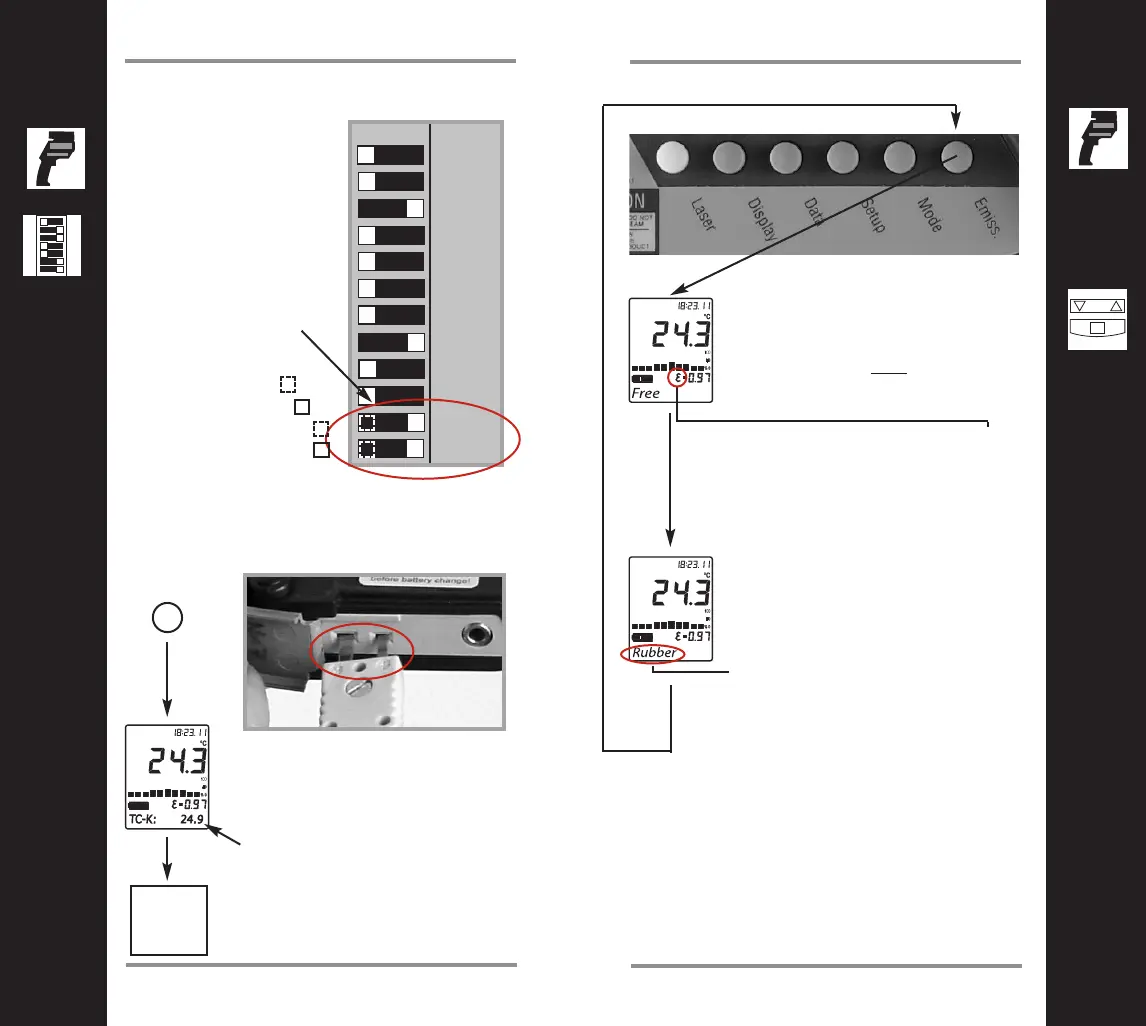
Open the battery compart-
ment and set the switches
ON or Off according to the
desired probe type.
NTC - thermistor
TC - thermocouple
Thermocouple type J
Thermocouple type K
Connect the probe to the input.
The input is located at the bot-
tom of the handle behind the
rubber cover.
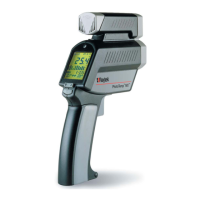
Press MODE, until the desired
probe symbol (TC-K shown
here) appears. The probe
temperature is shown in the
lower part of the display. The
real time infrared temperature is
shown in the main display.
The Mode button - Thermocouple Settings
back to
Mode
button
The Emiss. button
To choose the emissivity of a mate-
rial, press EMISS.
The display shows a material
name, an emissivity value, and the
calculated temperature value. To
choose another material, use the
Up and Down keys.
Press ENTER to activate this set-
ting.
To adjust the emissivity value,
press EMISS., when not in LOG
mode. Use the Up and Down keys
to select “Free“ (“F
ree” will have a
flashing underline).
Press EMISS again. “Free” is not
underlined, and the emissivity icon
flashes. Use the Up and Down keys
to adjust. Press ENTER (D) to acti-
vate this setting.