Do you have a question about the RayTek MX6 and is the answer not in the manual?
Recommends Adobe® Acrobat Reader 5+ for full manual functionality and features.
Explains using linked headlines, bookmarks, and red text for navigating through the manual.
Overview of Basic Mode, its benefits for quick results, and transition to Expert Mode.
Lists minimal PC configuration, operating system compatibility, and software requirements.
Information on battery life for photos and advice on timely data download.
Explains the meaning of various symbols and icons used in the manual for clarity.
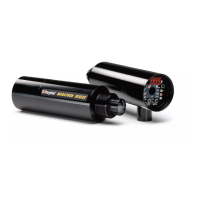
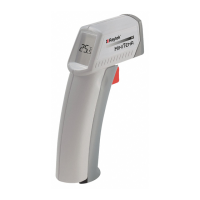
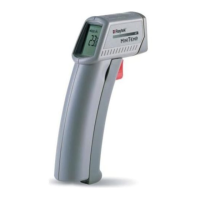
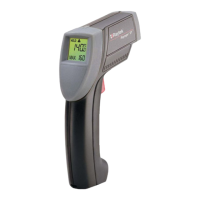
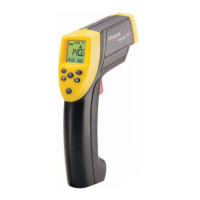
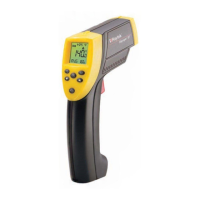
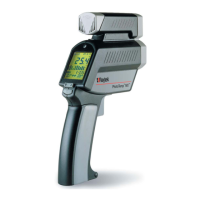
Introduction to the infrared thermometer, its key features, and package contents.
Details all items included in the product package, such as probe, cable, software, and batteries.
Procedure for connecting the unit to a PC via USB and installing necessary device drivers.
Steps for installing the companion software and configuring display language settings.
Step-by-step guide to configure the date and time stamp for captured images via software.
Instructions on activating/deactivating the laser pointer and important safety warnings.
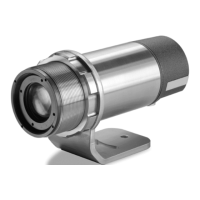
Guidance on focusing the camera lens and understanding the viewfinder for accurate field of view.
Detailed procedure for powering on, aiming, and capturing temperature readings with photos.
Instructions for connecting the unit to a PC via USB and initiating data transfer.
How to enlarge pictures, add descriptions, and draw laser circles for better context.
Explains Expert Mode is for advanced users and recommends a step-by-step approach for maximum benefit.
Guide to configuring inspection tables for logger files, including location names and material properties.
Explanation of high/low image resolution options and their impact on photo capacity.
Setting up which data fields are embedded within the captured photos and their order.
Instructions on saving inspection data and preparing the unit for the next measurement session.
How to generate graphs to monitor temperature changes over time and identify trends.
Choosing specific measurements and time periods for creating detailed temperature graphs.
Steps to create custom material/emissivity tables and transfer them to the unit.
Configuring the unit to monitor temperature and take photos automatically based on alarm thresholds.
Adjusting alarm values and settings for capturing snapshots when temperature exceeds limits.
Accessing and viewing captured photos by interacting with marker points on the temperature graph.
Guidance on how to switch between different unit functions using buttons and the display.
Explanation of the function of each DIP switch for configuring unit behavior.
Details on using the Display and Data buttons to navigate modes, view photos, and recall data.
Setting high/low alarms, unit time, and clearing stored images from memory.
Switching between MIN/MAX temperature displays and showing selected material information.
Displaying temperature difference (DIF) and average (AVG) values during measurements.
Instructions for setting up the unit to use different thermocouple probe types (J/K).
Procedure for manually adjusting emissivity values or selecting from material presets.
Explanation of what emissivity is and its dependence on material and surface characteristics.
Steps to calibrate the unit's emissivity value when measuring unknown materials.
Chart showing spot diameter vs. distance for the standard focus model (60:1 D:S).
Chart showing spot diameter vs. distance for the close focus model (50:1 D:S).
A table listing emissivity values for various common materials.
Recommended initial DIP switch configurations for Celsius and Fahrenheit settings.
A table detailing symptoms, display codes, problems, and recommended actions for troubleshooting.
Instructions for safely cleaning the unit's lens using compressed air and cotton swabs.
Guidelines for cleaning the exterior housing of the unit with mild soap and water.
Important warnings regarding heat, EMF, and touching live voltage with the probe.
Recommendations for allowing thermal stabilization after abrupt temperature changes.
Statements confirming compliance with EMC and Low Voltage Directives and relevant standards.
Information on calibration sources and availability of calibration certificates.
Detailed technical data for the thermometer, including temperature ranges, accuracy, and resolution.
Technical data for the camera, including image resolution, flash range, and lens specifications.
Instructions for replacing batteries and important cautions regarding auto shut down and data saving.
| Temperature Range | -30°C to 900°C (-22°F to 1652°F) |
|---|---|
| Accuracy | ±1.0°C or ±1.0% of reading, whichever is greater |
| Emissivity | Adjustable 0.10 to 1.00 |
| Display | Backlit LCD |
| Spectral Response | 8 to 14 µm |
| Power Supply | 9V battery |
| Display Resolution | 0.1°C (0.1°F) |
| Laser Sighting | Single laser |
| Battery Life | 12 hours |
| Operating Temperature | 0°C to 50°C (32°F to 122°F) |
| Storage Temperature | -20°C to 60°C (-4°F to 140°F) |