15
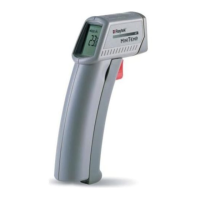
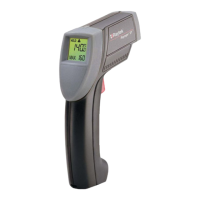
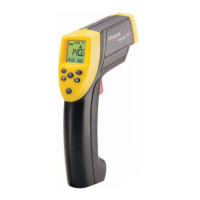
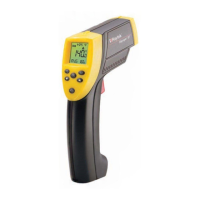
Basic Mode
14
Basic Mode
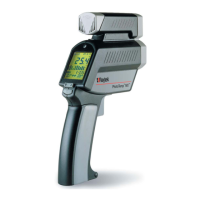
1. To switch on the unit, pull the trigger.
2. Press the “Enter” button to activate the
camera while the display is active.
3. First the word “LOG” flashes and then the
camera icon appears.
The unit is ready to use now! It is preset to
take 26 pictures!
4. Pull the trigger and hold it. The laser circle
shows where you are measuring.
5. Aim at the target. Be sure that the laser
circle is inside the target.
6. Gently release the trigger to record the
photo and the temperature. Successful
recording of picture and temperature is indi-
cated by two short beeps and a green
shining LED above the display. The next
location will be shown on the display.
Caution:
If you hear a longer beep and the LED
above the display is shining red, look at the
display. If you see “Use Flash!” and a flash
symbol, repeat your last measurement. A
small green LED above the camera icon
signals: “Flash has charged”. The flash will
now fire automatically.
7. For the next measurement repeat points
5 and 6.
8. Once you have taken all your photos,
connect the unit to the PC via USB.
9. Start the software on your PC. After a few
seconds, the data download begins. Click on
“OK” if a message about logger file and unit
configuration incompatibility appears. Click
on “Yes” if you are asked to download all
images
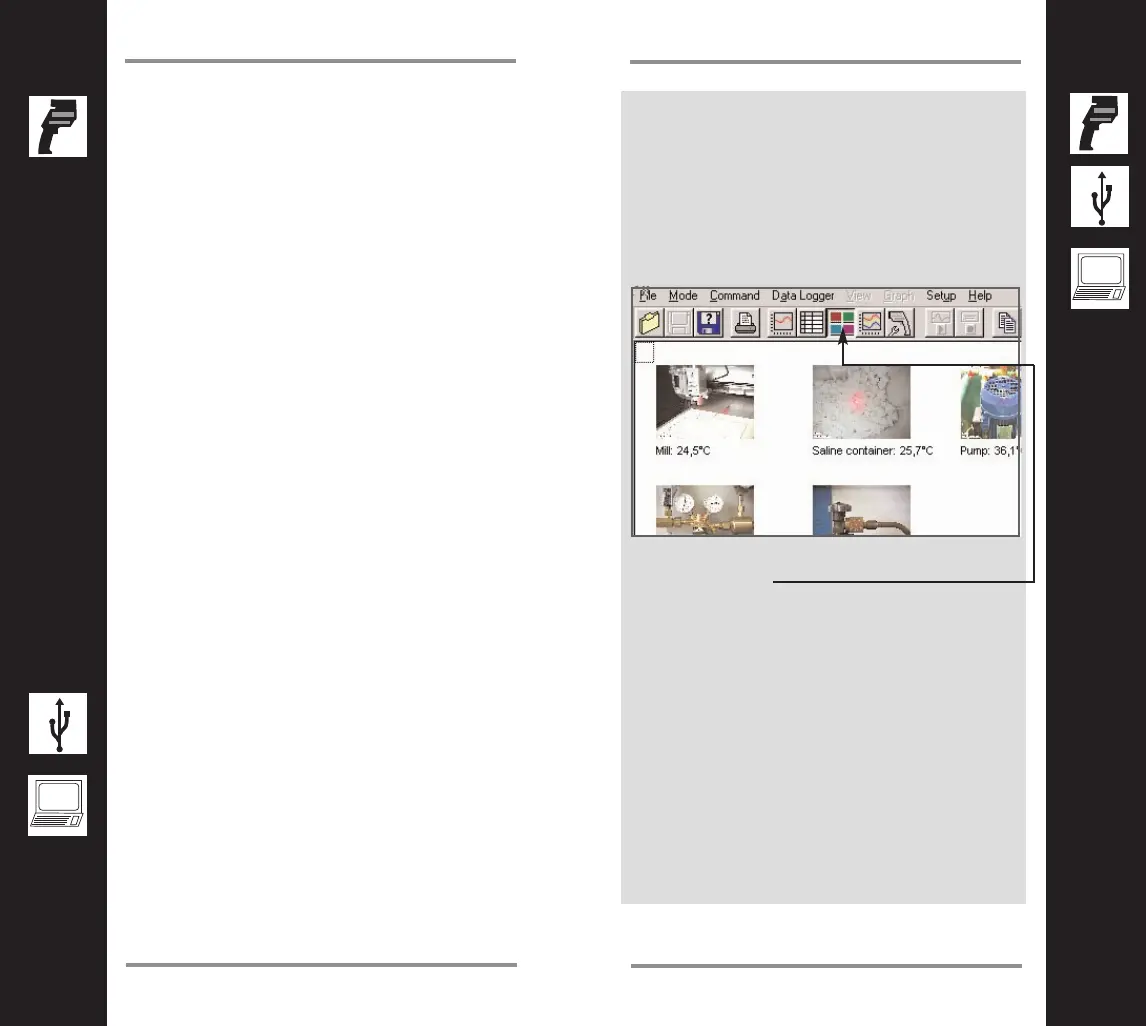
10. See your pictures and data as a thumbnail
collection.
11. If this doesn’t happen automatically, toggle
to this button.