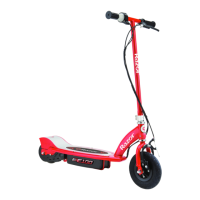
1. Handlebar Stem
2. Underneath Battery Tray
3. Charger
4. Box – Side of UPC (not shown)
Plastic Bag Contents:
Charger
Allen Wrench
Owner’s Manual
Need Help? Visit our website for replacement parts, product support, a list of authorized service
centers in the US, and customer service contact information at www.razor.com. Please have the
product I.D. code (located on the white label of your product) available for better assistance.
Additional Customer Service contact information is listed at the back of this manual.
ASSEMBLY AND SET-UP
Attaching the Handlebars
Tool Required: 5 mm Allen Wrench
Note: Make sure all the cables/wires are out of the way before attaching the handlebars onto the fork.
WARNING: Failure to properly tighten the collar clamp may allow the handlebars to dislodge
while riding and may cause you to lose control and fall. When correctly tightened, the handlebars will

 Loading...