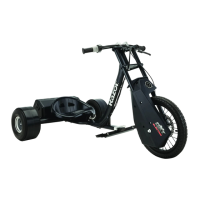
3
ASSEMBLY AND SET-UP
WARNING: Failing
to properly tighten the steering
bolt that attaches the front fork
assembly to the frame assembly,
can cause you to lose control and
fall.
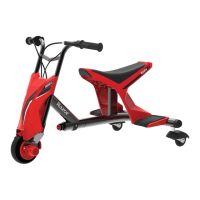
1 Remove the four coupling
bolts from the front fork with a
5mm allen wrench and 10mm
open wrench.
2 Insert the wheel assembly into
the front fork assembly and align
holes. When installing the wheel,
make sure the letter “F” and arrow
(located on the side of the wheel)
are facing the direction as shown
above.
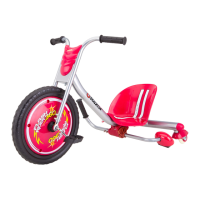
q Attaching the Front Wheel
Required Tools: 5mm Allen wrench and 10mm open wrench
3 Re-insert the coupling bolts
through the front fork and tighten
securely.
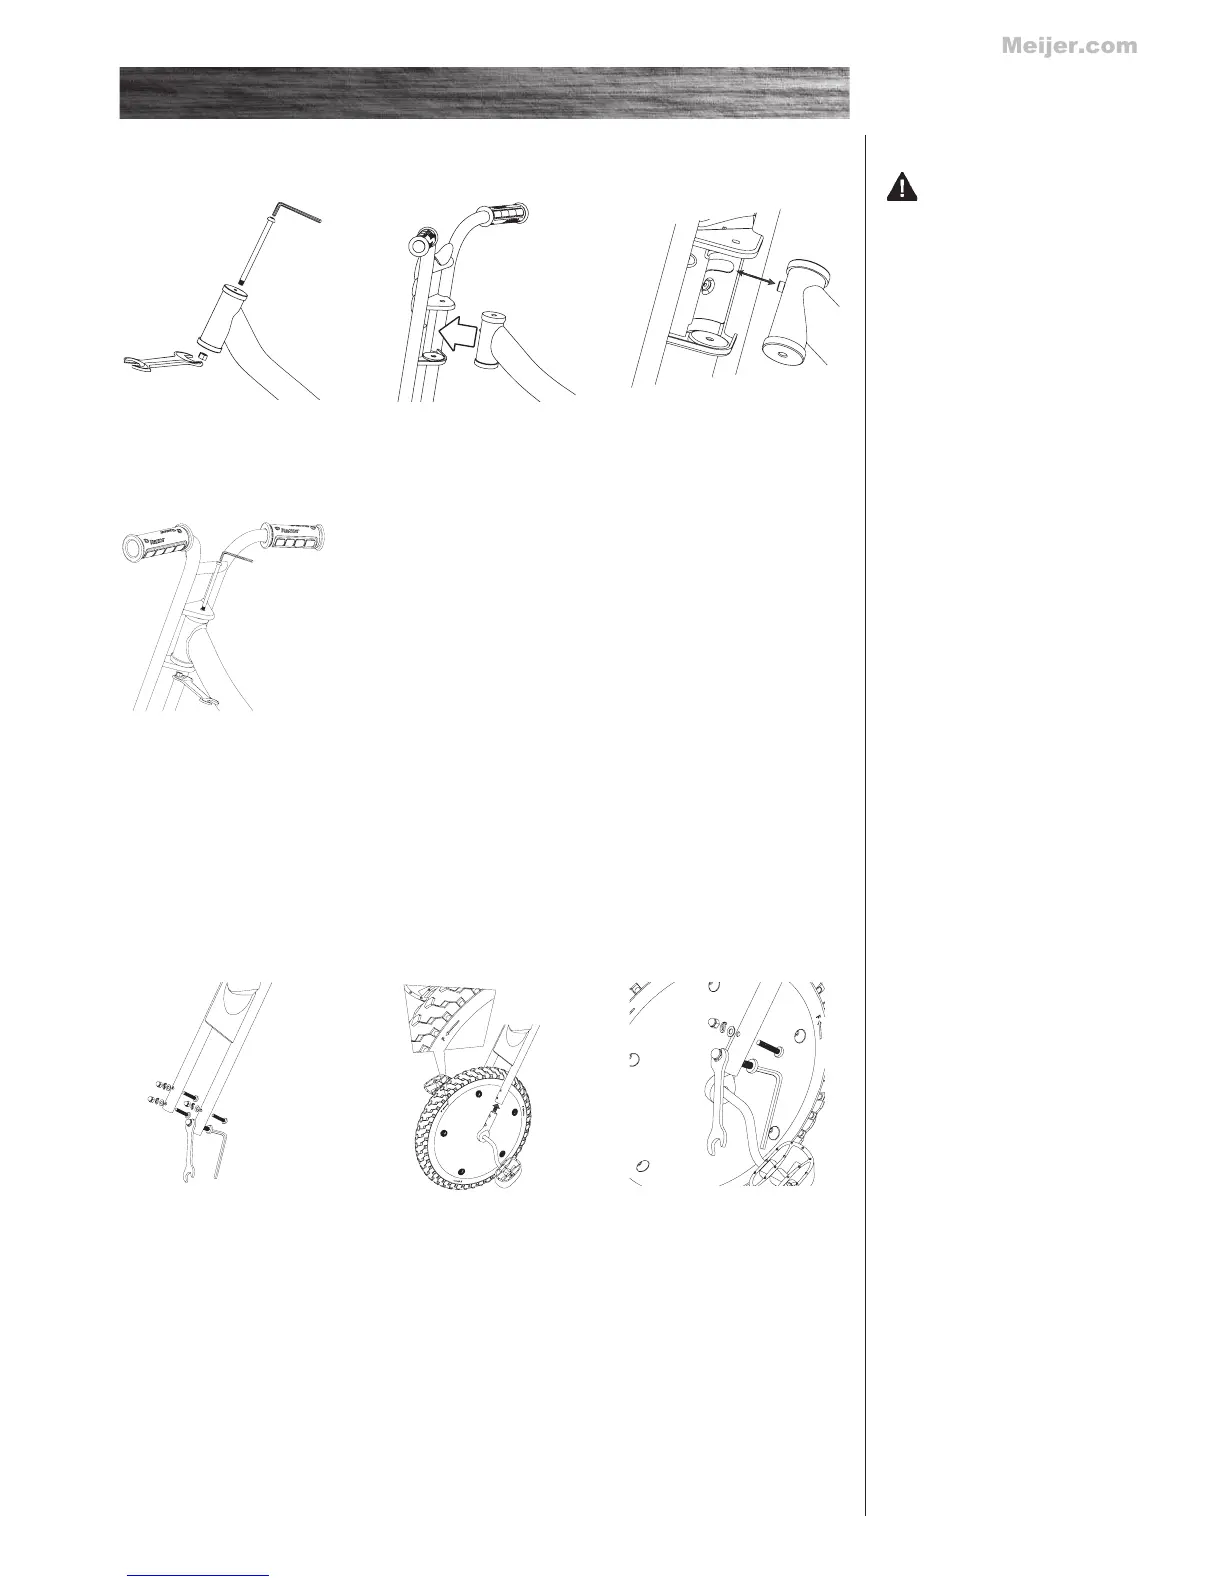
1 Remove the steering bolt and
locknut from the frame assembly
with a 13mm open wrench and
5mm Allen wrench.
2 Insert the front fork into the
frame assembly.
q Attaching the Front Fork
Required Tools: 13mm open wrench and 5mm Allen wrench
4 Re-insert the steering bolt
and secure with locknut using a
13mm open wrench and 5mm Allen
wrench.
3 Be sure to properly align slot in
headset tube with pin on fork as
shown.