8
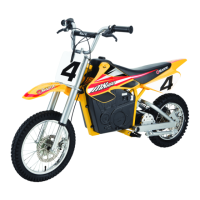
the play, thread the adjuster in or out (arrows, Figure 7) 1/4 to 1/2 turn
until the desired brake adjustment is attained.
If the adjuster at the lever is threaded outward and the brake still has
too much slack, use the auxiliary adjuster at the rear brake for
additional adjustment.
Figure 7.
WARNING: The brake is capable of skidding the tire and throwing
an unsuspecting rider. Practice in an open area free from obstacles until
you are familiar with the brake function. Avoid skidding to a stop as
this can cause you to lose control as well as cause damage the
rear tire.
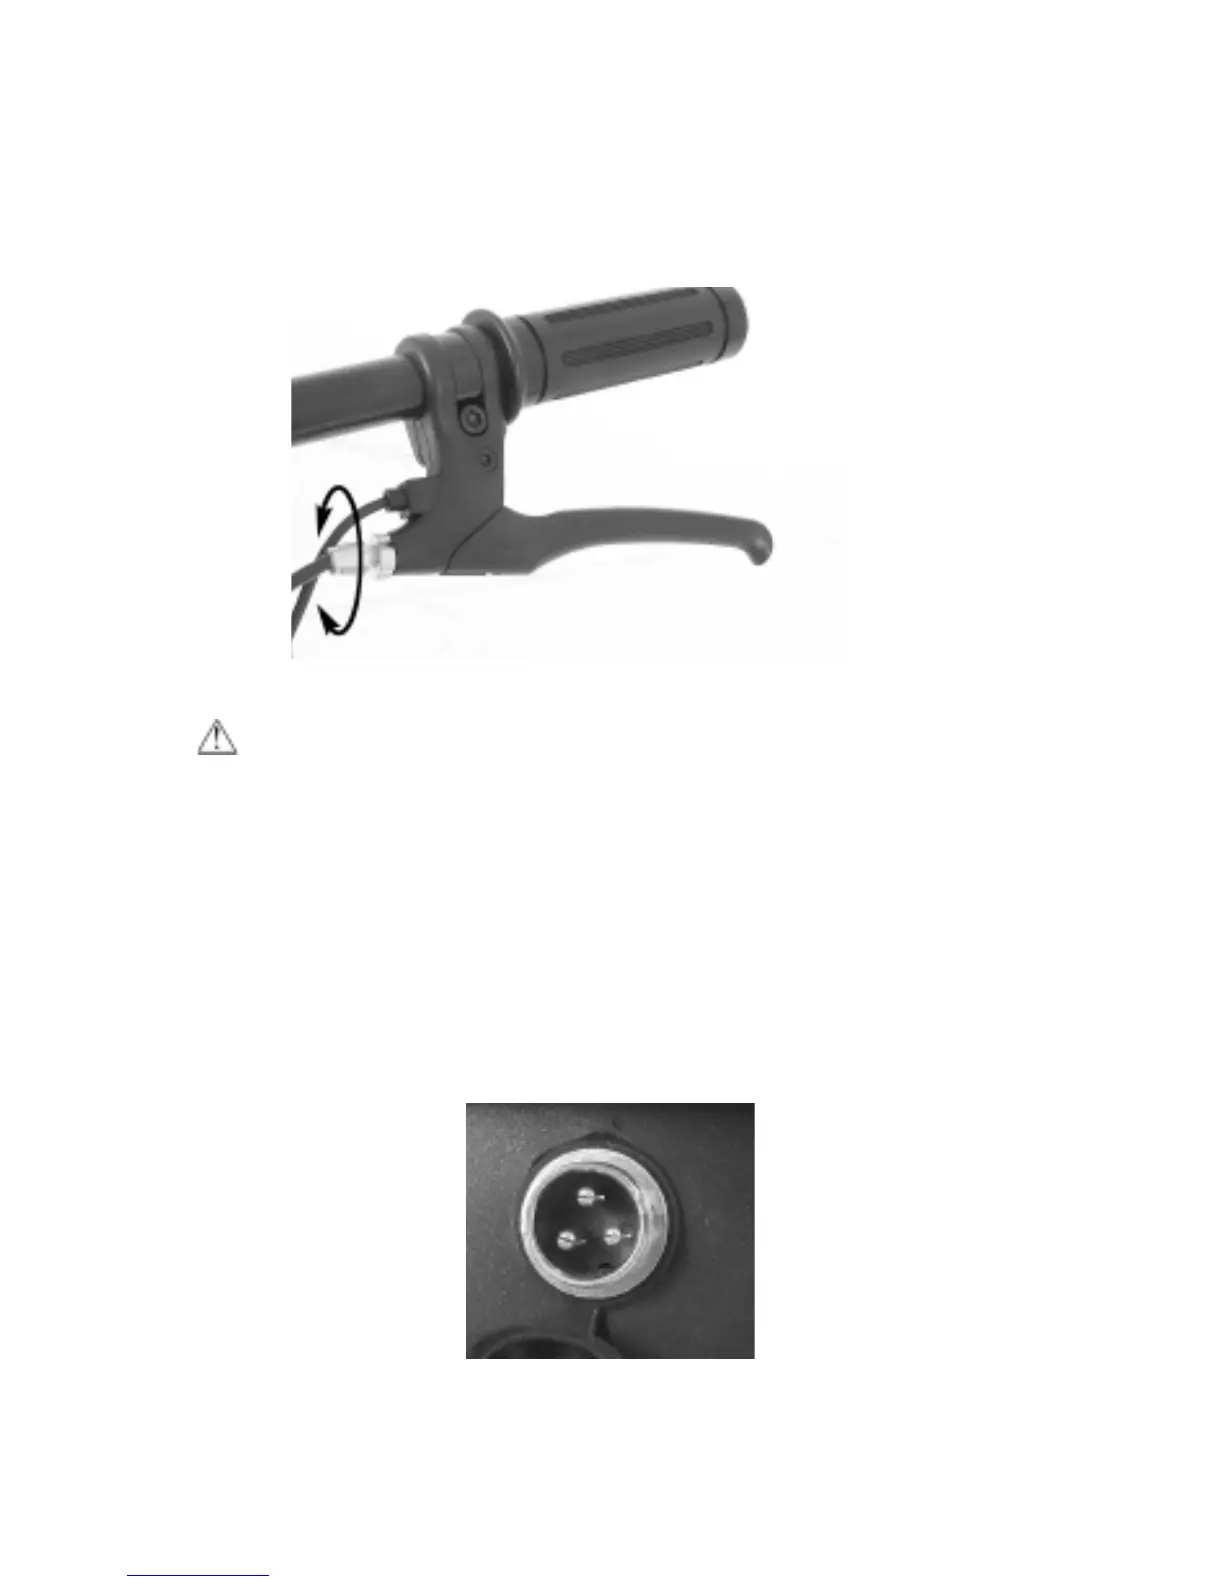
2F. Charging the battery prior to use. Your Pocket Rocket may not
have a fully charged battery at the time of purchase. Therefore it is a
good idea to charge the battery prior to use. The charging input, on/off
switch and overload breaker are located under the deck at the front left
hand side as shown in Figure 8.
Figure 8.
The charger has a small window with one LED or two LEDs to indicate
the charge status (Figure 9). Refer to the illustration on the charger unit