REPAIR AND MAINTENANCE
Need Help? Visit our website for replacement parts, product support, a list of authorized service centers in the US and customer service contact information
at www.razor.com. Please have the product I.D. code (located on the white label of your product) available for better assistance. Additional Customer
Service contact information is listed at the back of this manual.
8
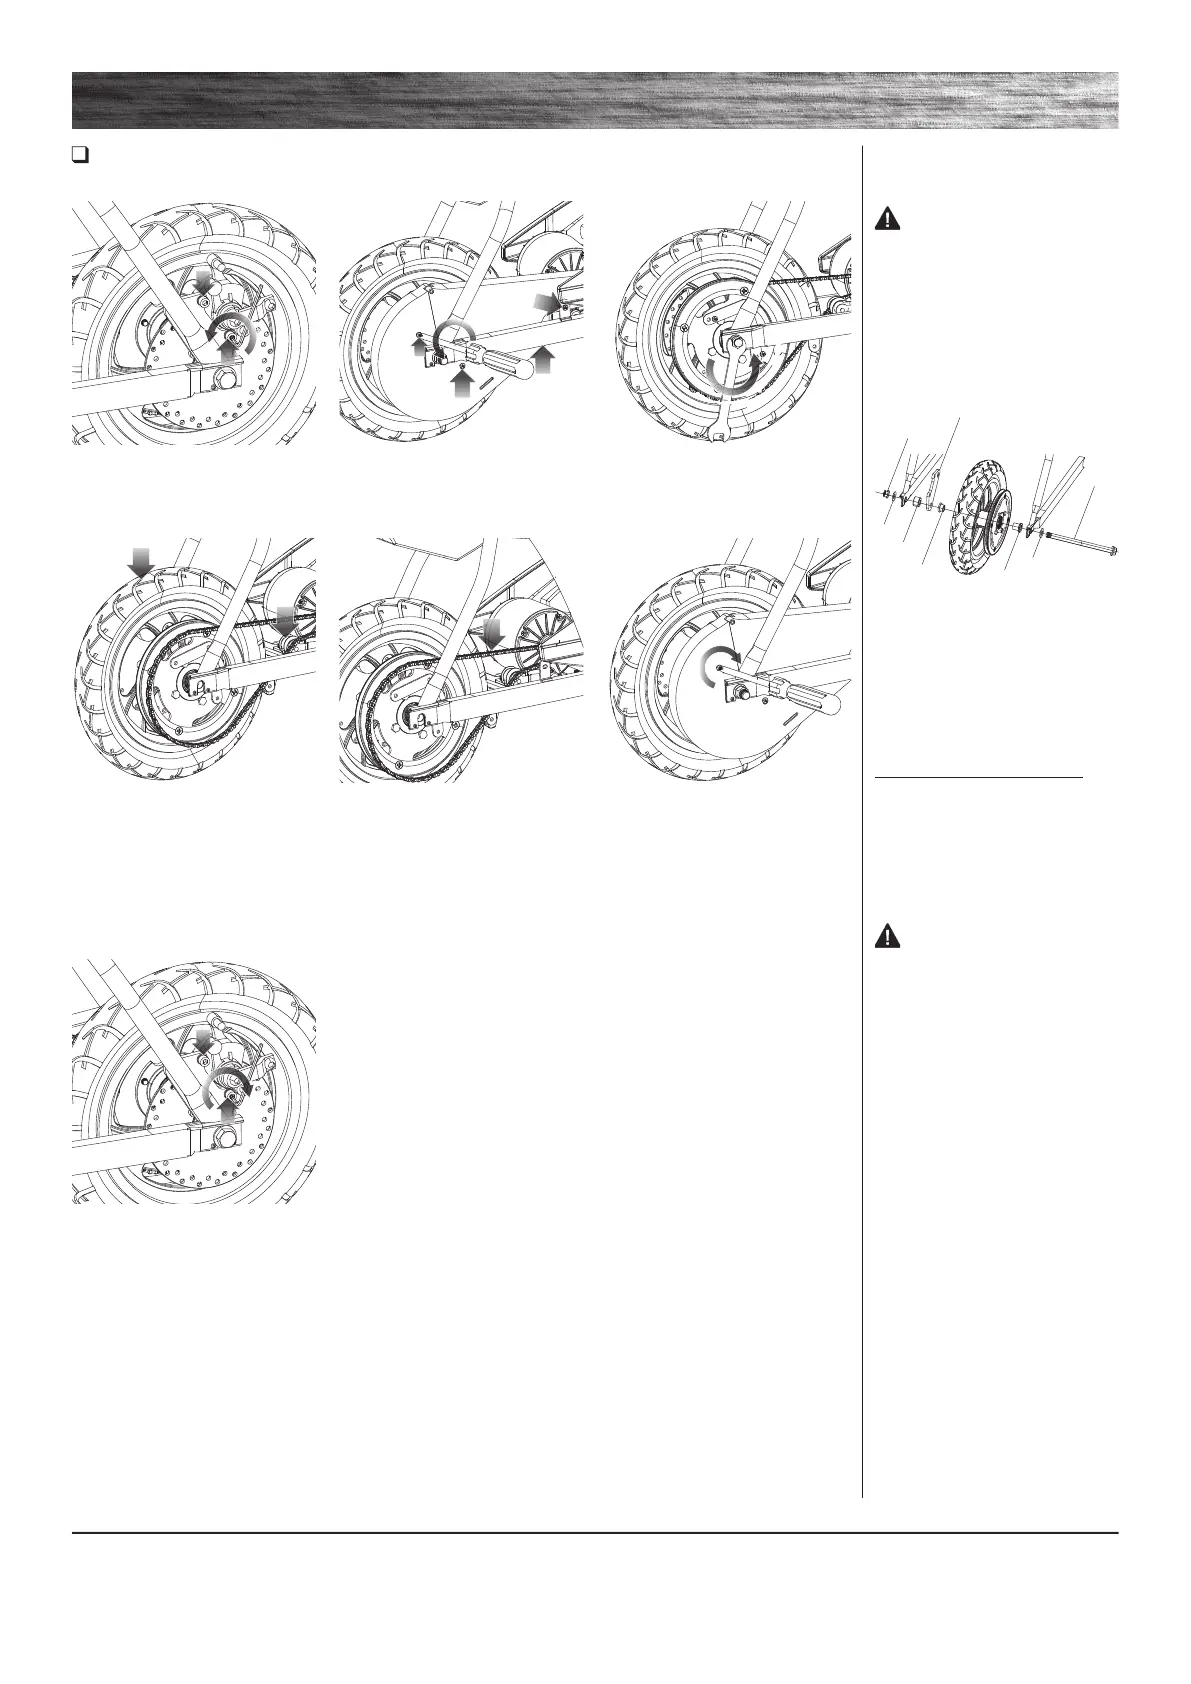
1 Loosen the two (2) 5 mm bolts on
the brake caliper and remove brake
caliper from disc brake.
4 Push the chain tensioner down
to loosen the chain and remove
the chain from the wheel sprocket
and motor sprocket. Push wheel
downward to remove.
7 Re-attach the brake caliper to
the disc brake and tighten securely
in place with 5 mm bolts removed
in Step 1.
2 Loosen the four (4) Phillips
screws and remove chain guard.
5 Install the new chain or wheel
by slipping the chain around the
axle bolt. Slide the axle bolt into the
slots on the frame. Slide the chain
tensioner down and maneuver the
chain onto the rear sprocket and
motor sprocket.
3 Using a 14 mm and 17 mm
wrench, loosen the locknut and axle
bolt on the rear wheel.
6 Re-attach the chain guard.
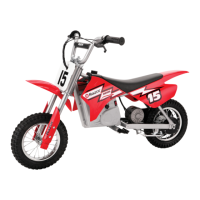
Chain and Rear Wheel Replacement
Required Tools: Phillips Screwdriver, 14 mm Wrench, 17 mm Wrench, 5 mm Allen Wrench (not included)
WARNING: Failing to
properly adjust and tighten the
nuts and bolts that affix the front
wheel can cause you to lose control
and fall.
Note the hardware sequence
(from outside toward the center).
Left Side (Brake)
16-7 17 mm Locknut
16-2 Flat Washer
Frame
16-6 Spacer
16-5 Caliper Bracket
16-4 Spacer (Small)
Right Side (Throttle)
16-3 Hat Spacer (Large)
Frame
16-2 Flat Washer
16-1 Axle Bolt
WARNING: To avoid a pinch
or injury, keep fingers away from
moving sprockets and chain.
16-7
16-5
16-2
16-6
16-4
16-3
16-1
16-2
 Loading...