ASSEMBLY AND SET-UP
Need Help? Visit our website for replacement parts, product support, a list of authorized service centers in the US and customer service contact information
at www.razor.com. Please have the product I.D. code (located on the white label of your product) available for better assistance. Additional Customer
Service contact information is listed at the back of this manual.
4
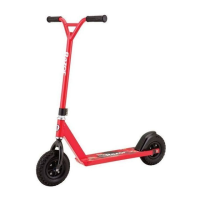
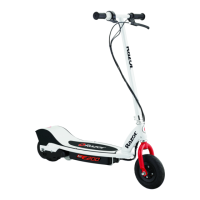
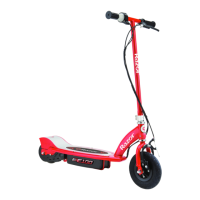
Attaching the Handlebars
Required Tool: 6 mm Allen Wrench
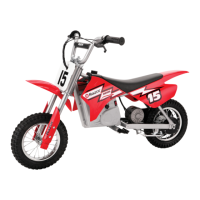
Attaching the Number Plate
1 Place the handlebars in the handlebar clamps.
1 Slip the cables through the slit on the top of the number plate. Align the
number plate with the holes on the fork and snap on the number plate.
2 Align parallel to the fork and tighten the bolts using a 6 mm Allen
wrench. When properly tightened, the handlebars should not move forward
or backward.
WARNING: Failing to
properly adjust and tighten the bolts
that affix the handlebars can cause
you to lose control and crash.
 Loading...