20
valley or ditch), do so at a diagonal 45-degree angle
or less to prevent the front or back of the machine
from digging into the terrain.
When transitioning over the crest of a hill (or when
exiting a ditch or valley onto a flat area), do so at a
vertical approach only.
The wheels are wide and the ground clearance over
the mowing deck is small, allowing hill crests and
other convex ground features to contact the mowing
deck if crossing these transitions at a diagonal or
horizontal approach (i.e., high centering).
When first mowing these areas, it may be helpful to
turn off the PTO switch to prevent scalping of the hill
until the operator understands the best approach to
prevent ground contact with the mowing deck.
Executing Turns
To maximize the life of the wheels and undercarriage,
turns should be made with a wide, gradual turn, or
3-point turn (sometimes called a Y-turn), slowing
moving forward or in reverse.
MAINTENANCE
WARNING:
Avoid Injury
Read and understand the
Safety
section before
proceeding.
WARNING:
Avoid Injury
Always remove the spark plug caps from
spark plugs when servicing the engine to
prevent accidental starting.
Proper maintenance can prolong the life of
unit. The
Maintenance Schedule
on page 21 shows the
recommended service schedule.
The service intervals can be used as a guide. More
frequent service may be required due to working
conditions (heavy loads, high ambient temperatures,
dusty conditions, or airborne debris).
Your RC Mowers dealer can provide service and
adjustments to keep your unit operating at
peak
efficiency. Contact an authorized engine
manufacturer’s service center for engine service.
SERVICE POSITION
1. Park unit on a flat, level surface.
2. Stop engine, remove key, and wait for
moving
parts to stop and for hot parts to
cool.
3. Engage parking brake.
4. Pull hood latch and rotate hood forward.
5. Chock and block wheels. Strap and clamp
unit onto
lift, if used.
WARNING:
Avoid Injury
Hood assembly is heavy. Secure your footing
to accommodate weight shift when rotating
hood forward.
HOUR / MAINTENANCE METER
Timer-only Models
Timer measures engine runtime and cannot
be reset.
Maintenance Models
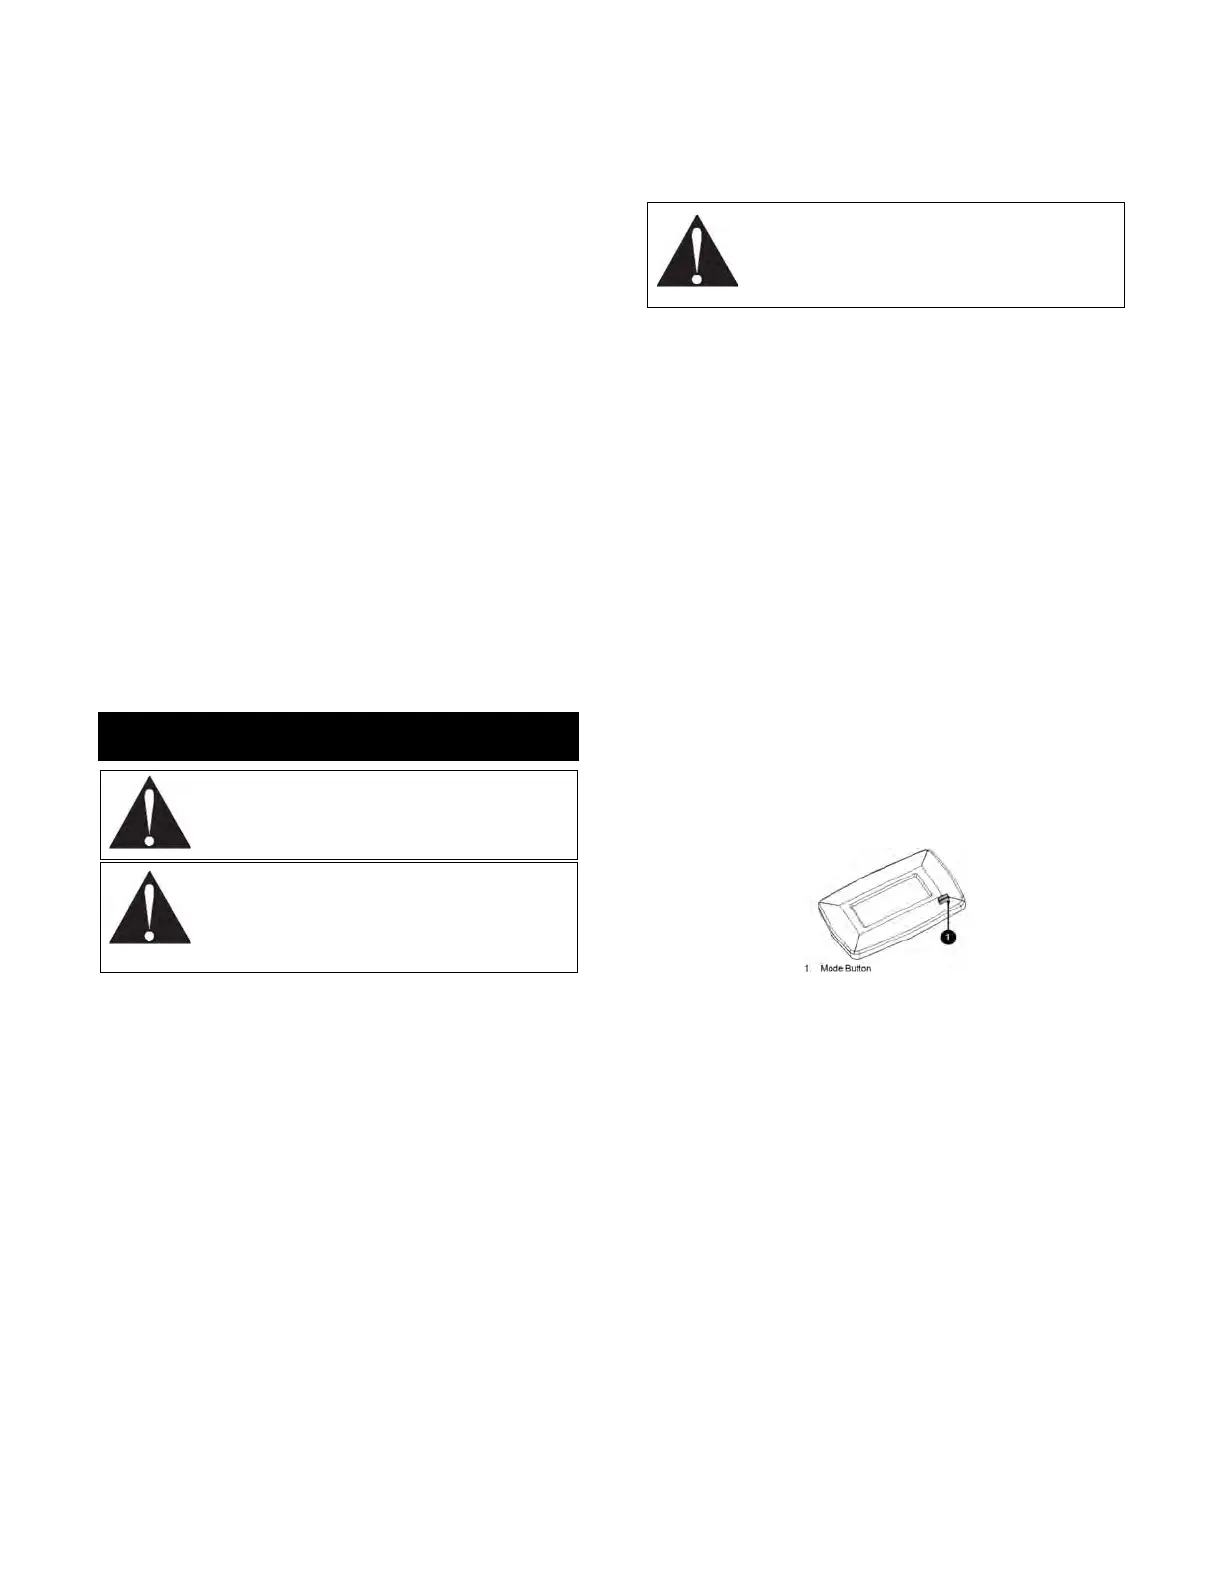
When the key is in the on position and the transmitter
is connected, the Timer mode displays. Press the
Mode button to toggle between different modes (
see
Figure 16
).
Timer: Measures engine runtime until reset. To reset
the timer, press the Mode button to select TMR1
mode and then hold Mode button for 3 seconds.
NOTICE: Turn ignition key to the off position when
unit is not in use. Some meters may count hours
when the key is in the on position, even if the engine
is off. This results
in inaccurate maintenance
intervals.
Figure 16
Service Alerts:
Counts down hours until
service is
needed and displays
“Now” when
service is due.
Service time is measured for:
•
Engine oil and filter changes (CHG OIL)
•
Hydraulic oil and filter changes (CHG H
OIL)
•
Air filter service (SVC AIRFILTER)
The service intervals preset into the hour
meter
are:
•
Hydraulic oil and filter: After first 75
hours and
every 400 hours thereafter
•
Engine oil and filter: After first 25 hours
and
every 100 hours thereafter
•
Air filter: Every 100 hours