ReadyDock Duo Manual v1-5.doc 8 ReadyDock.net
IV. Getting Started
Setup
Ensure the unit has 3 to 4 inches of open space behind unit to allow for proper airflow
from fan.
Remove protective cover from touch screen.
The power cord can be plugged into the rear of unit and into any standard outlet.
Once plugged in, power the unit on by using the switch on the rear of the unit.
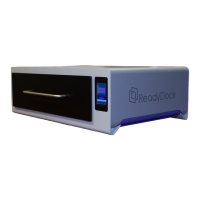
The ReadyDock: Duo is constructed out of sturdy metal and can accommodate items
placed on top of it such as a printer.
Display
The display will show the Home Screen where the user will have the option to start
disinfection or access the setting menu through the settings button.
If the drawer is open the display will read “Drawer Open”. It will return to the home
screen once the drawer is closed.
Home Screen
The default display on the unit is the home screen.
From the home screen the following functions are available:
The user can start a disinfection cycle by pressing the start button.
The user can view the disinfection status on the “Disinfection Status Panel” on the home
screen.
A red panel indicates disinfection not complete.
A green panel indicates disinfection complete.
The user can access the settings menu by pressing the settings button in the bottom left
of the home screen. (More detailed instructions in “Using the Unit” on page 11).
Setup Screen
The system comes at a default 30-second disinfection time; the user can change the
time by accessing the setup screen.
See Page 12 for instructions on how to access the setup screen.