10
5 INSTALLATION
5.8 Cable sizing
Below is a table outlining the required cable size for a given cable install length. Always choose a wire
diameter equal to or greater than what is specified below.
Part Number
Cable Install
Length
Recommended Wire
Size (mm²)
Nearest Equivalent
B&S, BAE, AWG
DPS1225/
DPS2410
1–5m 3–16' 7.71 8
5–9m 16–30' 13.56 6
DPS1240/
DPS2420
1–5m 3–16' 13.56 6
5–9m 16–30' 20.28 4
5.9 Wiring
The heavy gauge wires on the DPS1225, DPS1240, DPS2410 and DPS2420 unit carry peak currents of up
to 40A and it is important to make a good, low resistance, electrical connection that will not degrade over
time. Failure to make a good, reliable contact may result in breakdown of the wire insulation and cause
a short circuit, or worst case a fire. We recommend that this activity be undertaken by an appropriately
trained person.
REDARC recommends using a soldered butt splice crimp connection that is covered with heatshrink. Do
not use standard red/ blue/yellow blade connections as they are not rated for either the current required
or gauge of wire supplied on the unit.
Crimping provides good mechanical connection; soldering provides a long lasting electrical connection
and forming of the heatshrink will reduce the risk of shorting/contact with your vehicle chassis.
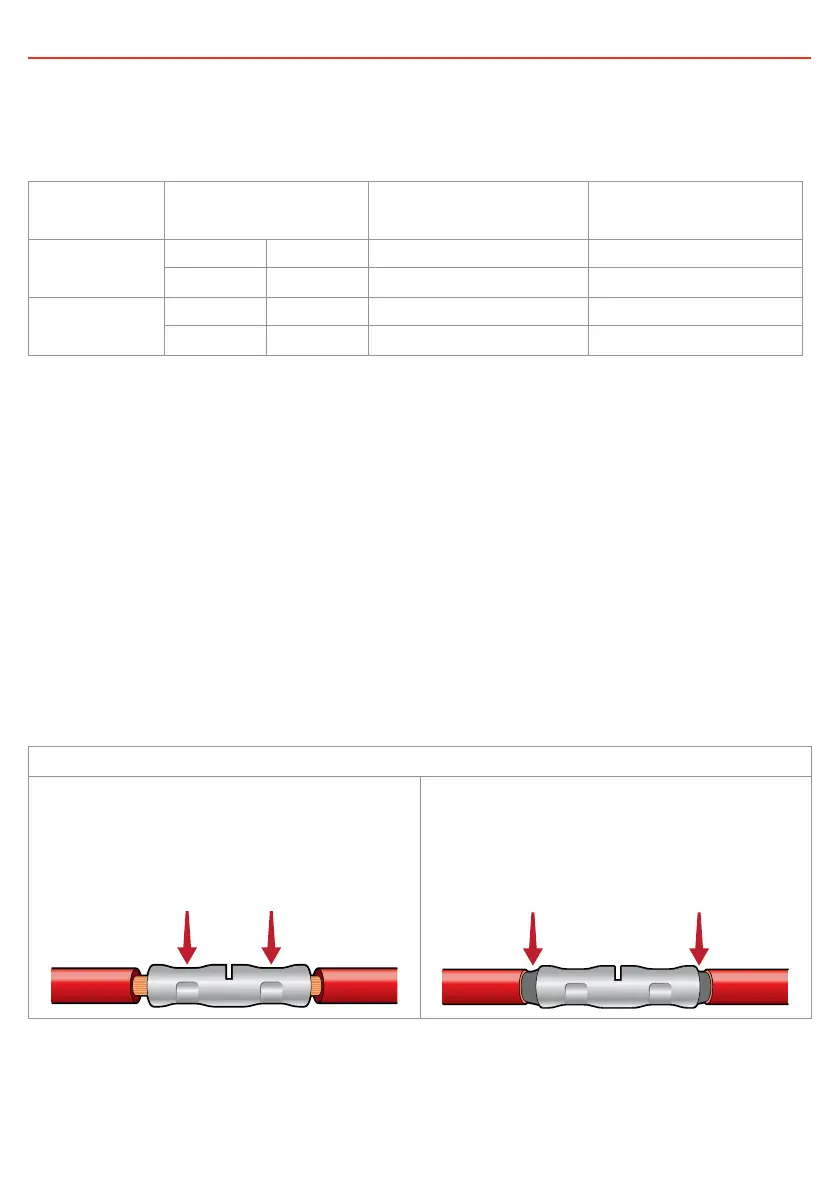
Figure 4: Ensure Good Wiring Connection
Crimp both wires to the butt splice using
single-indent type crimpers. Fold the cable over
before inserting into the butt-splice as required.
Single-indent crimpers should also be used
on any lugs used.
Solder the wires to the butt splice. Ensure that a
good connection is made. Keep heatshrink away
until after soldering is complete and has cooled.