www.redbackaudio.com.au
Redback® Proudly Made In Australia 11
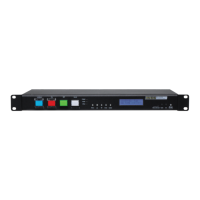
Redback® A 4505C Lockdown Timer with Network Access
Once again, use the up and down buttons to set the hour, minutes and seconds and press enter when nished. Once the
period has been set, the desired output for this event is to be set using the “Output” screen (See g 2.5d).
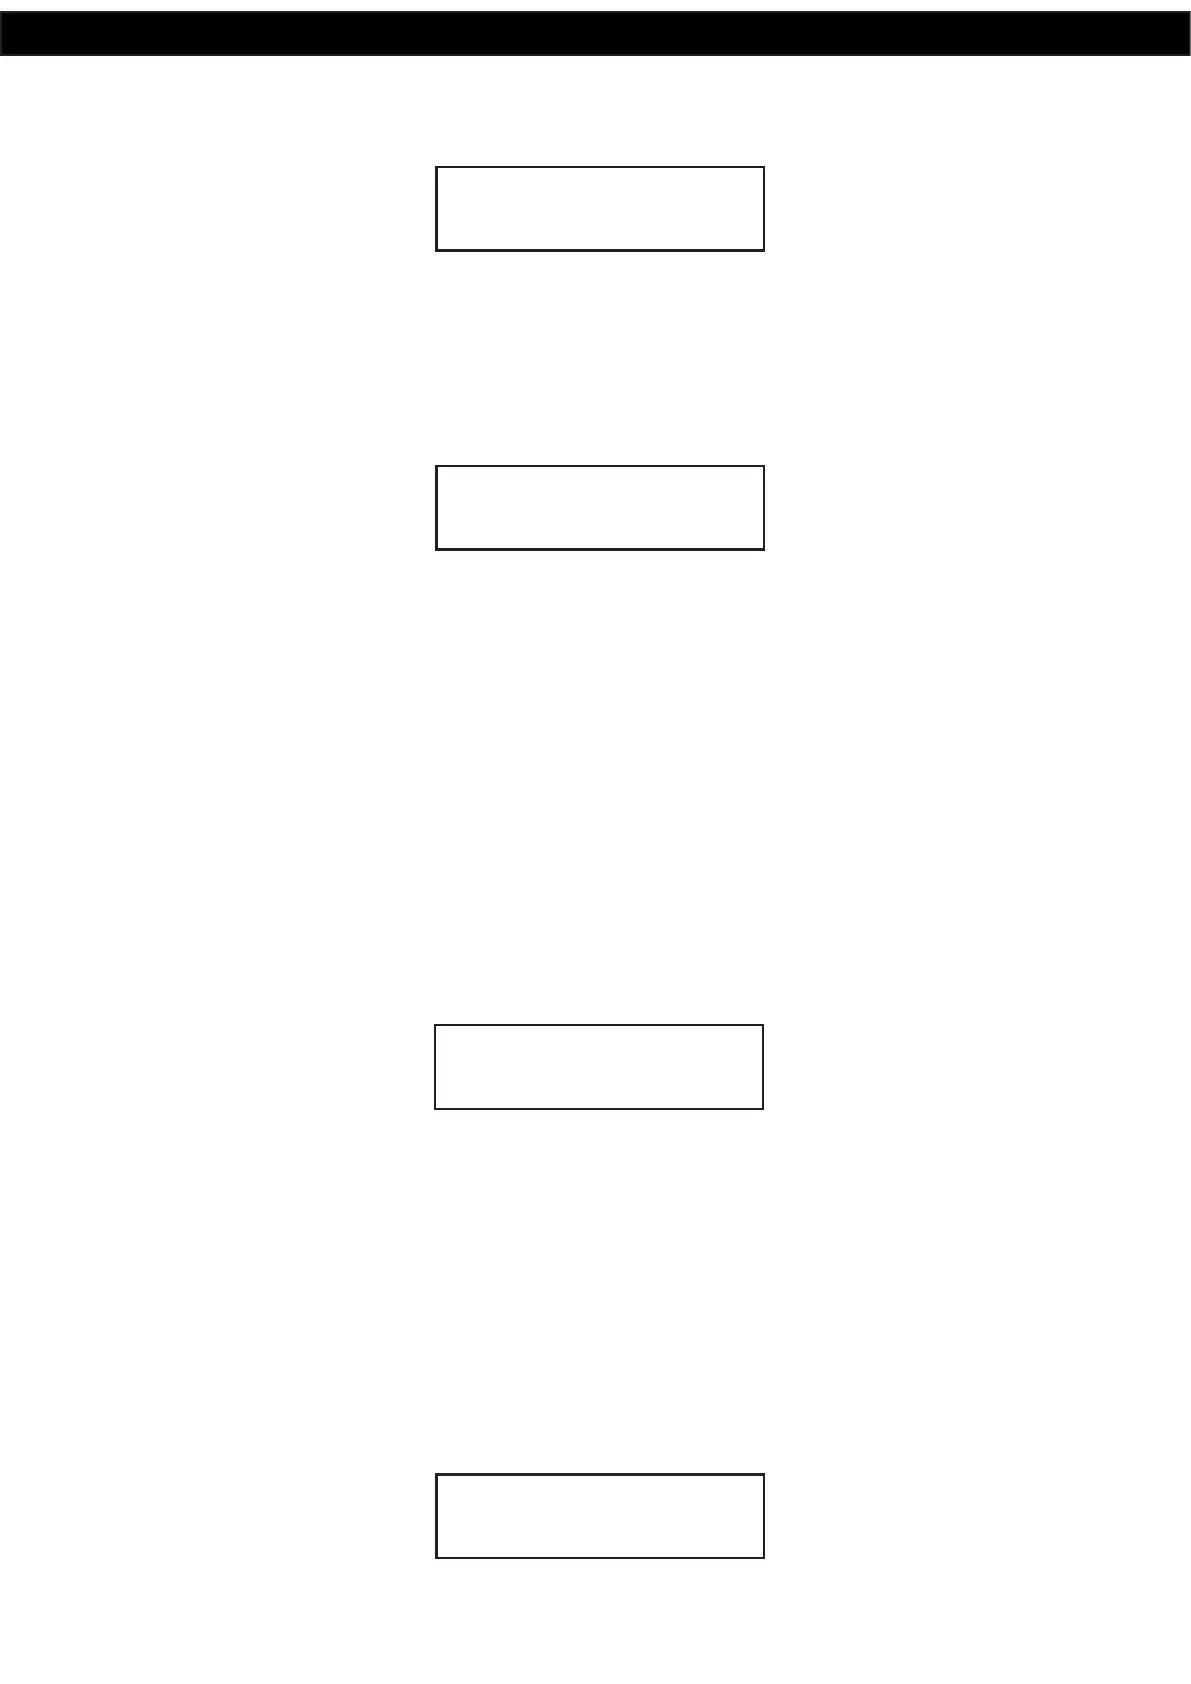
Fig 2.5d
The output defaults to Disabled. Scroll through the other options by using the up and down buttons. The Output can be set
to Prebell, Bell, Music, No MP3/Relay Only or outputs 5-99. These outputs correspond to the audio les located on the Micro
SD card which are congured by the Timer Programming Software.
(Note: Direct MP3 le manipulation on the Micro SD card is no longer available).
Once the desired output for the event has been set, press the enter button to move to the next screen (See g 2.5e).
Fig 2.5e
This is where the days of the week this event will occur are entered. The top right line of text refers to the days of the week,
Monday through to Sunday. The line of text below this sets each day “ON” or “OFF”. Use the up and down buttons to set
the day to Y for “ON” and N for “OFF”.
Once the days of the week are set, press the enter button to conrm and be returned to the main menu. Repeat this process
for any other events to be programmed.
This process of entering the events can be quite time consuming so it is recommended using the PC software (Redback
Weekly Timer Programmer.exe).
2.6 DELETING A PROGRAMMED TIME
Select the “DELETE TIMES” option from the menu (refer to gure 2.3b).
After selecting this option, the screen as shown in Fig 2.6 should appear.
Fig 2.6
From this point the “Up” and “Down” buttons can be used to scroll through the different times, or press the “Enter” but-
ton to delete this time. After deleting the time, a message will indicate that the time has been cleared and the next time
will then be displayed on the screen. Press “Enter” to delete, “Menu” to exit or the “Up” and “Down” buttons to scroll to
another time.
2.7 RESET ALL PROGRAMMED TIMES
Select the “RESET ALL TIMES” option from the menu (refer to gure 2.3b).
After selecting this option, the screen as shown in Fig 2.7 should appear.
Fig 2.7
OUTPUT PREBELL
DAYS- MTWTFSS
NNNNNNN
TIME1 PREBELL
RESET ALL TIMES
UP=YES / DN = NO