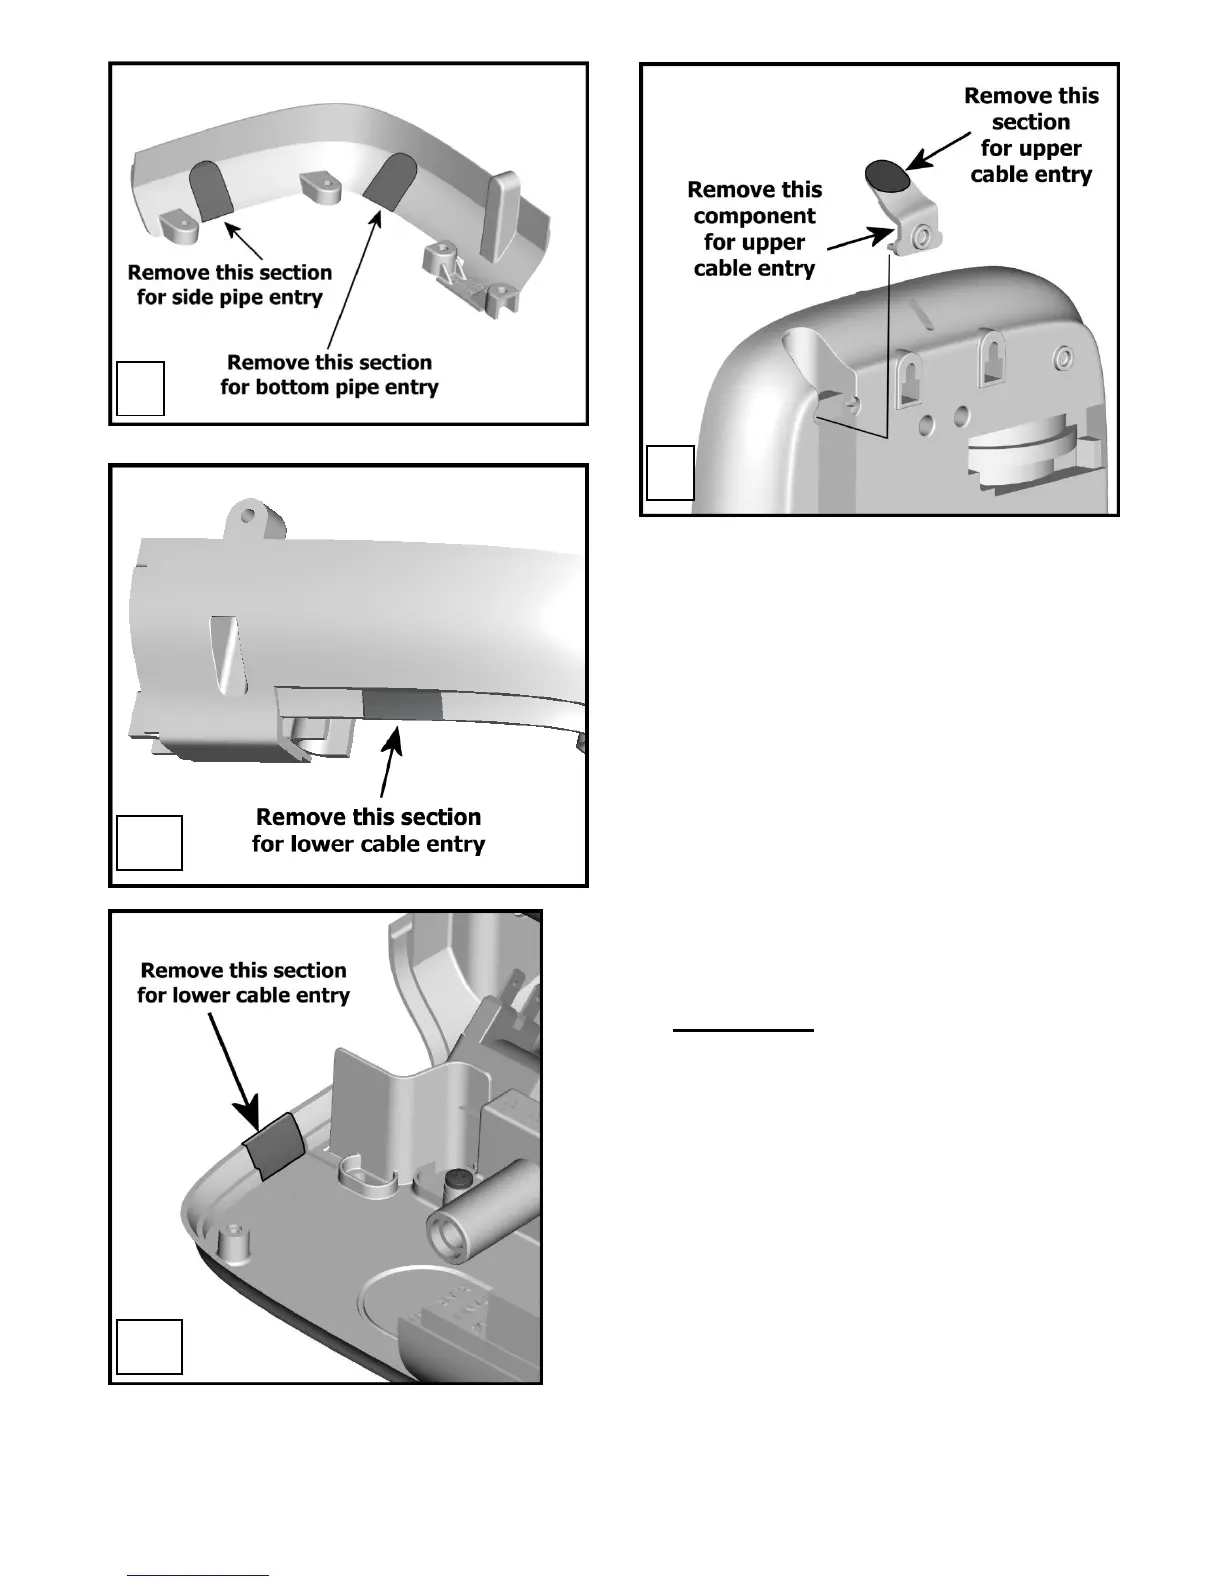
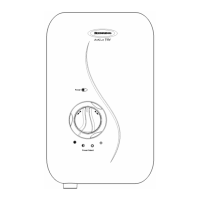
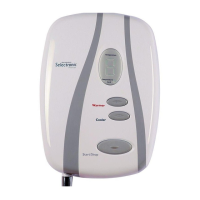
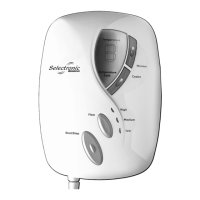
8. If top entry is chosen, remove the cable/pipe
entry, and cut away (fig.5).
9. If rear, please read the section on plumbing.
10. Your shower is provided with 2 wall-fixing
positions in the backplate and 2 alternatives
(compatible with S range showers).
The top-fixing hole is a ‘key-hole’ slot, and
should be marked and drilled first.
Tighten top screw with head protruding
about 10mm from the wall and hook the
backplate over the screw head.
This allows for correct and accurate
alignment of your shower before marking
and fixing the bottom position.
You may not wish to tighten up both screws at
this stage as the holes are elongated to allow for
adjustment after other connections have taken
place.
b. ELECTRICAL
WARNING:
THIS SHOWER MUST BE EARTHED.
The electrical installation must be in accordance
with the current BS.7671 (IET Wiring
Regulations) and ‘Part P’ of the Building
Regulations and/or local regulations
1. The shower unit is designed for a single
phase AC electrical supply.
Please check the rating plate on the unit to
see what details apply to your shower.
AS A GUIDE ONLY (* Only applies if external
earth impedance is less than 0.35 Ohms)
Remember to upgrade the cable if it runs in
thermal insulation in a loft, or for longer
distances