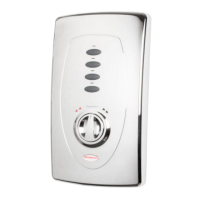
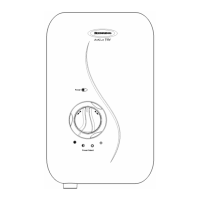
11. Now adjust the bottom rotary temperature
control knob clockwise for hotter water
allowing a few seconds for the temperature
to stabilize. Set the control to a comfortable
showering temperature slowly.
12. Push the start / stop button to switch the
unit off.
13. Switch off at the electrical isolation switch.
14. Finally we recommend that the shower
head is removed to make sure no debris
has worked into it. Clean and re-t.
CAUTION
The shower unit must be full of water before heat settings are used.
IMPORTANT
Turn the temperature control knob anti-clockwise for maximum ow before switching on
the unit. This will ensure a fast ll up of the unit when the shower is rst switched on.
IMPORTANT: Make sure that the electricity supply has been disconnected at the isolation
switch.
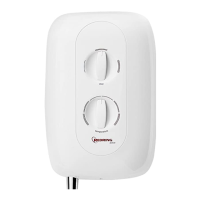
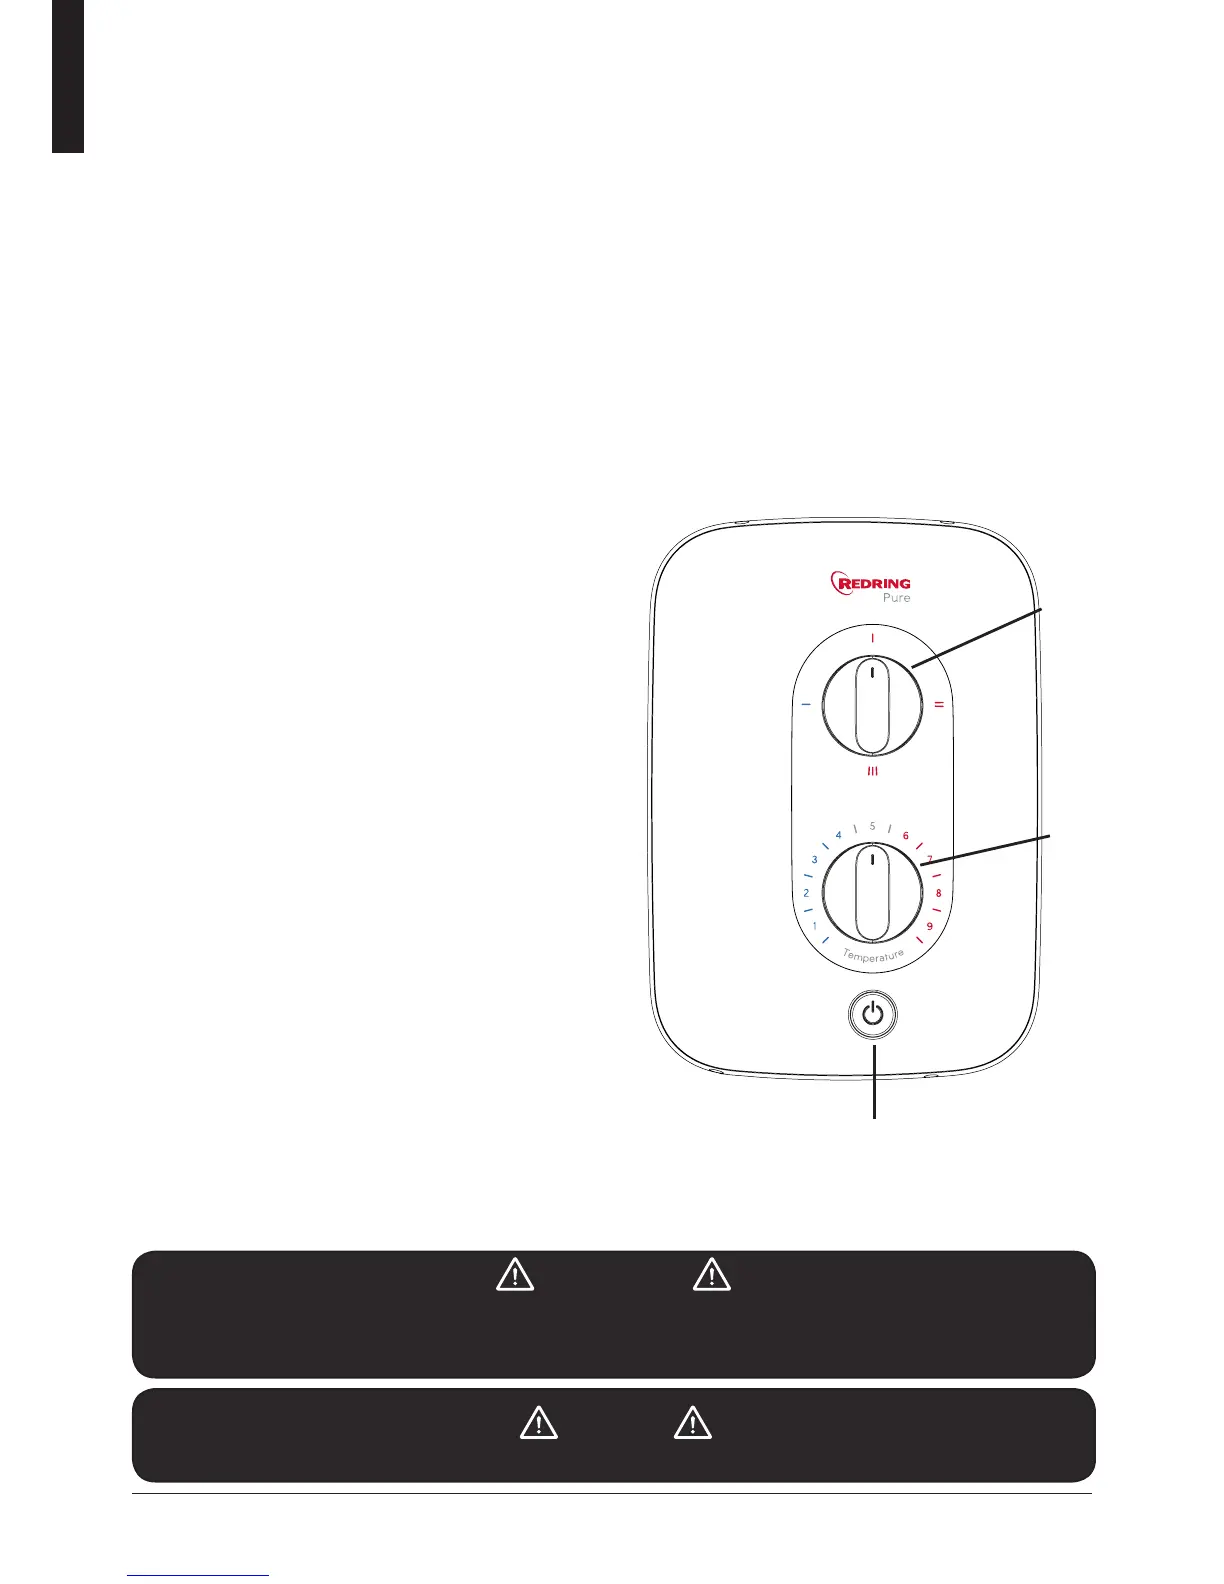
1. Turn the top rotary power selector knob;
identied by the solid blue line, to the Cold
setting.
2. Turn the rotary temperature control fully
anti-clockwise to the minimum temperature
position (direction of blue graphic).
3. Ensure that the water supply is fully on at
the mains stop cock and isolating service
valve.
4. Check that water is not leaking from the
bottom of the case.
5. Push the start / stop button and check that
water ows freely from the shower within a
few seconds. At this point the water from the
shower handset will be at full force and at a
cool temperature.
6. Slowly rotate the bottom temperature control
knob to the maximum temperature postition
(fully clockwise). This will gradually reduce
the ow of water through the shower. The
water temperature will remain cool.
7. Return the temperature knob to the
minimum temperature position (fully anti-
clockwise).
8. Switch on the electrical supply isolation
switch.
9. Now turn the top power selector knob to the
top, Eco 1 power setting indicated by one
red line. Allow a few seconds for the warmer
temperature to reach the shower head.
This shows that the Eco 1 power setting is
working correctly.
10. Now turn the top power selector to the
high power setting indicated by the three
solid red lines. The temperature should
rise further. This shows that the full power
setting is working correctly.
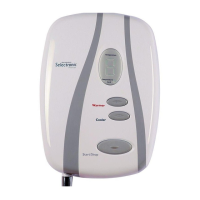
12. Commissioning The Shower
Power
Selector
Temperature
Control
Start / Stop Button
 Loading...