of the laser head, press "TEST" key slightly and check the spot. Then move the laser
head to the right of the X axis, press "TEST" again, and check whether the two spots
coincide with each other, if coincide and the two spots are within the hole of the laser
head, then optical path is correct. If not, please adjust the screws on the second mirror
holder to reach above standard(Attention:the principle of optical path adjustment is the
same between mirror 1 and 2, 2 and 3). Then adjust the location of second mirror holder
(Y-axis direction) and the height of the laser tube, to make sure the spots are within the
hole of laser head (center is better).
The fifth Step: Optical path adjustment between the third reflecting mirror and the
focus lens.
Paste the test paper under the laser head, and press "TEST" key, to check whether the
spot is in the center of the test paper. If in the center, optical path is correct; if not, need
move the location of laser head (there is three screws on the laser head, you can adjust
laser head’s location with these three screws) to adjust the optical path and let the spot
is in the center.
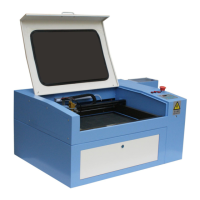
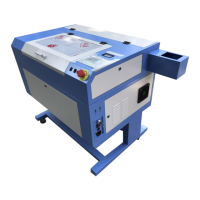
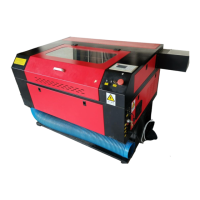
The sixth Step: laser processing
After adjusting optical path and measuring focal length with focusing plate, then
you can process objects. Below Figure: