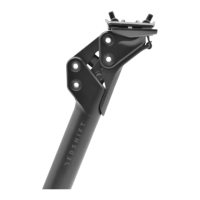
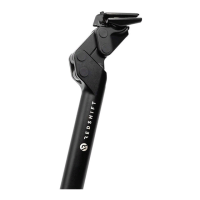
SHOCKSTOP PRO SUSPENSION SEATPOST RT
INSTRUCTIONS
WARNING
!
• Failure to follow these instructions and warnings may result in malfunction or breakage of this component,
possibly causing serious injury or death.
• Always use a torque wrench when installing or adjusting fasteners, and always tighten to Redshift torque
specications (or the bike manufacturer’s torque specication). Periodically check all fasteners for tightness
using a torque wrench, since fasteners can loosen under the inuence of road vibration.
• This seatpost is designed for use in a 27.2 mm diameter seatpost. It may be used with larger seat tube
diameters by using an appropriate diameter shim longer than 100mm (4 in.) in length.
• Do not raise the post beyond the minimum insertion line.
• Periodically clean and inspect all surfaces of this component for hairline cracks or signs of damage. If you nd
any cracks or damage, immediately cease using the part and contact Redshift Sports customer service.
• This seatpost is intended for road and light o-road use only. It is NOT intended for extreme o-road use or
jumping. Unintended use may lead to breakage of the component, possibly causing serious injury or death.
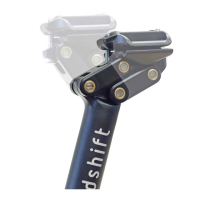
• Never place your hands or ngers near the seatpost linkages while riding. Doing so may cause pinching or
crushing injuries.
• For metal-framed bicycles, ensure that the post and the inside of the seat tube are covered with a thin layer of
bicycle grease prior to installation. Failure to do so may cause the post to seize inside the bicycle frame.
Thanks for choosing the Redshift Sports ShockStop PRO Suspension Seatpost RT!
The Shockstop PRO Short Travel seatpost delivers the perfect “Race-Tuned” suspension feel for
performance-focused riders. The progressive spring rate of the two internal elastomers delivers 20mm of
rened suspension movement.
This seatpost is dierent than other seatposts, so please read these instructions and warnings completely
before installing or using the seatpost. If you are unfamiliar with bike maintenance or seatpost installation, or
if you lack the required tools, please visit your local bike shop or contact Redshift Sports customer service for
assistance (support@redshiftsports.com). Improper installation or use may void the product’s warranty.
Check out www.redshiftsports.com/faq for instructional videos and additional resources.
COMPATIBILITY
This seatpost is designed for bicycle frames with a 27.2mm diameter circular seat tube. The seatpost may be
used with larger diameter seat tubes by using the correct diameter seatpost shim. In order to reduce stresses
on the post and frame, only use seatpost shims of at least 100 mm (4 in.) in length. Using the seatpost in a
dierent diameter seat tube without an appropriate shim may cause damage or failure of the seatpost or
bicycle frame.
5
2
3
6
4
1
PINCH WARNING!
! !
KEEP HANDS AWAY FROM
SEATPOST WHILE RIDING!
DO NOT USE WITH
REAR- MOUNTED
CHILD CARRIER!