Version 1.3
Copyright by
Reebok 2007
www.rbkfitness.com www.rbkfitness.de
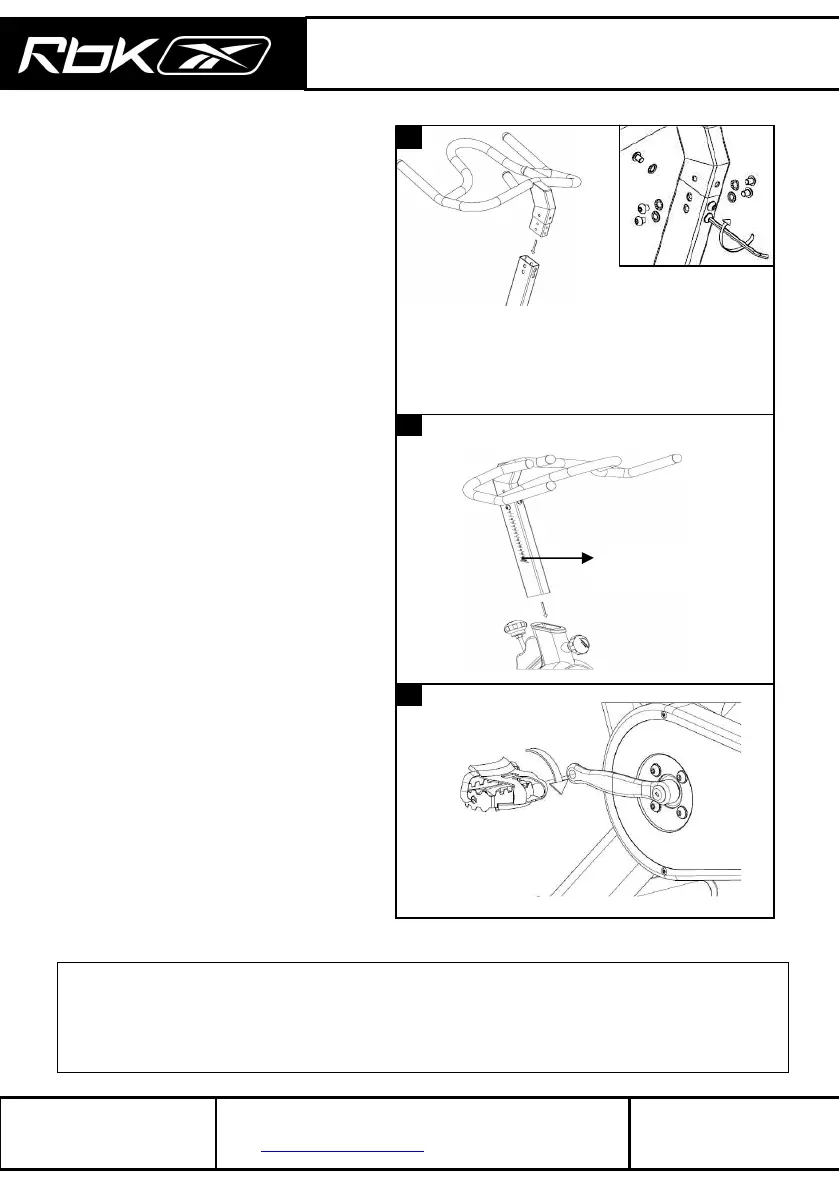
5. Collect the parts needed to
assemble the Handlebar. Slide
upper part of the handlebar into
the handlebar stem and connect
the 2 pieces with the 7 Allen bolts
provided.
Make sure that the connecting
Allen Bolts are appropriately
tightened and Handlebar does
not wobble because of a loose
connection.
6. Turn the front Adjustment Knob
counter clockwise, and pull the
adjustment knob to insert the
Handlebar Post into the Frame.
Next, bring the Handlebar Post to
the desired height, release the
adjustment Knob so pin engages
with the holes of the vertical stem
and turn the Adjustment Knob
clockwise to retighten until it is
secure.
Please don’t adjust the height of the
vertical saddle support beyond the
stop mark to avoid instability
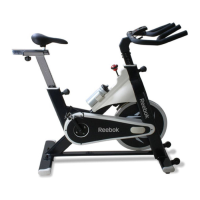
USER’S MANUAL – Indoor Bike
Do not over tighten the connecting bolts.
Make sure the pop pin adjustment knob is
fully engaged and the Handlebar Post does
not slide while riding.
7. Identify the Right Pedal. Using a
15mm pedal wrench, firmly tighten
the Right Pedal clockwise into the
Right Crank Arm. Repeat the same
procedure for the Left Pedal but in a
counter Clockwise motion.
8. Make sure that all parts are properly tightened and that the brake pad is
thoroughly soaked with lubricant before the indoor cycle is used. This
precaution will avoid extensive wear on the brake pad. To protect the floor or
carpet, place a mat under the Indoor Cycle.