HIDEAWAY
ACTIVE SENSOR-FLUSH URINAL
Plumbers, please ensure a copy of the installation
instructions is left with the end user for future reference
HIDEAWAY
ACTIVE SENSOR-FLUSH URINAL
Approximate flush
volum e
LED FLASH RESPONSE – FIRST TIME POWER ON MEANING
1) Initial 2 short flashes followed by a sequence of double
flashes in 3 second intervals. After about 25 seconds of
the double flashing sequence – the flashing will change
into a rapid on and off sequence and then stop. This
signals that the self-check cycle has ended.
Self-check has detected a fault with the sensor. Please switch off the
power. Un-plug and re-plug every cable connection. Check that no cable
has been damaged during construction. Re-connect the power and check
if the LED response is as above in A.
If the fault is still indicated contact Service ph. 07- 3875 2465
Do not proceed with sealing the urinal with sealant to the wall.
2) After a pause of 20 seconds 4 short flushes will be
triggered.
LED FLASH RESPONSE – FIRST TIME POWER ON MEANING
1) Initial 2 short flashes followed by a sequence of quick triple
flashes in 2 second intervals. After about 25 seconds of
the triple flashing sequence – the flashing will change to a
rapid on and off sequence and then stop. This signals that
the self-check cycle has ended.
Self-check has detected a fault with the solenoid. Please switch off the
power.
1) Unplug the solenoid valve connection.
2) Check that the pins in the male plug are not bent apart and line up
with the holes in the female plug. If required use your fingers to
squeeze the plug and pins together.
3) Check plug alignment and re-connect. Re-connect the power and
check if the LED response is as above in A.
If a fault is still indicated contact Service ph. 07-3875 2465.
Do not proceed with sealing the urinal with sealant to the wall.
2) No flushes will be triggered.
3. If no faults have been detected the urinal can now be sealed to the wall with anti-fungal flexible sealant.
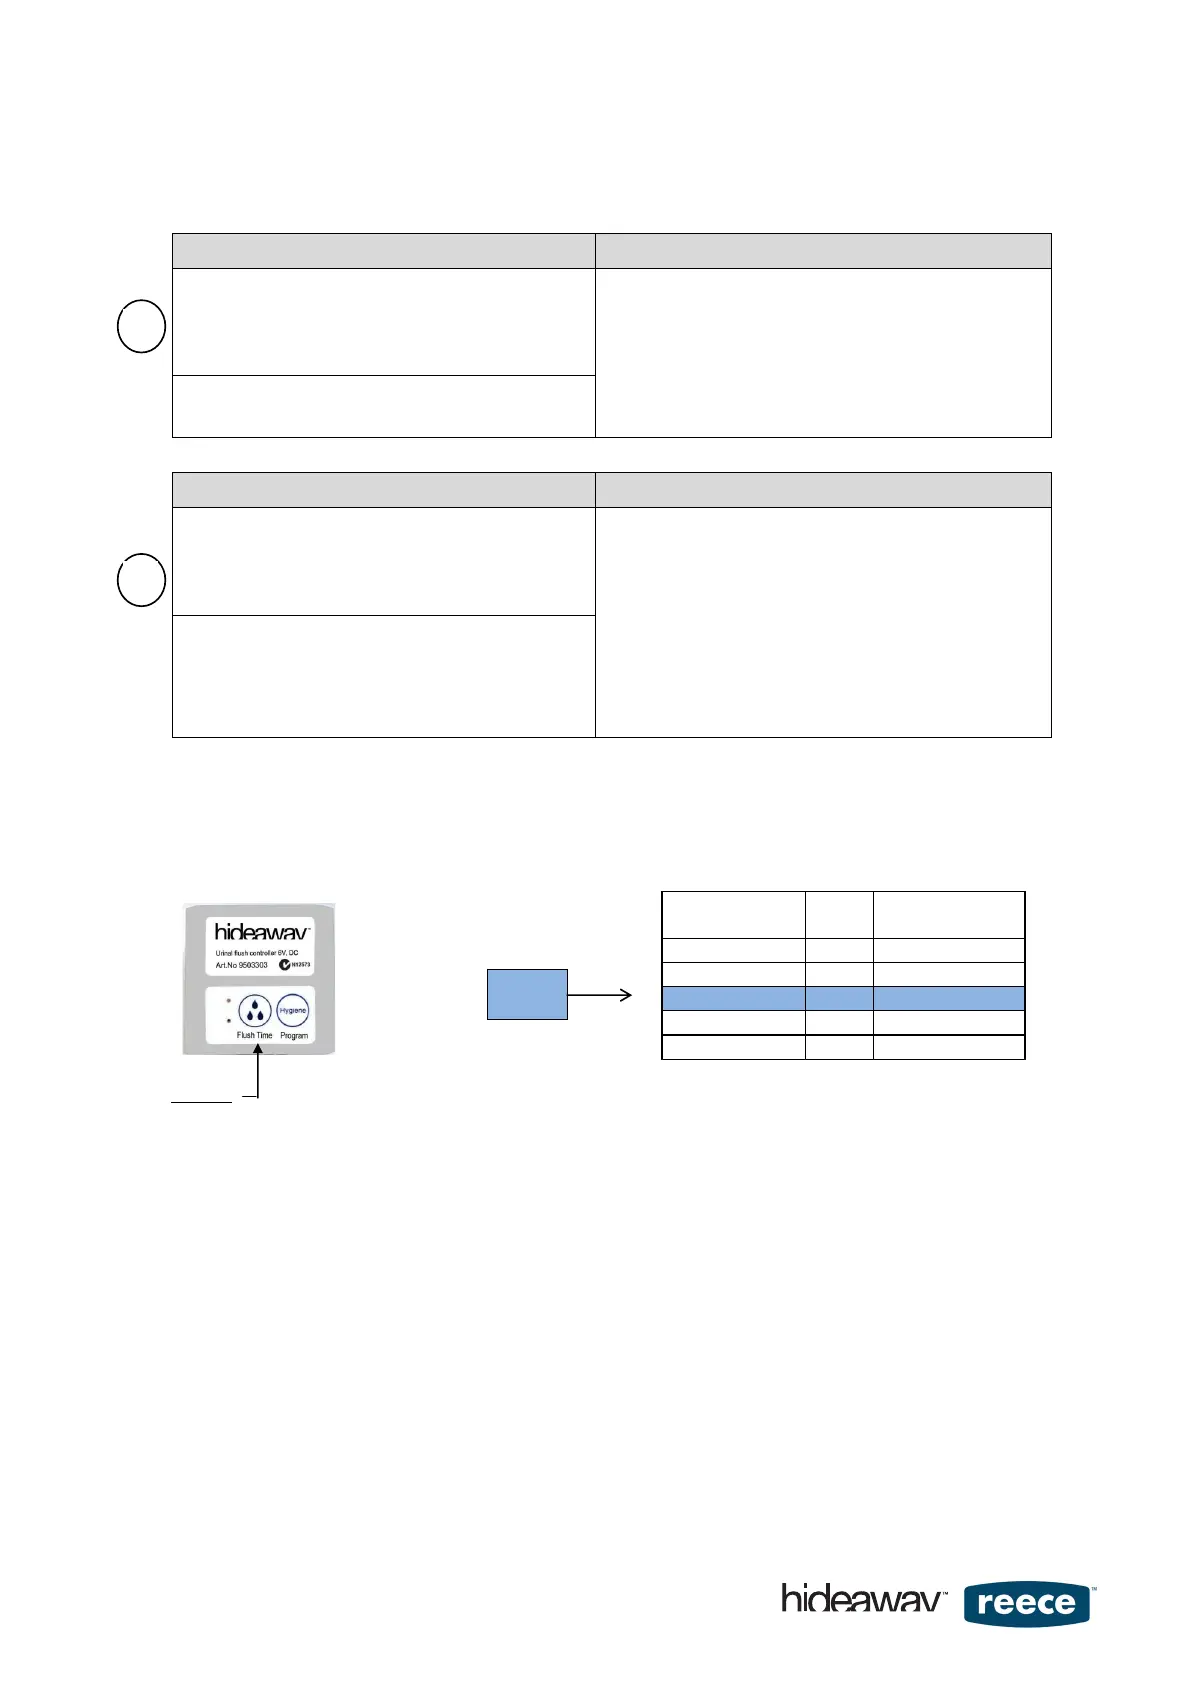
4. Flush Time: To achieve the required flush volume, measure the dynamic water pressure that is available at the
installation site. Compare your measurement with table values in Fig.10 and select the required flush time
setting with ‘Button1' on the controller. The flush time of a new controller is supplied with the setting adjusted to
375 kPa. To change flush times follow the instructions below.
How to change the flush time
A) Press Button 1 once (for 1 to 3 seconds) and the LED will indicate current controller setting by flashing 1x or 2x
up to 5x - at which setting the controller currently is.
Note:
The LED will continue flashing in a steady repeating rhythm to indicate that the controller is still in editing mode
and settings can be changed. Do not be distracted by this flashing.
B) Press ‘Button 1' again and the flush time will advance to the next flush time setting. The LED will now respond by
flashing 1x or 2x up to 5x to indicate the new selected setting.
C) Once the desired setting is achieved wait for approximately 20 seconds for the controller to automatically exit the
edit mode.
As confirmation that the controller is now ready for use 2 flushes will be automatically triggered.
page 6 of 16
 Loading...