31
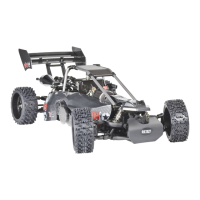
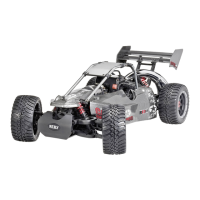
8. Assembling the model vehicle
Required tools:
• Phillips screwdrivers in different sizes
• 1.5mmhexagonsocketwrench
• 2.0mmhexagonsocketwrench
• 5 mm socket wrench
• 7 mm socket wrench
• Needle-nose pliers
• Cutters
• Wire cutter
• Chassis shear
• Chassis drill
• Grease (for gears and differential gears)
• Thread-lockinguid(mediumstrength)
Practical tips:
Assembly also requires a suitable rubber pad. If necessary, a rubber mat from the automotive sector can
be used as a mounting pad.
Before you start assembling the model, check the scope of delivery of individual parts. The package should contain a
total of 16 sealed plastic bags marked with letters A – O for assembly of the model.
Somelarger bags (forexample, bag B)include other smallbags that arealso marked lettersand numbers, for
example,B-1orB-2.Forabetteroverview,somesmallbagsincludeothersmallerbagswithseparatelypacked
components(e.g.screws).Thesesmallerbagsaremarked,forexample,B-2-1.
Important!
In addition to these operating instructions, refer to the separate assembly instructions. The procedure for
proper assembly of the model vehicle is shown in 43 clear drawings. These assembly instructions also
contain additional information and practical tips for each assembly stage.
A sketch of the required screws with the respective dimensions can always be found at the top left of the assembly
instructions. The number in brackets indicates the quantity of screws. A label for the parts bag required for each as-
sembly stage can be found at the top right of the sketch drawings. To avoid confusion, only open the parts bag that is
needed for the assembly stage.
Then check the contents against the sketch and place the components and screws at the respective assembly sites.
Donotgotothenextassemblystageanddonotopenanotherpartsbaguntilyouhaveassembledallpartsfromthe
current assembly stage.