Unpacking and positioning the Planar 8 turntable
Seing up and connecting your Planar 8 and Neo power supply
Connecting to the amplier
Cartridge mounting and seing up the RB880 tonearm
Neo PSU speed adjustment
Returning the Neo to factory seings
Use of mobile phone apps to check and adjust the speed
Rega Strobe and stroboscopic design (sold separately)
Using the Strobe kit
Specications and warnings
1
2
2
2
2
3
3
3
3
4
Thank you for purchasing this Rega product.
Please follow this quick set up guide to ensure optimum performance and perfect operation. Failure to do so may invalidate your
warranty. For more information on this product, please visit www.rega.co.uk.
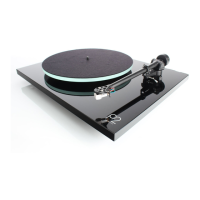
Unpacking and positioning the Planar 8 turntable
•
• Follow the unpacking guide included in the box.
• Save the packaging in case you need to transport your turntable in the future.
• Place the turntable on a rigid, level surface. For the ultimate isolation solution, use the custom Rega wall bracket (sold
separately).
• Ensure the drive belts are in place and remove the transport hub card from beneath the sub platter.
•
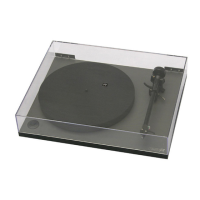
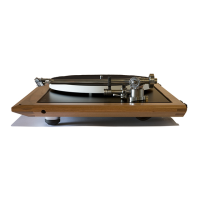
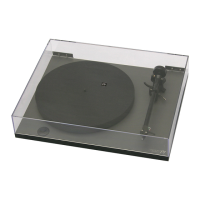
• When not in use, carefully position the lid over the centre spindle, and locate the dust cover anti rotation pin. Place into
location at the rear of the plinth (7)
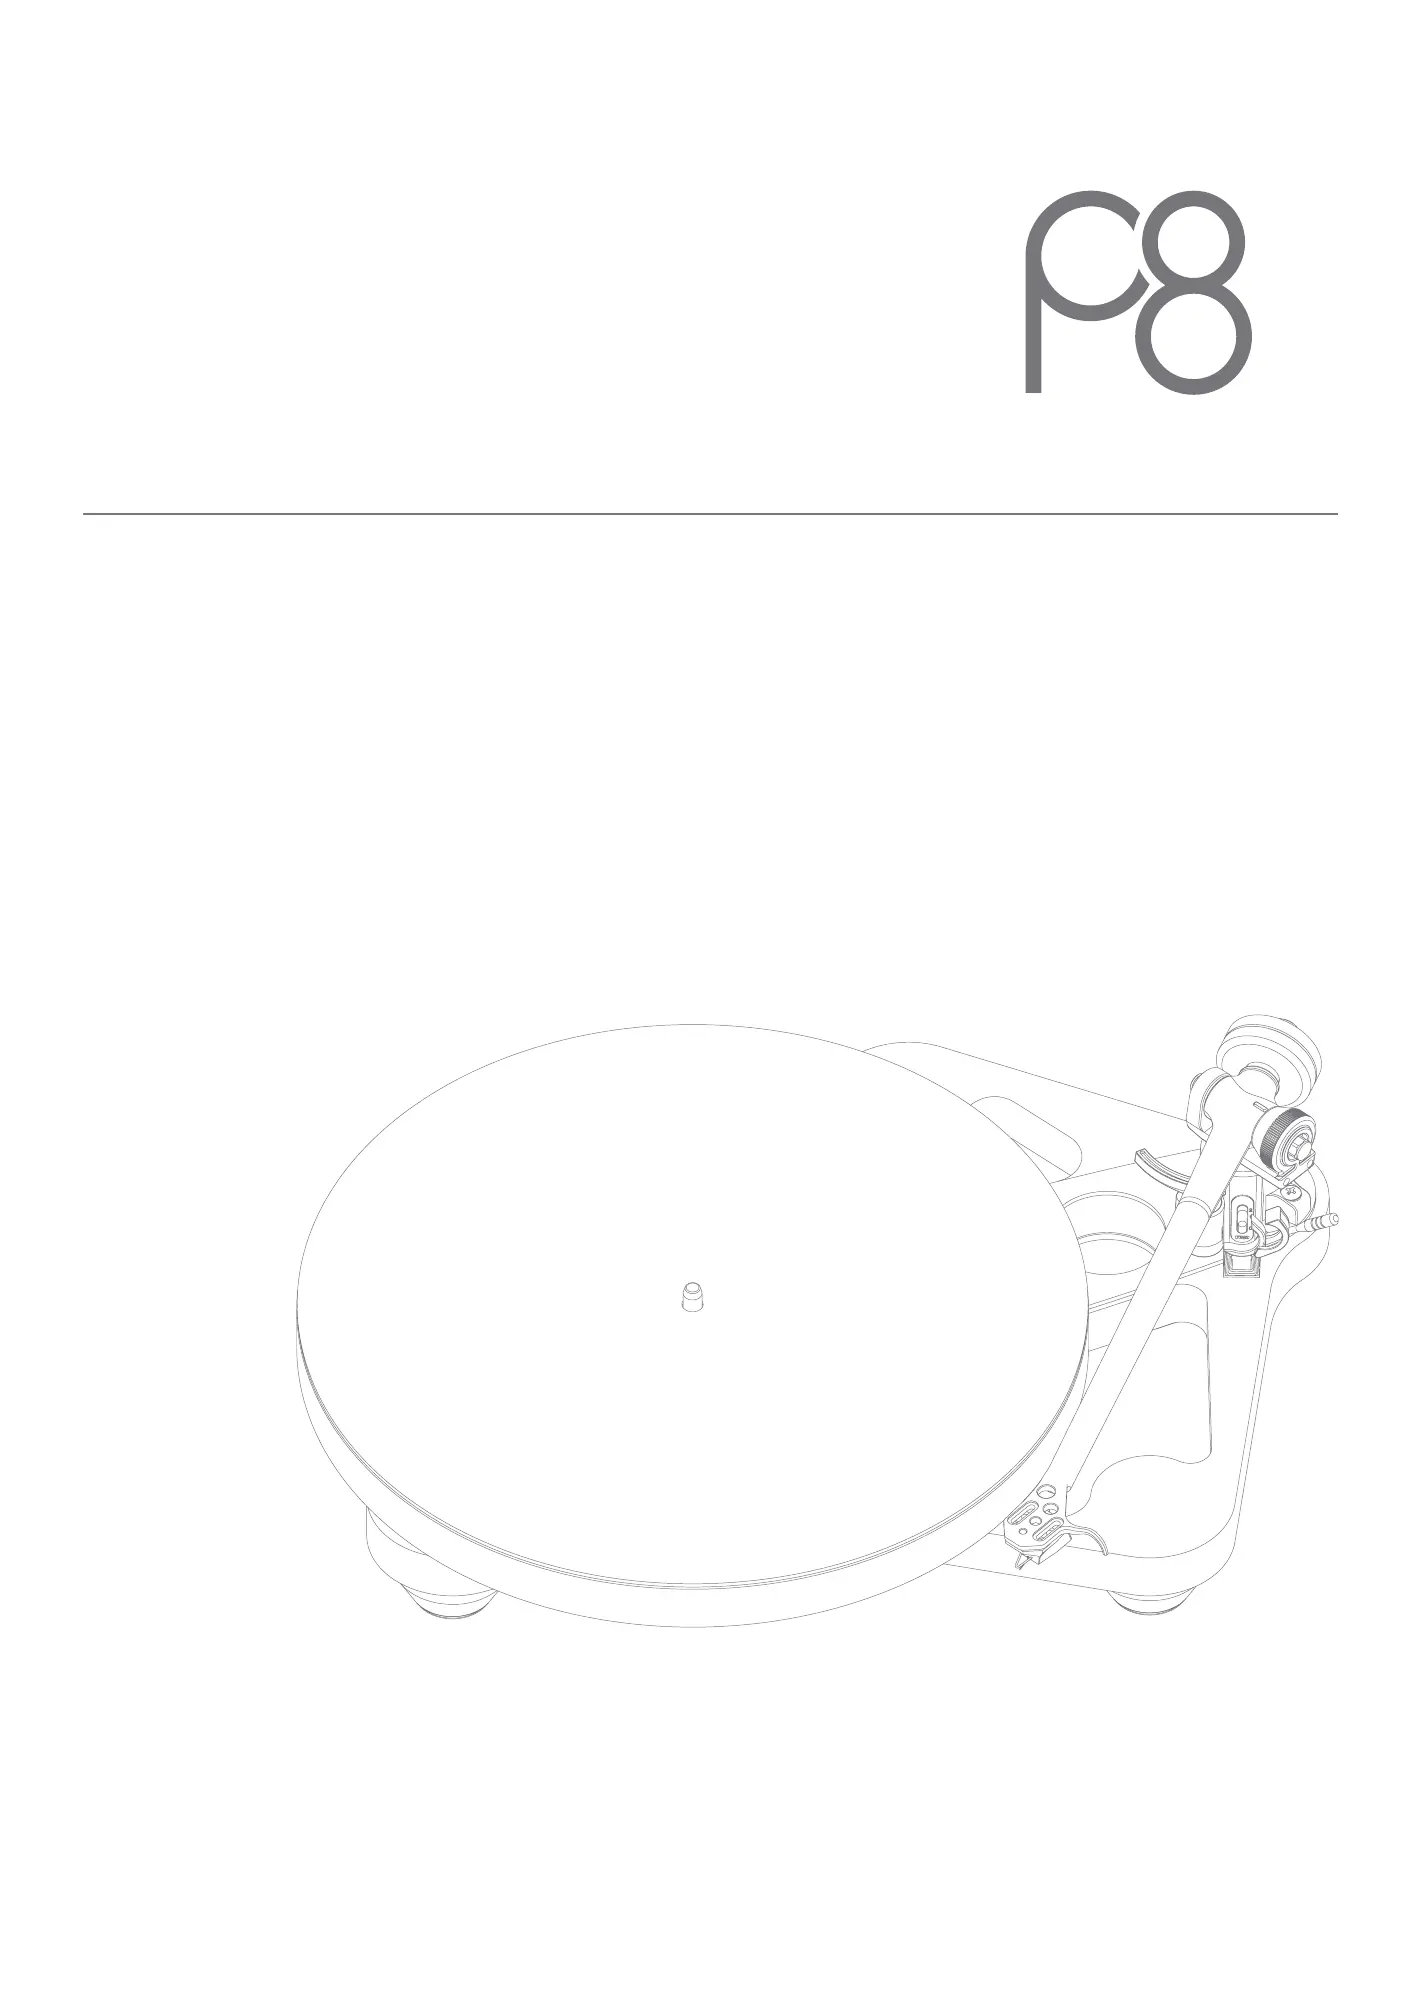
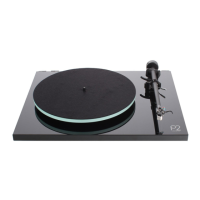
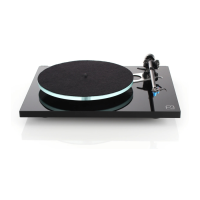
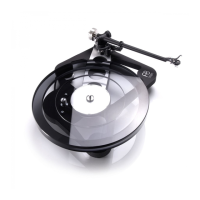
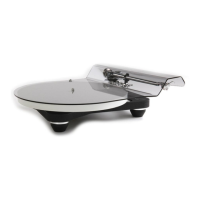
1
1. Platter
2. Drive belt & sub platter (underneath the glass plaer)
3. Tonearm
4. Balance weight
5. Skeletal plinth
6. Finger lift
7. Pin locator
1 2
3
5
6
7
4