Regency
®
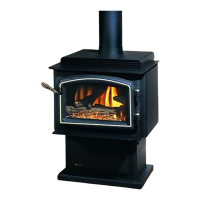
F33-3 Freestanding Gas Stove 19
View from back of stove
Strain relief
grommet
WA
R
N
IN
G
2
4
0
V
o
l
t
s
Turn o
ffp
o
werb
e
fo
re
o
pe
nin
g.
Placement of Decal
“Warning 240 Volts
Turn Off Power”
Wiring Diagram
Diagram 3
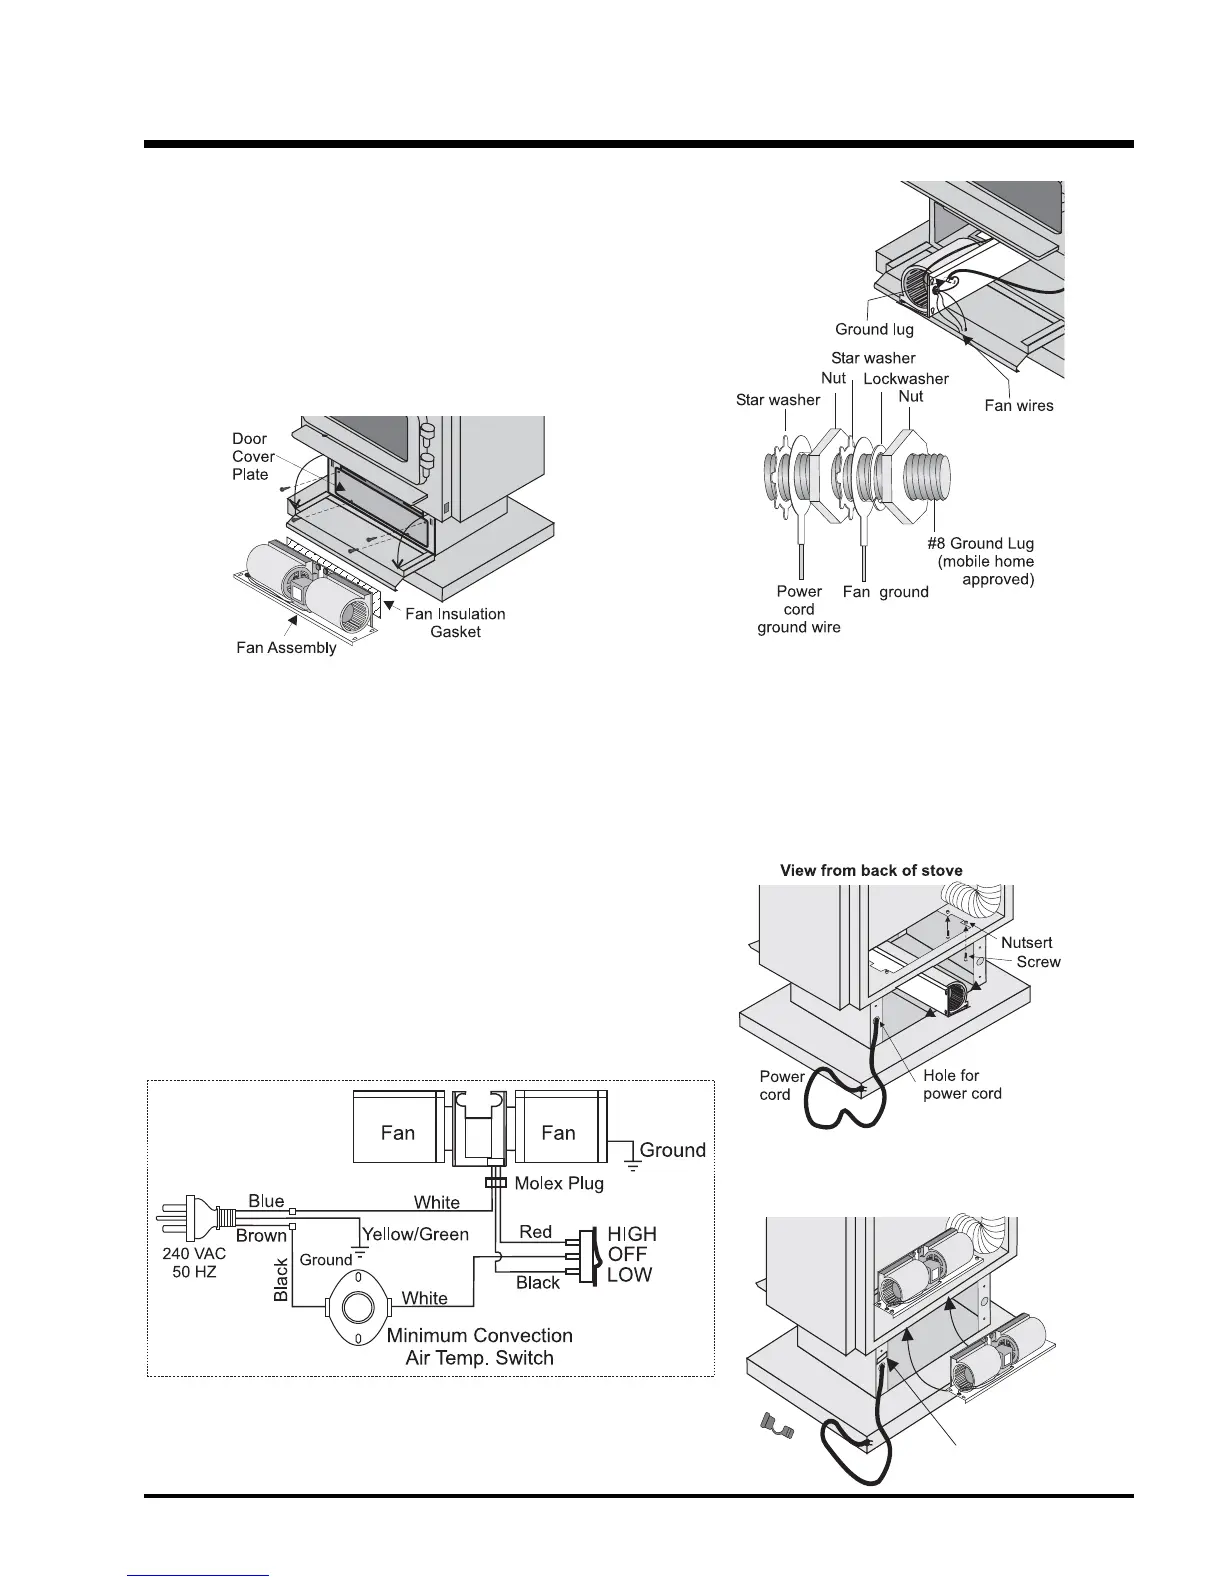
FAN REPLACEMENT
For Leg Unit: Remove 7 screws, remove bottom access panel and
replace fan assembly.
1) Disconnect power to fan.
2) Open pedestal door and remove door cover plate by removing 4
screws. See diagram 1.
Diagram 1
3) Remove valve cover plate by removing 2 screws.
4) Disconnect the molex plug (from inside the stove).
Note: The #8 ground lug is a dedicated ground for mobile
home use only.
5) Loosen the four 8-32 x 1/2 screws provided into the nutserts
as shown in diagram 3. NOTE: Make sure the fan is supported
as it may fall when the 4 screws are loosened.
Diagram 2: Ground Lug
6) Disconnect the 2 ground wires (green and yellow/green striped)
to the ground lug as per diagram 2.
Note: The #8 ground lug is a dedicated ground for mobile
home use only.
MAINTENANCE