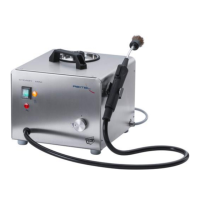
Installation
1. Screw the swivelling lever (16) into the lid (1).
2. Electrical connection according to specifications on the rating plate.
3. Establish compressed air connection in the range between 3-6 bar according to
regulations.
4. Attach the drain hose tightly and put it into a basin.
5. Clean the o-ring and the sealing rim, using temperature-resistant grease (see
maintenance notes).
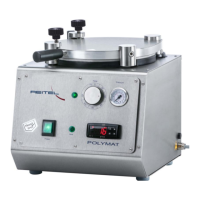
Preparation
Open the lid (1).
Fill the tank with water, to at least 2 cm above the temperature sensor (17).
Turn on the device with the power switch (2). (After switching on, the device performs a
brief self-test and heats to the last set temperature.)
Operation
Installation
1. Connect the unit plug to establish power supply. The power switch (1) for switching on
the device is located at the front of the polymerisation unit. After finishing work, use the
power switch (1) to switch off the device.
Programming
Press key 2 for programming. SP 1 and the target temperature flash alternately in the
display.
Use the digital temperature controller to set the desired temperature: use key 3 to
increase temperature and key 4 to decrease temperature.
Press key P to store the desired temperature. This value remains stored, even after
switching off the device or in the event of a power failure, until a new value is entered.
After approx. 15 seconds without user activity programming is left for returning to heating
mode.
 Loading...